21
reboot itself periodically(This is recommended). There are three types of maintenance: per day,
per week, per time. Turn this feature off to prevent the DVR from rebooting.
10 Advanced Settings
Note
: Operations in this chapter require the operator to be logged in with Admin authority.
1) Settings of System
Please enter<Tool
Bar>→< Settings >→<System>→
【
Advanced Setting>>
】
Preview Cruise
:
Select <PREVIEW
CRUISE>→
【
】
to enter the setting screen. This feature will allow the DVRs display to
cycle through the cameras 1 at a time or by groups instead of showing all at once. Set the preview cruise
interval, 1/4/9 cruise way. It will take effect after saving the settings, the screen will be cruised in accordance
with the setting intervals over the segmentation preview. To turn off Preview Cruise go in and select disabled
and it will return to standard operation after saving.
DVR ID
: Setting this ID in accordance with a DVR Controller allows for operation of the DVR through the
device. Please refer to the controllers manual for operating instructions.
Daylight Savings Time:
Select <DST>-
【
】
to enter DST settings. User can set beginning and ending dates and time of DST. Device
will automatically adjust the time after being saved.
Menu Overtime:
After started <menu overtime>, when there is no mouse motion on the menu, will time out and automatically
close the menu and lock the device. User will have to log in to the DVR with ID and password each time this
happens.
Channel Lock
:
Select <channel lock>-
【
】
to enter channel lock setting screen. Select the desired channels to lock out and
press
【
OK
】
. The User will be unable to see any locked channels when the DVR is logged out. This setting can
only be adjusted under Admin authority.
User management:
*
Add User
:
Please enter <tool bar>-<setting>-<system setup>-<advanced setting>. Select <ADD
USER>→
【
】
to enter
the setting screen, the password of any new user is 111111.
*
Password Change
:
User may enter < Tool
Bar>→< Setting >→<System>→<Password Settings> to modify the password.
*
Delete User
:
Select <DEL
USER>→
【
】
to enter the setting screen and delete a user. Only the Admin is capable of
deleting a user.
*
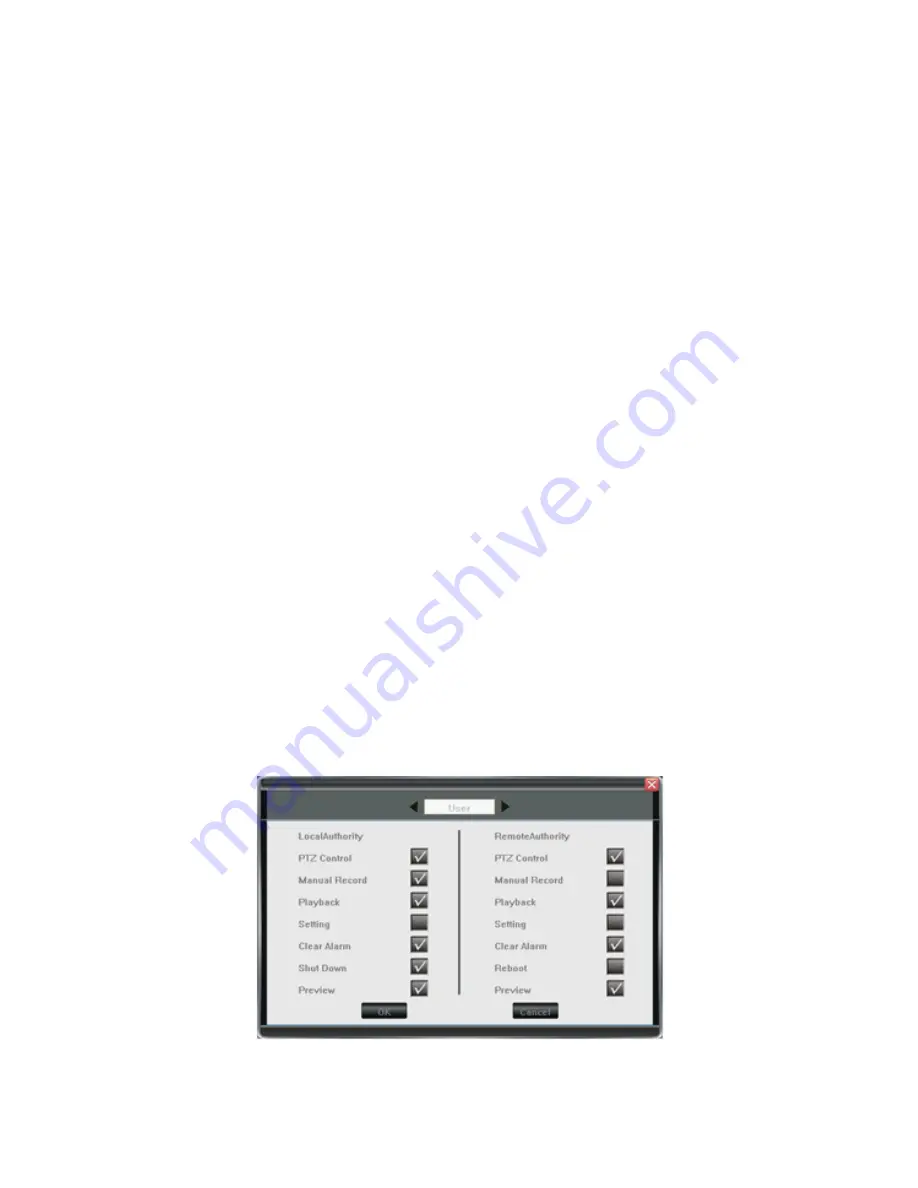
Change Permissions
:
Select < AUTHORITY MANAGE
>→
【
】
to enter the setting screen.
Authority setting contains the authority
options of both local and remote access.
Fig IV 4AuthoritySetting
Move highlight icon to desired option using
【
Direction
】
buttons. Press
【
OK
】
button or click mouse to select
the option.


