background image

13

Installation Ch

ecklist

INSTALLATION

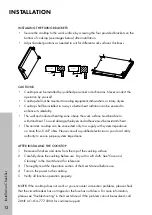
INSTALLING THE FIXING BRACKETS

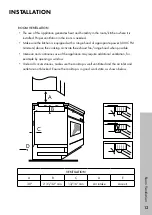
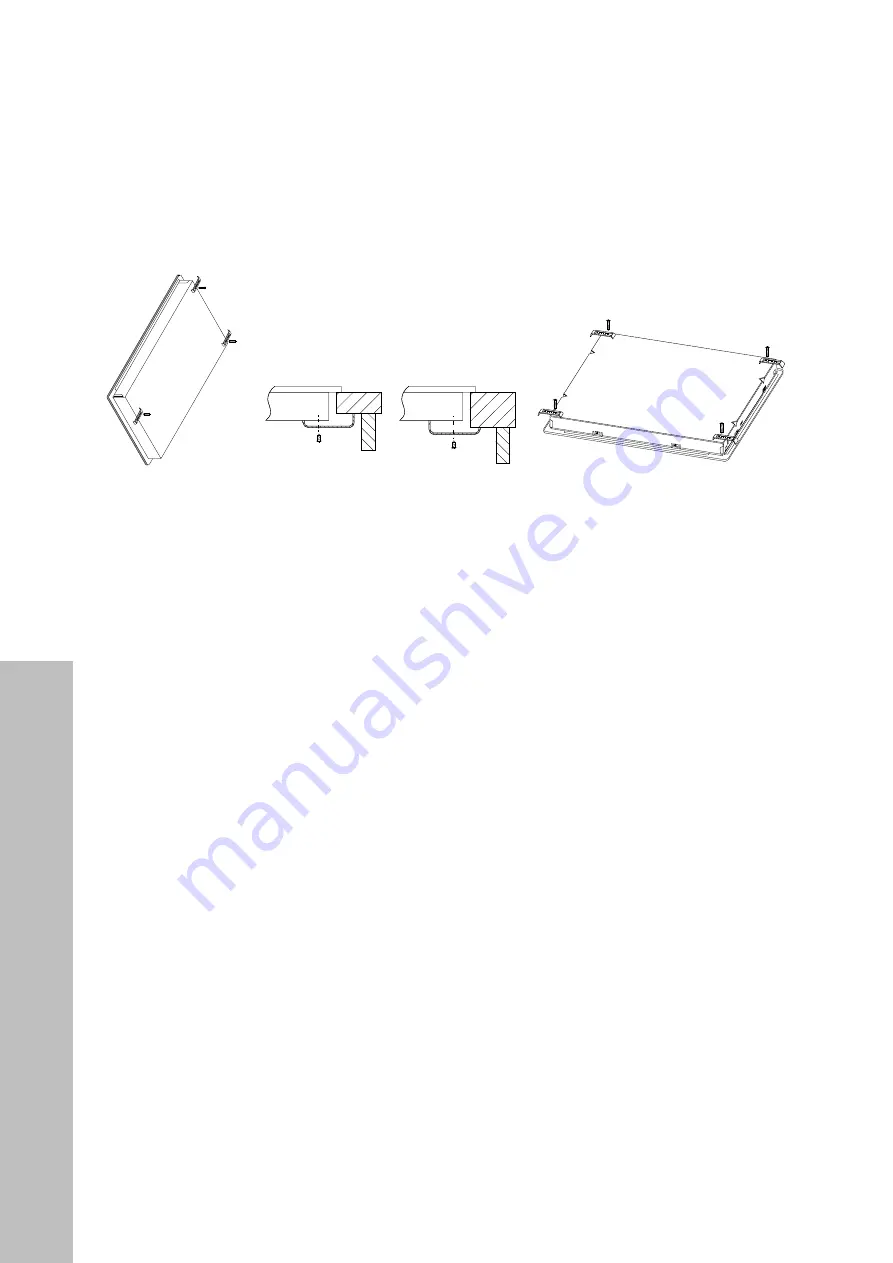
•  Secure the cooktop to the work surface by screwing the four provided brackets on the 

bottom of cooktop (see images below) after installation.

•  Adjust bracket positions as needed to suit for different work surface’s thickness.

Table

Cooktop

Bracket

Table

Cooktop

Bracket

CAUTIONS

•  Cooktop must be installed by qualified personnel or technicians. Never conduct the 

operation by yourself.

•  Cooktop shall not be mounted to cooling equipment, dishwashers, or rotary dryers.
•  Cooktop shall be installed in a way so better heat radiation can be ensured to 

enhance its reliability.

•  The wall and inducted heating zone above the work surface must be able to 

withstand heat. To avoid damage, the layers and adhesive must be resistant to heat.

•  This ceramic cooktop can be connected only to a supply with system impedance 

no more than 0.427 ohms. Please consult a qualified electrician or your local utility 
authority to ensure proper system impedance.

AFTER INSTALLING THE COOKTOP

1.  Remove all stickers and items from the top of the cooktop surface.
2.  Carefully clean the cooktop before use. Dry with a soft cloth. See "Care and 

Cleaning" in the User Manual for reference.

3.  Thoroughly read the Operation section of the User Manual before use.
4.  Turn on the power to the cooktop.
5.  Verify all function operation properly.

NOTE:

 If the cooktop does not work or you encounter connection problems, please check 

that the circuit breaker has not tripped or the fuse has not blown. For more information, 
please see "Troubleshooting" in the User Manual

.

 If the problem cannot be resolved, call 

ZLINE at 1-614-777-5004 for customer support.

Summary of Contents for RCIND-24

Page 1: ...INDUCTION COOKTOP www zlinekitchen com Installation Manual...

Page 2: ...en and bath of your dreams is never out of reach Through our unique designs and unparalleled quality we re dedicated to providing you an elevated experience in the heart of your home With an endless s...

Page 3: ...For more information go to www P65Warnings ca gov ZLINE is fueled by a passion for innovation A relentless pursuit of bringing the highest end luxury designs and professional features into everyone s...

Page 4: ...TABLE OF CONTENTS SAFETY INSTRUCTIONS 1 BEFORE INSTALLATION 7 INSTALLATION 9 WARRANTY 13...

Page 5: ...All installation and other servicing should be referred to a qualified technician NEVER use water on grease fires smother fire or flame or use dry chemicals or a foam type extinguisher WARNING The app...

Page 6: ...o cause burns During and after use do not touch or let clothing or other flammable materials contact surface units or areas near units until they have had sufficient time to cool WARNING Light Error C...

Page 7: ...e safety cover is retracted Use with extreme care always store safely and keep out of reach of children Failure to use caution could result in injury or cuts HEALTH HAZARD This appliance complies with...

Page 8: ...allow for sufficient space around the cooking area This appliance is designed for built in household use only Do not use outdoors Avoid preparing food in aluminum foil or plastic containers over the...

Page 9: ...ires special waste disposal to ensure environmental safety For further information regarding the treatment recovery and recycling of this product please contact your local government office your house...

Page 10: ...ase conductors if the local wiring rules allow for this variation of the requirements Consult local building authorities and by laws if in doubt regarding installation Use heat resistant and easy to c...

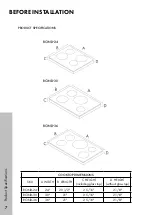
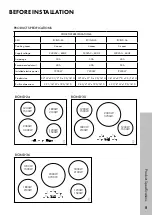
Page 11: ...ICATIONS RCIND 24 RCIND 30 RCIND 36 COOKTOP DIMENSIONS SKU A WIDTH B LENGTH C HEIGHT including glass top D HEIGHT without glass top RCIND 24 24 20 1 2 2 5 16 2 1 8 RCIND 30 30 21 2 5 16 2 1 8 RCIND 36...

Page 12: ...A 50A Installed electric power 7200W 7200W 9300W Product size 24 W x 20 1 2 D x 2 5 16 H 30 W x 21 D x 2 5 16 H 36 W x 21 D x 2 5 16 H Built in dimensions 22 1 16 W x 19 5 16 D 28 3 4 W x 19 5 16 D 33...

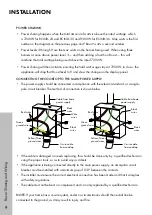
Page 13: ...pole circuit breaker The method of connection is shown below Cable from home power supply Yellow Green ground wires Green ground wires Red wires White wires 3 wire cable from cooktop Black wires Black...

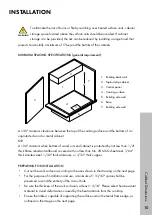
Page 14: ...om of an unprotected wood or metal cabinet OR A 24 minimum when bottom of wood or metal cabinet is protected by not less than 1 4 thick flame retardant millboard covered with not less than No 28 MSG s...

Page 15: ...DVLQJ ZLQGVKLHOG QVWUXFWLRQ IRU ZLQGVKLHOG 2 Remove the 3M double sided tape from the deflector and attach it to the bottom of the cooktop the holes on the deflector should be aligned with the screw h...

Page 16: ...ate power 400 CFM minimum above the cooktop Activate the exhaust fan range hood when possible Intensive and continuous use of the appliance may require additional ventilation for example by opening a...

Page 17: ...damage the layers and adhesive must be resistant to heat This ceramic cooktop can be connected only to a supply with system impedance no more than 0 427 ohms Please consult a qualified electrician or...

Page 18: ...bs fire stations common areas in multi family dwellings nursing homes food service locations and institutional food service locations such as hospitals or correction facilities This warranty is non tr...

Page 19: ...Removal or re installation cost 5 Aesthetic damage scratches or natural wear caused by normal use 6 Second hand open box products or products purchased from an unauthorized retailer NOTE In the event...

Page 20: ...y affixed labels warnings or plates from the product This will void the warranty SERVICE For warranty service please contact our Customer Service team at 1 614 777 5004 or visit www zlinekitchen com c...

Page 21: ...www zlinekitchen com 1 614 777 5004 contact zlinekitchen com 2 2 0...

Reviews: