(844) 200-1945 |
Page 15 of 31
Copyright © Zenty AV
1. Setting the IP address for Transmitter & Receiver and preparing the switch following the steps as
instructed above (5.1.1&5.2)
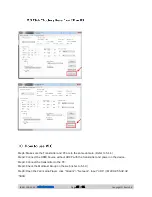
2. Connect the source device and the Transmitter unit with HDMI Cable.
3. Connect the HDMI looping output of the Transmitter to the local HDMI Display.
4. Connect the transmitter and the switch/router with cat5e or cat6 cable.
5. Connect all the Receivers and the switch/ router with Cat5e/6 cable.
6. Connect the HDMI displays and the HDMI Receiver units with HDMI Cable. 7. Connect the IR TX
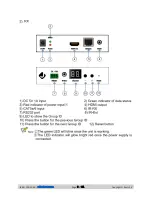
cable into “IR TX” port of the transmitter; Connect the IR
RX cable into “IR RX” port of the receiver.
Then you can control the source at the RX side with IR.
8. Connect one RS-232 Cable from the PC or automation system to the RS-232 port on the
Transmitter; Connect one RS-232 cable from the Receiver to the RS-232 device to be controlled.
9. Power on Transmitter and Receiver with adapter 5V1A, power on the switch with its adapter.
Summary of Contents for ZT-111
Page 2: ...844 200 1945 sales zenty com Page 2 of 31 Copyright Zenty AV...
Page 3: ...844 200 1945 sales zenty com Page 3 of 31 Copyright Zenty AV...
Page 7: ...844 200 1945 sales zenty com Page 7 of 31 Copyright Zenty AV...
Page 8: ...844 200 1945 sales zenty com Page 8 of 31 Copyright Zenty AV...
Page 17: ...844 200 1945 sales zenty com Page 17 of 31 Copyright Zenty AV...
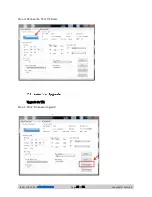
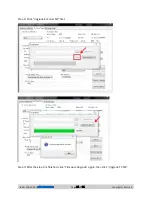
Page 23: ...844 200 1945 sales zenty com Page 23 of 31 Copyright Zenty AV Step 2 Click Upgrade Rx FW...
Page 26: ...844 200 1945 sales zenty com Page 26 of 31 Copyright Zenty AV...

