background image

Customer Support: 1-888-999-4215

21

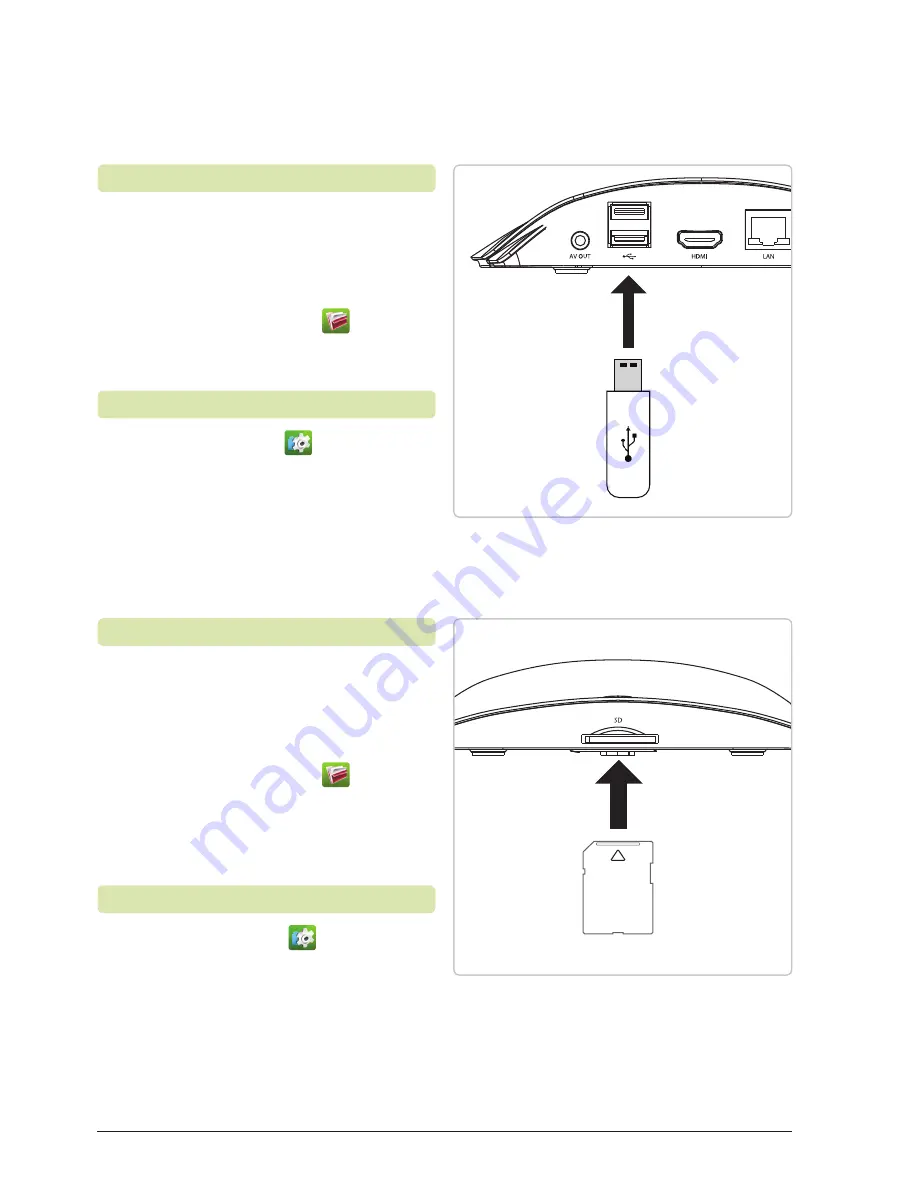
Connecting Storage Devices

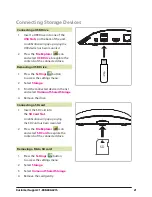
1.  Insert the SD Card into 

the


SD Card Slot

.

A notification will pop up saying 

the SD Card has been mounted.

2.  Press the

 File Explorer


 icon 

and select 

SD Card

 to explore the 

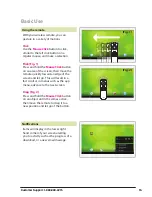
contents of the connected drive.

1.  Press the 

Settings


 button 

to access the settings menu. 

2.  Select 

Storage

.

3.  Select 

Unmount Shared Storage

.

4.  Remove the card gently.

Connecting a SD card

Removing a Micro SD card

SD

Customer Support: 1-888-999-4215

21

1.  Insert a USB Drive into one of the


USB Slots 

on the back of the unit.

A notification will pop up saying the 

USB device has been mounted.

2.  Press the

 File Explorer


 icon 

and select 

USB Drive

 to explore the 

contents of the connected drive.

1.  Press the 

Settings 

 button 

to access the settings menu. 

2.  Select 

Storage

.

3.  Find the connected device in the list 

and select 

Unmount Shared Storage

.

4.  Remove the drive.

Connecting a USB Drive

Removing a USB Drive

Summary of Contents for TAB803B

Page 1: ...USER S GUIDE V 815 02 For the most up to date version of this User s Guide go to www zekitablet com TAB803B Streaming Media Box...

Page 2: ...daptateur de courant est utilis comme dispositif de d connexion et doit rester accessible pendant l utilisation Pour mettre l appareil hors tension la fiche ou adaptateur de courant doit tre d branch...

Page 3: ...cturer s instructions 8 Do not install near any heat sources such as radiators heat registers stoves or other apparatus including amplifiers that produce heat 9 Do not defeat the safety purpose of the...

Page 4: ...roduction 8 11 Connecting to a TV 12 Connecting with HDMI Best Connecting with AV Good 2 in 1 Remote 13 Connecting the Remote Using the Remote Connecting to the Internet 14 Connecting to Wireless Inte...

Page 5: ...s Removing Apps Connecting Storage Devices 21 Connecting a USB Drive Removing a USB Drive Connecting a SD card Removing a Micro SD card File Explorer 22 Using the File Explorer File Explorer Menu Tran...
Page 6: ...ash memory Expandable memory Digital audio Digital photos eBooks PDF PDF DRM EPUB EPUB DRM Digital video DC power input requires an AC DC power adapter included Wireless USB Receiver Remote with keybo...

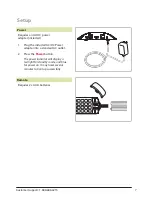
Page 7: ...1 Plug the included AC DC Power adapter into a standard AC outlet 2 Press the Power button The power indicator will display a red light for standby mode and blue for power on It may takes several min...

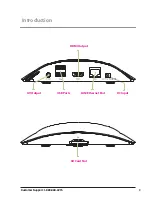
Page 8: ...Customer Support 1 888 999 4215 Introduction Customer Support 1 888 999 4215 8 AV Output USB Ports HDMI Output SD Card Slot LAN Ethernet Port DC Input...

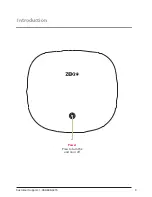
Page 9: ...Customer Support 1 888 999 4215 9 Introduction Power Press to turn the unit on or off...

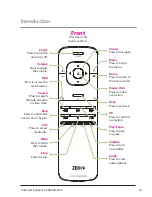
Page 10: ...the next track or chapter Info Press to access media info Mute Press to mute the volume Stop Press to stop Arrows Press to navigate Menu Press to access the menu Home Press to return to the home scre...

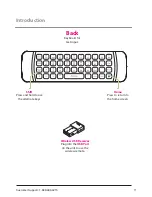
Page 11: ...99 4215 11 Introduction Wireless USB Receiver Plug into the USB Port on the unit to use the wireless remote Home Press to return to the home screen Shift Press and hold to use the alternate keys Back...

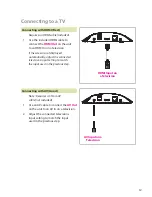
Page 12: ...ut used in the previous step Requires an HDMI cable included 1 Use the included HDMI cable to connect the HDMI Out on the unit to an HDMI In on a television If the screen is not displayed automaticall...

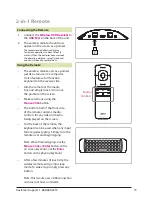
Page 13: ...media box and simply move it to move the pointer on the screen Make selections using the Mouse Click button The bottom half of the front side of the remote contains media controls for any video or me...

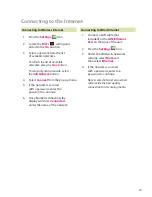
Page 14: ...ith a password enter the password to continue 6 Once finished connecting the display will show Connected under the name of the network 1 Connect a LAN cable not included to the LAN Ethernet Port on th...

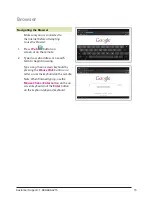
Page 15: ...remote 2 Type in a web address or a search term to begin browsing Type using the on screen keyboard by pressing the Mouse Click button on a letter or use the keyboard on the remote Note When finished...

Page 16: ...d an edge of the screen and let go This will result in a fast scroll or in menus such as the app menu advance to the next screen Drag Fig 2 Press and hold the Mouse Click button on an object until it...

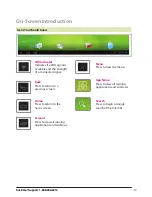
Page 17: ...ch Press to begin a Google search of the internet Wifi Indicator Indicates if a WiFi signal is available and the strength of a connected signal Back Press to return to a previous screen Home Press to...

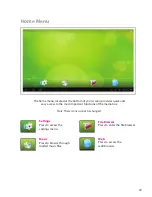
Page 18: ...ccess to the most important functions of the media box Note These icons cannot be changed Home Menu 18 File Browser Press to enter the file browser Settings Press to access the settings menu Web Press...

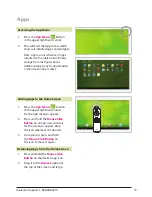
Page 19: ...market 1 Press the App Menu button in the upper right hand corner for the App menu to appear 2 Press and hold the Mouse Click Button on an app icon and wait for the screen to appear Drop the icon wher...

Page 20: ...elect Ok 4 The app will be uninstalled Warning The selected app and all related content will be completely removed from the tablet Note The apps pre loaded onto the unit can not be uninstalled 1 Press...

Page 21: ...Storage 4 Remove the card gently Connecting a SD card Removing a Micro SD card SD Customer Support 1 888 999 4215 21 1 Insert a USB Drive into one of the USB Slots on the back of the unit A notificati...

Page 22: ...n option before accessing any files Note To access files on your local network you must have file sharing enabled 3 Select one of these options and a list of available files will appear 1 In the File...

Page 23: ...e accessed without loading an SD card or USB Flashdrive 2 Using the Mouse Click button press and hold an item in the file explorer 3 From the pop up menu select Copy 4 Return to the equipment screen a...
Page 24: ...al basis DPI Inc is making efforts to sustain the environment and improve the recyclability of its products and packaging Focusing on protecting for today and sustaining for tomorrow DPI Inc has commi...

Reviews: