FV4K-DCK-1X User Instructions
DOC-USR-0127-07
______________________________________________________________________________________
Z3 Technology, LLC
♦
100 N 8
th
ST, STE 250
♦
Lincoln, NE 68508-1369 USA
♦
+1.402.323.0702
60
8.9
Factory Reset
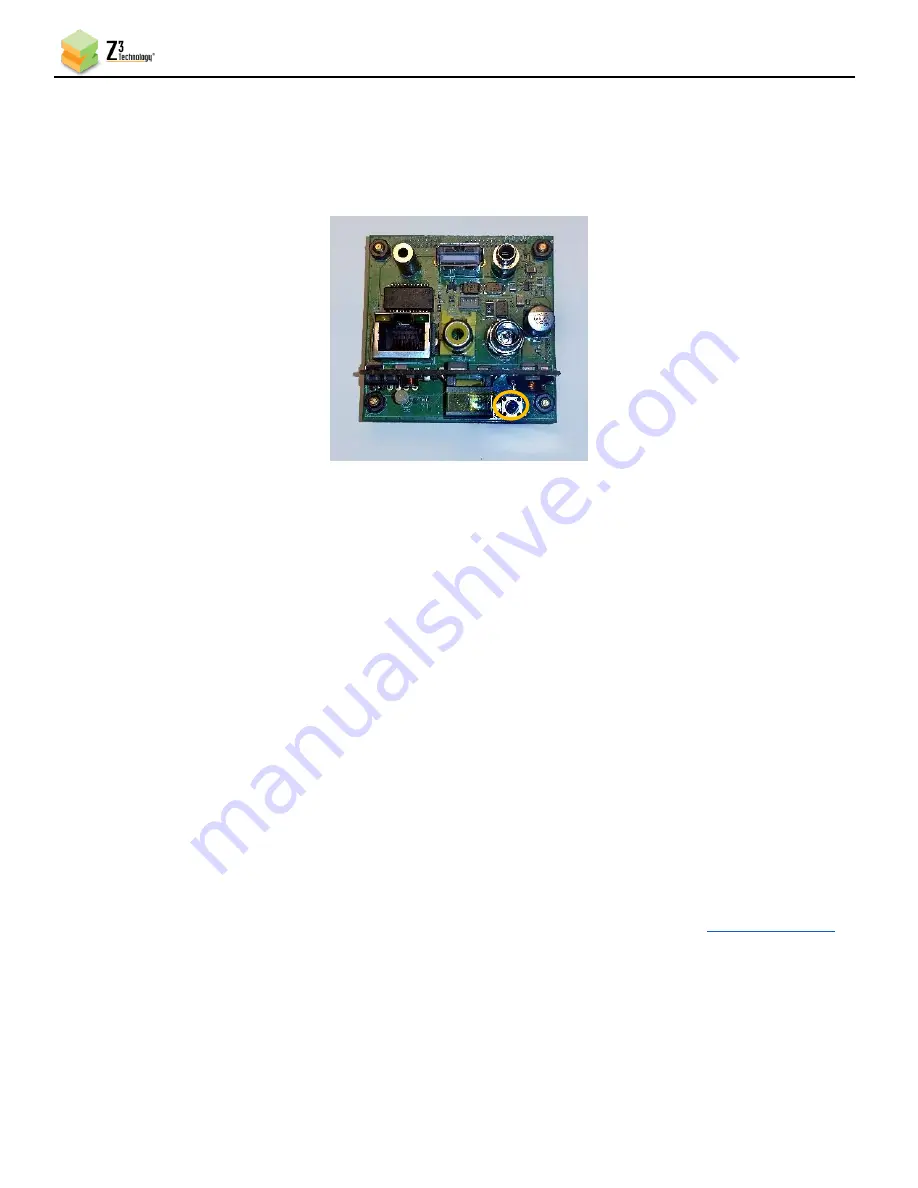
The FV4K-DCK-1X can be reset to its original factory settings using the pinhole reset on the lower right of
the I/O PCB of the unit.
Figure 69 Pinhole Reset
(1)
Allow the FV4K-DCK-1X to boot completely.
(2)
Press and hold pinhole reset switch until status light flashes yellow
(3)
Power cycle device. Once the boot sequence has completed the FV4K-DCK-1X will return to its
original factory settings.
The HE2K-DCK-1X can also be reset via a USB device at boot:
(1)
Plug a FAT32 formatted USB drive into your PC.
(2)
To do a factory reset create
a directory or file named “z3reset”. To only reset the password, create
a directory or file named “z3passreset” instead.
(3)
Eject the drive from your PC and plug into a powered down HE2K-DCK-1X. Power on the encoder.
(4)
When the boot is complete the unit will be
running the factory defaults if “z3reset” was used. If
“z3passreset” was used the unit will have the same settings except the password will be disabled.
8.10
Using Wi-Fi
The supported USB Wi-Fi card at the time this document was written is the TL-WN722N v2. If you find
that your card is not working as described in the document ssh in to the board (ssh
and run lsusb at the prompt. You should see this entry:
Bus 003 Device 002: ID 2357:010c
If you don’t see this entry the device you are using is not currently supported. Contact Z3 Technology
for support options.


