


8
zcentral.zcorp.com
6. Routine Cleaning After Every Build
After every build, it is important to clean your printer following
the steps below.
A clean, well-maintained printer produces better parts,
has less downtime, and needs fewer service calls.
Routine cleaning includes the following steps:
•
Vacuum Up Excess Powder
•
Empty The Debris Separator
•
Clean The Rails and Carriage
•
Clean The Service Station
•
Clean the Parking Caps (ZPrinter 450 only)
6.1 Vacuum Up Excess Powder
Vacuum the Build Bed, the Fast Axis, and the Deck.
1.
Close the top cover, then select
VACUUM & DEPOWDER
on the LCD menu. Open the cover. The vacuum starts.
2.
Vacuum the following areas:
•
The top of the Fast Axis; also reach inside to vacuum
the Rails and the Printhead Carriage.
•
The Build Bed (but not the Feeder side).
•
The deck around the Build Bed.
Note:
Be careful not to vacuum inside the service sta-
tion itself.
3.
Press the Control Knob once to turn off the vacuum.
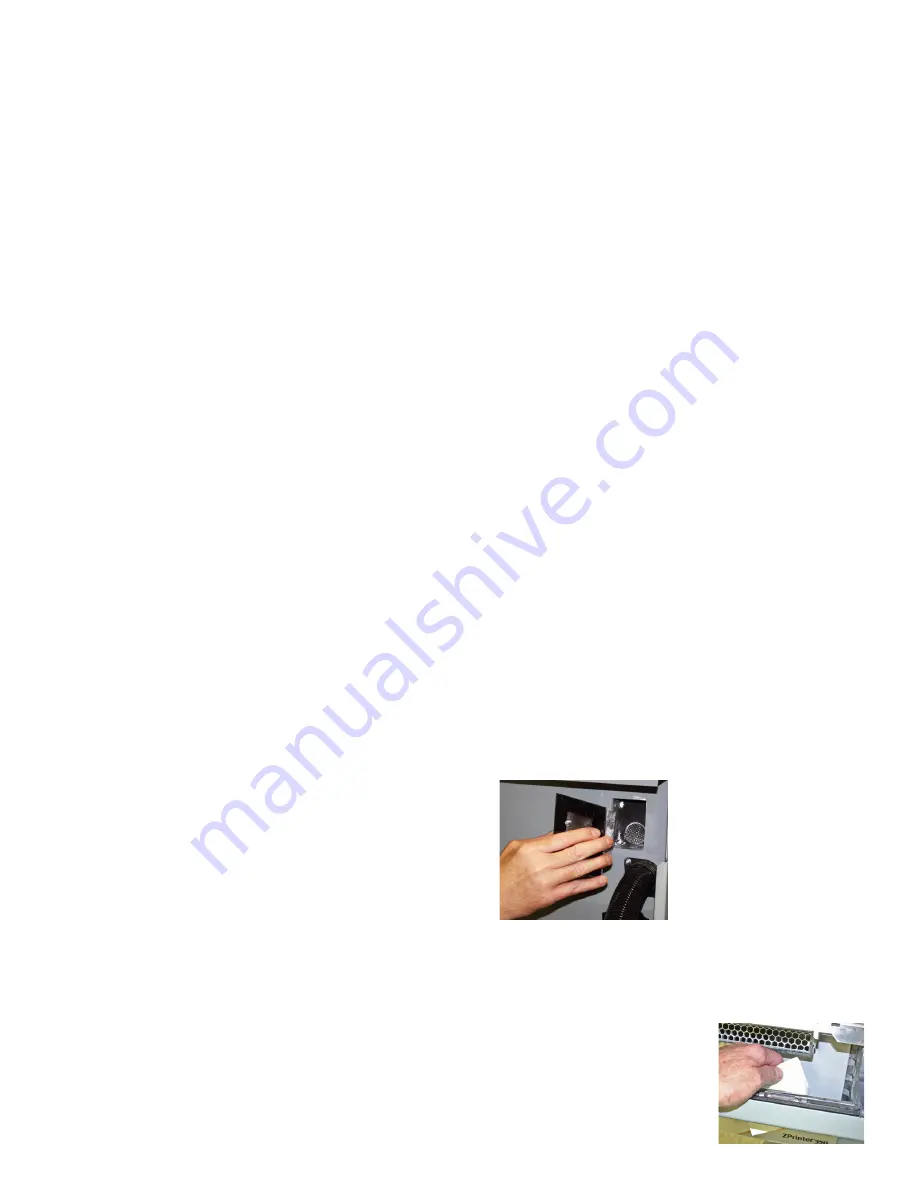
6.2 Empty The Debris Separator
1. Pull the Debris Separator
out of its holder on the printer.
2. Empty the contents into a
trash receptacle.
3. Use the soft brush found in
the Accessory Kit to brush
caked on powder from the
screen.
4. Return the empty Debris
Separator to its holder. Be sure to push the Separator flat
against the panel for a secure fit.
6.3 Clean The Rails and Carriage
1.
Pull the Fast Axis out toward you.
2.
Using a paper towel dampened
with distilled water, wipe the top
and bottom Rails. Move the Car-
riage back and forth as needed to
clean the entire length of both
rails.
3.
Using a clean, dry paper towel,
thoroughly dry both Rails.
4.
Using a fresh paper towel, wipe the Carriage to remove any
powder. Also clean the Build Bed and Deck.


