


zcentral.zcorp.com
11
7. Post-Processing With Z-Bond
For complete instructions, refer to the
Hardware Manual
for
your printer, or to our 3D User Web site at
zcentral.zcorp.com
.
7.1 Preparation
•
Ensure the part is both completely dry and completely
free of loose powder.
•
Wear a lab coat or smock, safety glasses, and a pair of
high quality gloves (supplied with the Z-Bond Dipping
Kit) or 2 pairs of lightweight disposable gloves (supplied
with the Starter Kit).
•
Use a container large enough to fully submerge your
part.
•
Have paper towels ready for absorbing excess fluid.
•
Work in a well-ventilated area.
•
Place a piece of cardboard down in your work area and
place a piece of wax paper over the cardboard for the
part to dry on.
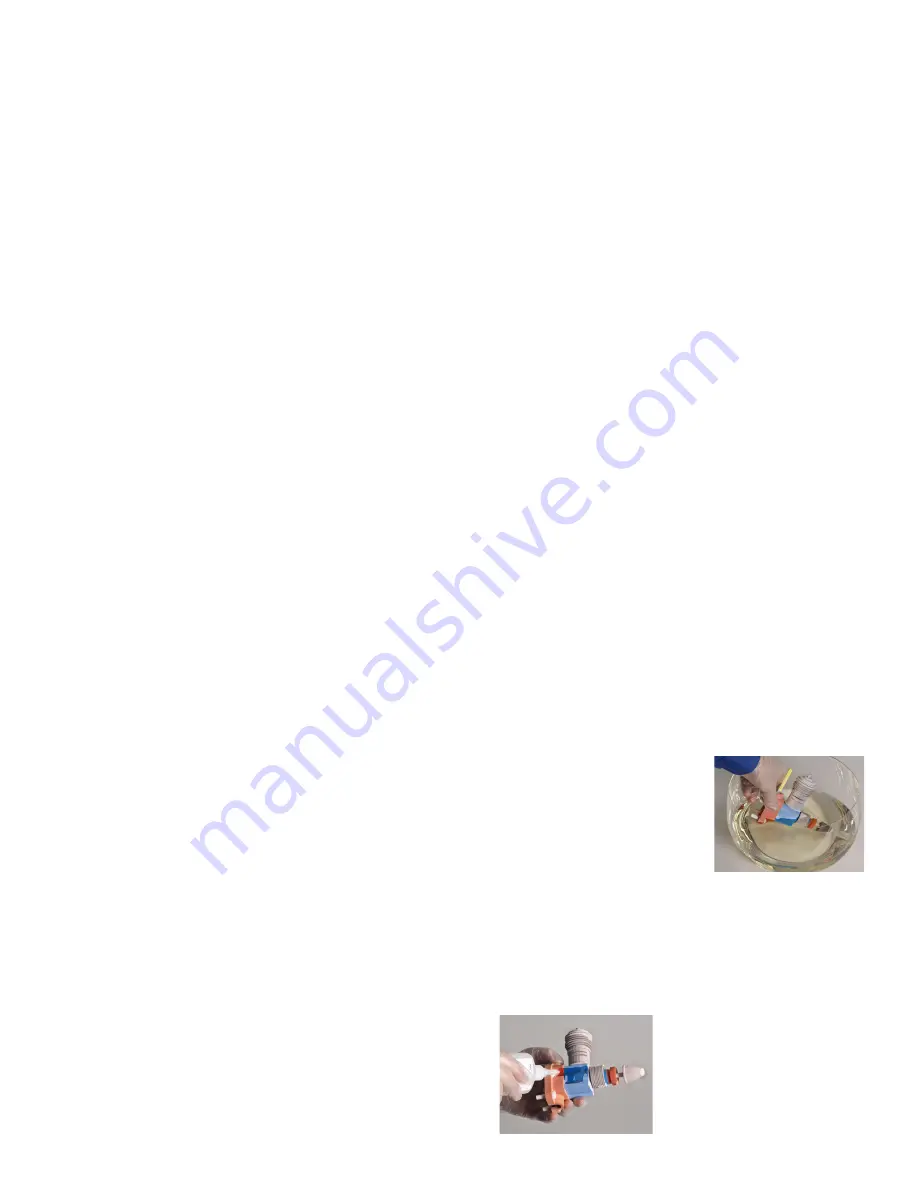
7.2 Dipping Method
Be sure the part is dry and completely free of loose pow-
der before infiltrating
.
1.
Pour enough Z-Bond into the container to completely sub-
merge the part.
2.
Gently submerge your part into
the liquid for several seconds.
3.
Remove the part and quickly and
thoroughly wipe off any excess
liquid. Place the part on the wax
paper.
Note:
The part will get very warm
and may emit visible vapor. These
are normal by-products of the curing process.
4.
Let the part dry and cool 15 - 30 minutes before handling.
5.
Return any unused Z-Bond to its bottle for reuse.
7.3 Drizzle Method
Be sure the part is dry and completely free of loose pow-
der before infiltrating
.
1. Drizzle Z-Bond onto the part.
Start with the most delicate
areas first. Wet as much of the
part as you can easily reach.
2. Reposition the part and repeat
this process until the entire part
is infiltrated.
3. Quickly and thoroughly wipe
off any excess liquid. Place the part on the wax paper.
4.
Let the part dry and cool 15 - 30 minutes before handling.


