


zcentral.zcorp.com
7
4. Gross Powder Removal
When the build is finished, you will need to remove the powder
around the part.
4.1 Automatic Powder Removal
(ZPrinter 450 only)
When the build is finished, the printer starts an automatic,
heated drying cycle. A counter on the printer LCD counts down
the time remaining before the part is dry.
After the drying cycle completes, the
printer automatically removes excess
powder by vibrating the Build Bed and
vacuuming through the bottom of the
Build Bed.
Remove the part and carefully transfer
it to the Fine Powder Removal Cham-
ber.
4.2 Manual Powder Removal
When the build is finished, the printer starts an automatic drying
cycle (heated on the ZPrinter 450; unheated on the ZPrinter
350). A counter on the printer LCD counts down the time
remaining before the part is dry.
1.
Close the top cover, then select
VACUUM & DEPOWDER
on the LCD menu. Open the cover. The vacuum starts.
2.
Vacuum powder from around the
part. Be careful around delicate
sections. Use the Control Knob to
move the Build Platform up as
needed.
3.
Carefully move the part to the
Fine Powder Removal Chamber.
5. Fine Powder Removal
Any loose powder on the part must be removed before proceed-
ing with the post-processing steps.
1.
Close the top cover, then select
VACUUM & DEPOWDER
on the LCD menu. The vacuum and compressor start.
2.
Test the air flow against your hand and adjust as needed.
Turn the Control Knob left to decrease pressure, or right to
increase pressure.
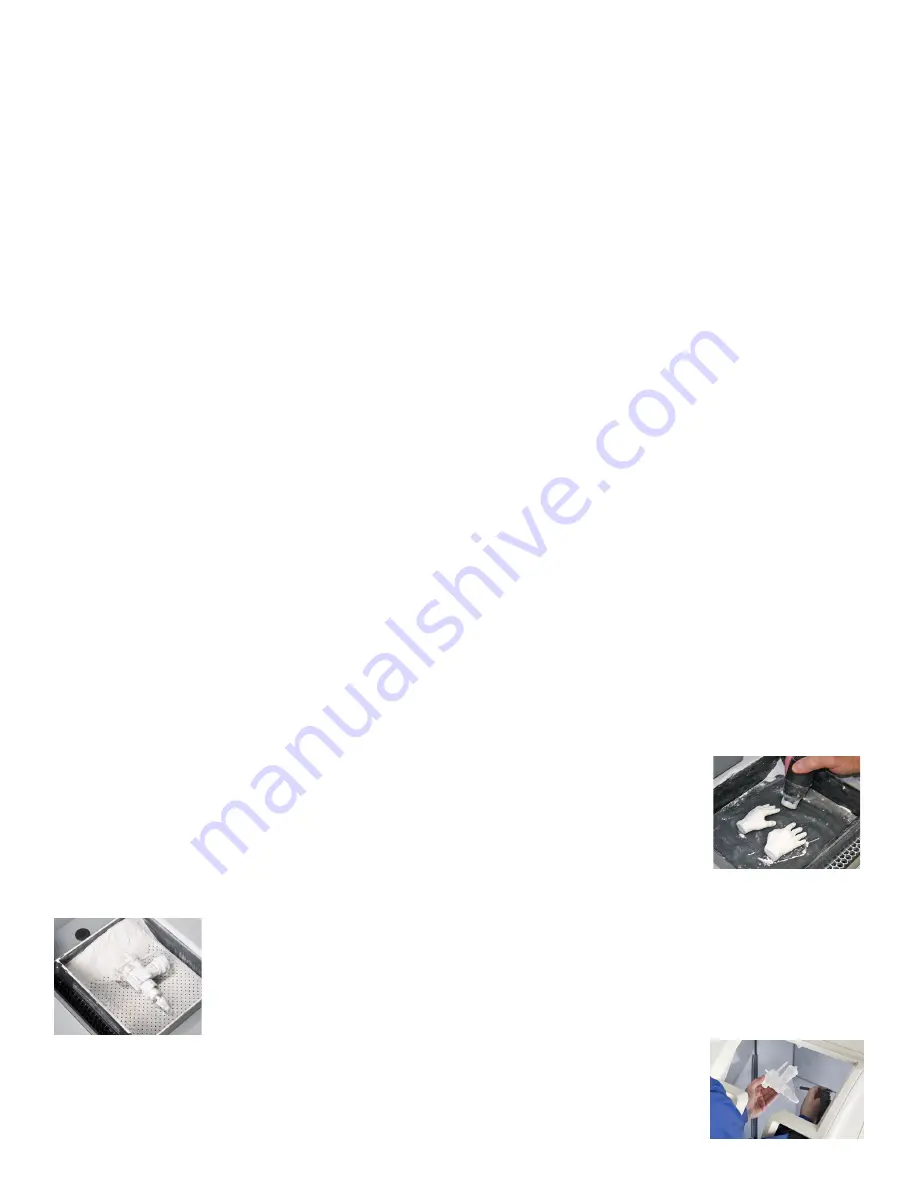
3.
Using the Air Wand, remove all
remaining powder on the part.
4.
Push the Control Knob once to
turn the air compressor off.
Return the Air Wand to its clip.
5.
Allow the part to dry longer in
the Fine Powder Removal Cham-
ber while you perform the
Routine Cleaning
described in
Section 6
.


