ZPrinter
®
310 Plus Hardware Manual
Quick Start Guide
13
All Rights Reserved
2/11/09
2.4 Useful Tips
2.4.1
Part Setup, Orientation and Print Settings
•
Do not tightly pack parts into the build. Keep in mind that you will need to depowder and remove
them from the build box. Allow a little room around the part so you can vacuum the powder away
and get your fingers around or under the part.
•
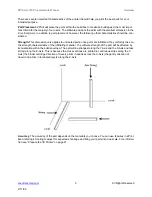
Orient parts so delicate features are supported in the Z-Axis. If a delicate feature is only supported
by unprinted powder the chances of breaking that small feature during depowdering is greatly
increased.
•
When building delicate parts always use a Fixture (see the
ZPrint Software Manual
). Raise the part
0.25" (6.4 mm) from the bottom of the build and generate a Fixture under the part. With a Fixture,
the part can easily be handled, or transported to an oven or a depowder station.
•
Do not enable the
Bleed Compensation
if you are building a part with features under 0.050" (1.27
mm). Go to
, or see the
ZPrint Software Manual
for additional information
regarding this important feature.
•
Parts printed with the High Performance Composite powders can be reliability printed to be within
+/- 1.0% or +/- 0.005” dimensional tolerance.
•
To increase the strength of thin parts, you can decrease the layer thickness to 0.0035" (0.089 mm)
if you are using one of the High Performance Composite materials. As you increase the strength of
the part in this manner you are also increasing the amount of time to dry the part. Use of the
removable build plate (see
Section 2.4.3
) and oven drying the part are recommended. Remove the
part from the removable build plate before placing in the oven.
2.4.2
Gross and Fine Depowdering
•
Use ZPrint to check where printed parts are located and oriented in the build box so you do not
accidentally bump or brush against a fragile part when removing parts from the printer.
•
When removing powder from around the part, do not plunge the vacuum nozzle into the powder
bed. Begin at the outer perimeter of the build box, slowly work your way into the build. Hold the tip
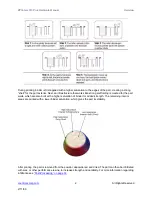
3.
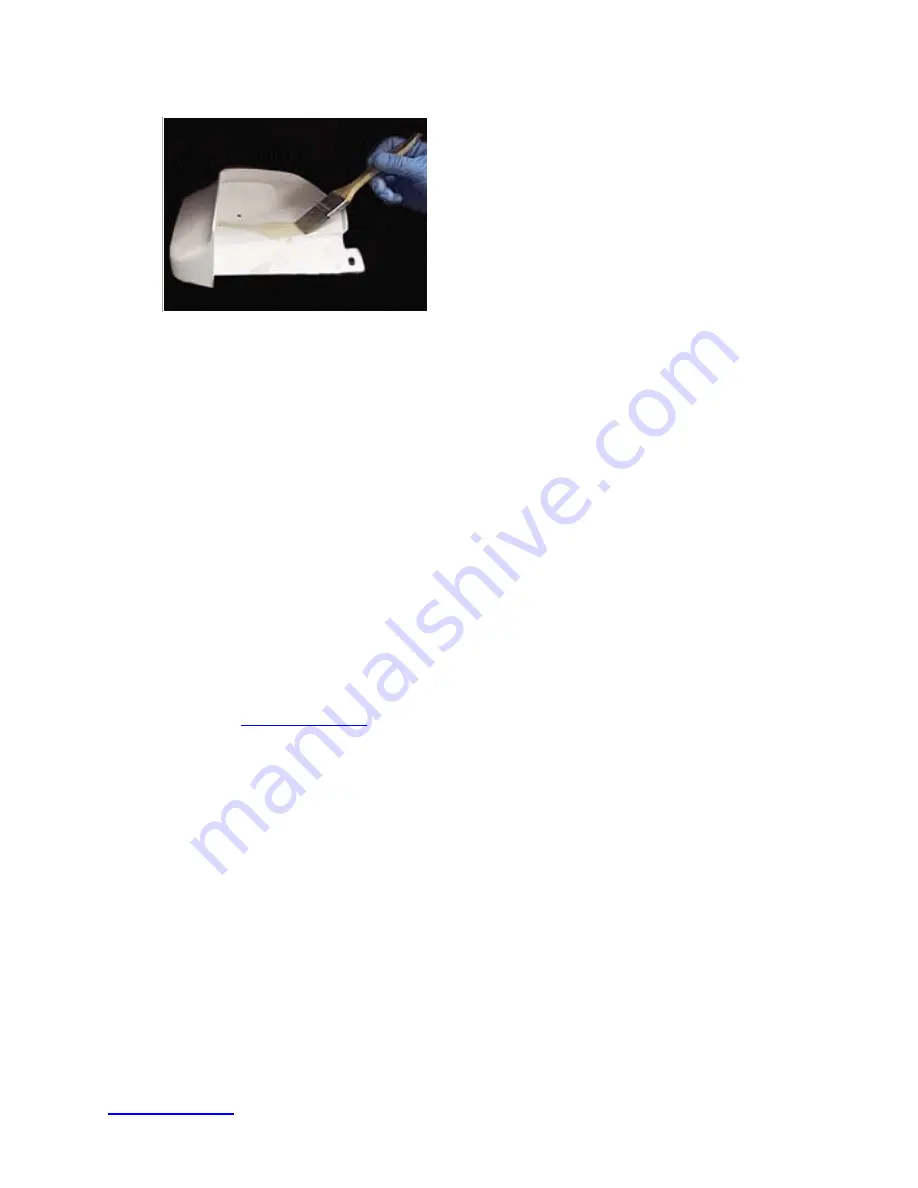
After the part is depowdered, you can
allow it dry longer or you can infiltrate
the part with the material of your
choice. See
Post-Processing
for com-
plete information regarding different
options for infiltration.

