ZPrinter
®
310 Plus Hardware Manual
Quick Start Guide
11
All Rights Reserved
2/11/09
2.2 Print A Part
1.
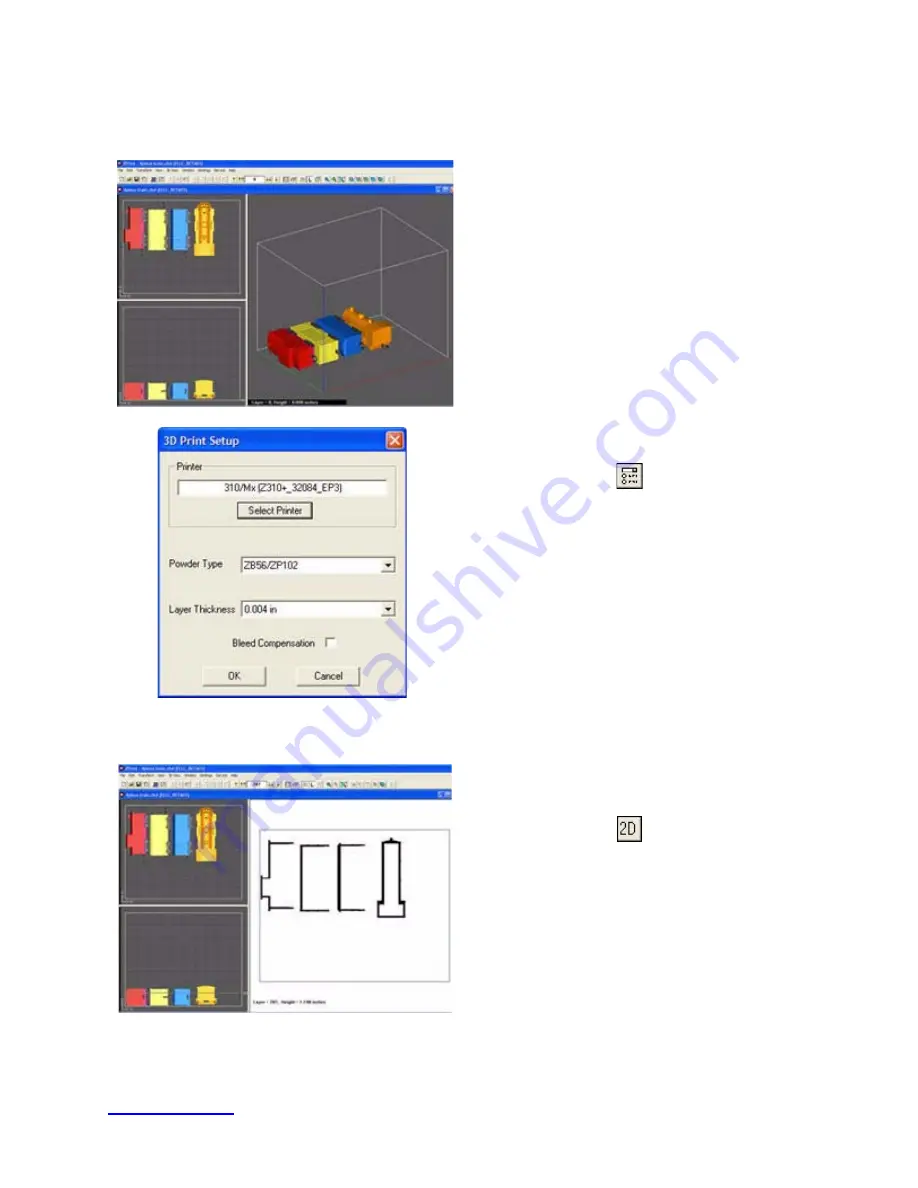
Launch the ZPrint Software. Open or import
the file for the build. (
See Section 5.1
.)
2.
Select
File
>
3D Print Setup
or click the
3D
Print Setup
icon on the ZPrint Toolbar.
3.
In the
3D Print Setup
dialog, click
Select
Printer
to check that the software is commu-
nicating with the printer. Confirm whether the
printer is connected through either a
Serial
Port
or
Network
connection. The printer will
show up as an option in the text field if the
software is properly communicating with the
printer.
4.
Check your powder settings to ensure the
selected
Powder Type
is the powder you are
currently using in the printer.
5.
Click the
2D
icon on the Toolbar to view the
build in 2D View and examine the cross-sec-
tions of the part before printing.
IMPORTANT:
Before starting the build, run
Colli-
sion Detection
, (found on the ZPrint
View
menu), when the build contains multiple parts, or
when you are printing a part with a Fixture.

