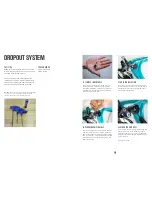
background image

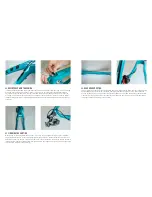
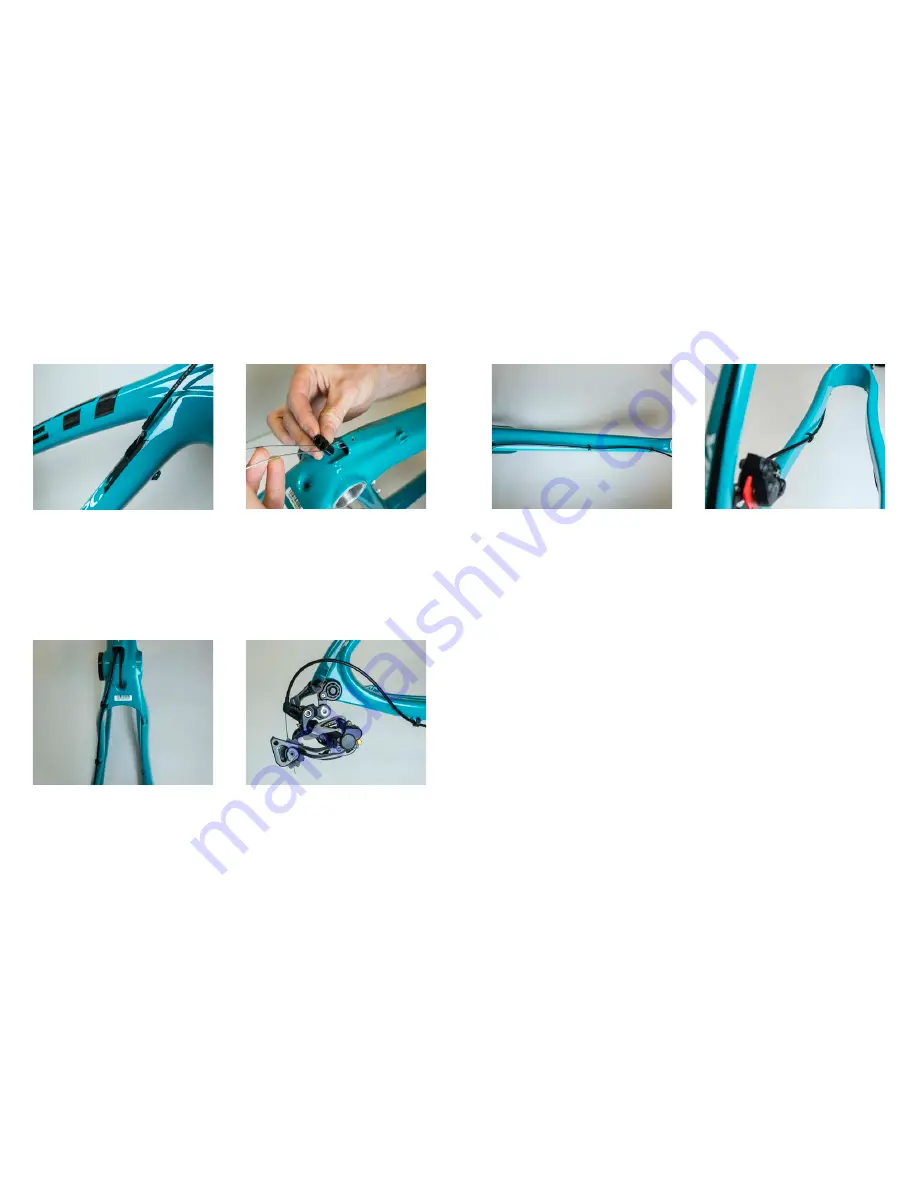
Install appropriat length cable housing between the shifters and the upper cable openings.  Check the range 
of motion in the housing when in place.  Once you are sure you have the correct housing length thread 
each cable through the downtube.  The rear shift cable should enter on the non drive side and exit on the 
drive side.  The front will enter on the drive side and exit on the non drive side.  Once you have the cables 
threaded through the frame re install the lower cable stop making sure that the open end is facing the back 
of the bike.

Measure and cut the appropriate length sections of housing to complete the routing to the front derailleur 
cable stop (above left) and to the rear derailleur (above right) as shown.  Make sure that the arc of the front 
derailleur housing is smooth so it will not bind the cable.  The cable should move freely up through the frame 
to the derailleur.  The rear housing should look like the picture above right.  Use zip ties or the provided cable 
clips to secure the cable to the chainstay.

02. DOWNTUBE CABLE THREADING

03. FINISHING THE SHIFTING

The rear brake line routes down the outside of the downtube.  Starting at the brake lever, your housing length 
should allow you to parallel the rear shifter line creating a clean looking handlebar.  From there attach the 
housing to the down tube using zip ties or the provided cable clips.  The cable should pass under the bottom 
bracket and up through the inside of the chainstay, pictured above right.  Again, use zip ties or the provided 
cable clips to attach the housing to the chainstay.  

04. REAR BRAKE ROUTING

Summary of Contents for ARC Carbon

Page 1: ...YETI CYCLES 621 Corporate Circle Unit B Golden CO 80401 888 576 9384 www yeticycles com OWNER SMANUAL 2014YETI ARCCARBON...

Page 2: ...TABLEOFCONTENTS BRAND OVERVIEW 01 FRAME FEATURES 04 GEOMETERY 08 MAINTENANCE SCHEDULE 10 CABLE SETUP 11 DROPOUT OVERVIEW 16 WARRANTY LEGAL 18 CONTACT INFORMATION 19...

Page 3: ...every situation or condition that may occur during the assembly setup and maintenance of your bicycle Yeti recommends that all service and repairs be performed by your local authorized Yeti Dealer Thi...

Page 4: ...bon is easier than ever This also allows the derailleur to move with the drivetrain while the suspension cycles giving you more consistant shifting 6 The dedicated 142mm x 12mm Shimano thru axle gives...

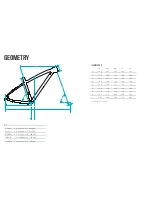
Page 5: ...25 8 C 69 5 69 5 70 0 70 0 70 0 D 72 0 72 0 72 0 72 0 72 0 E 16 9 16 9 17 1 17 1 17 1 F 40 6 41 6 43 3 44 3 45 3 G 11 8 11 8 12 0 12 0 12 0 H 26 5 27 7 28 9 29 9 30 9 I 3 90 3 90 3 90 5 10 5 90 X SMA...

Page 6: ...ION IF NECESSARY CHECK CHAIN FOR WEAR AND REPLACE IF NECESSARY COMPLETE TUNE UP PERFORMED BY AN AUTHORIZED YETI DEALER SCHEDULE Begin by removing the cable stop retaining bolt with a 2 5mm allen whenc...

Page 7: ...ailleur above right as shown Make sure that the arc of the front derailleur housing is smooth so it will not bind the cable The cable should move freely up through the frame to the derailleur The rear...

Page 8: ...you will need ot set that position Alxe nut clocking chip and chip retaining bolt With you wheel in the frame and your derailleur set up install the axle and nut Close the lever to proper tension and...

Page 9: ...does this limited warranty include the cost of travel or shipment to and from an authorized Yeti dealer In order to exercise your rights under these limited warranties the bicycle or frameset must be...

Reviews: