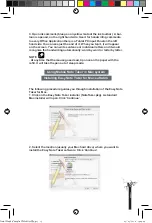
3. Choose where on your Mac you want to save TIFF images by clicking
on the relevant location in the left hand column, and then click ‘Open’.
The Finder window closes and the new target path is displayed in the
Easy Note Taker Preferences dialog.
4. If you want to clear the Easy Note Taker’s memory each time you
upload TIFF images from it, check the Clear Device Memory checkbox.
To leave the TIFF images on the Mobile NoteTaker after they are uploa-
ded, leave the checkbox unchecked.
5. To save your preferences and close the Easy Note Taker Preferences
dialog, click ‘Save’. When you next connect the Mobile Note Taker to your
Mac, your images will be uploaded according to the preferences you
have set.
6. To close the Easy Note Taker Preferences dialog without saving any
changes, click ‘Exit’.
Mobile Note Taker operation with Mac
1. Use the Mobile Note Taker to capture and save your notes while
you are away from your Mac.
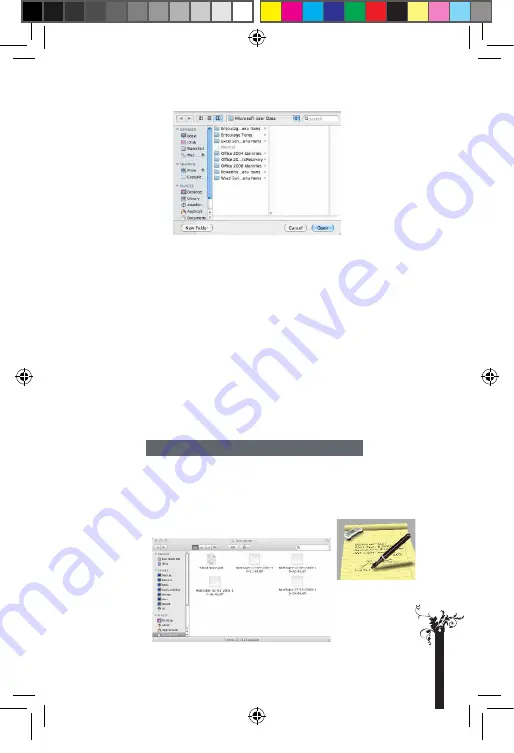
2. Connect the Mobile Note Taker to your Mac to upload the saved
notes. The notes are saved in TIFF format. Double click on the
desired TIFF file, in order to view the note.
p
a
g
e
1
3
Final Mode d'emploi YWS08NetBEng15 15
05/05/2010 14:24:29


