


BizFAX-E Series Client User Manual
www.yeastar.com
Page 29
Step 4
:
After clicked ‘Save’, the extracted images will be saved into manager as
Figure 4-25
Figure 4-25
Step 5
:
Click ‘OK’ to finish the operation of extracting stamp and signature.
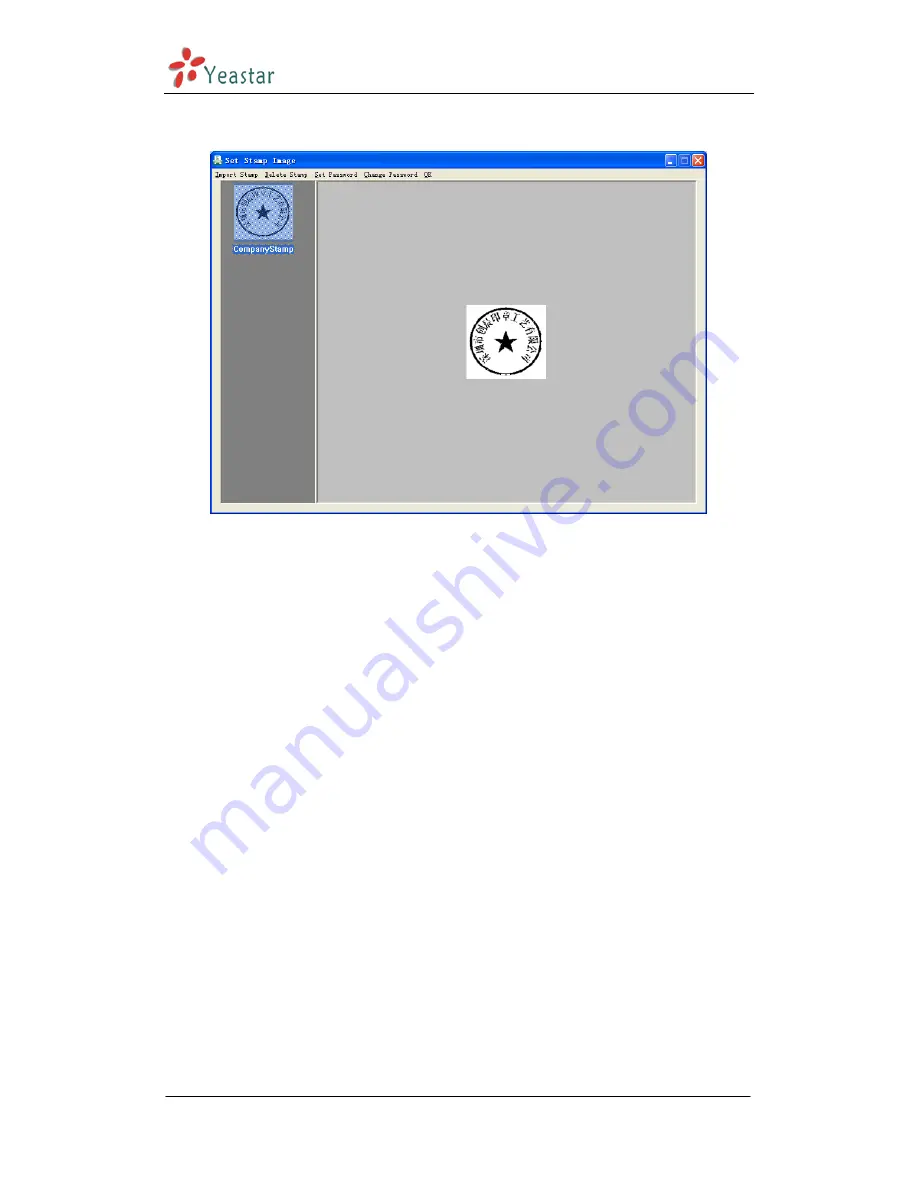
4.6.3.2 Set Stamp Image
There are two methods to set stamp image
:
1
.
Import Stamp
Click ‘Remark’ -> ‘Stamp Image’ -> ‘Set Stamp’; on the prompt ‘Set Stamp
Image’ window -> click ‘Import Stamp’. User can import the BMP and TIF
formart pictures that already saved in computer. The accuracy is better around
100dpi.
2
.
Signature
Click ‘Remark’ -> ‘Signature Image’ ->’Set Signature’; on the prompt ‘Set
Signuature Image’ window
click ‘Add Image’.
4.6.3.3 Set Password
Cick ‘Remark’
‘Set Stamp’, open the following figure: