ii
Safety instructions
3.Maintenance, inspection, and repair
(1) Follow the instruction manuals for mainte-
nance, inspection, and repair.
(2) Entrust the maintenance, inspection, and re
-
pair to specially trained personnel.
(3) Be sure to turn off the power supply switch
and make sure the sewing machine and motor
completely stop before the maintenance, in-
spection, and repair. (If using a clutch mo-
tor, take care that the motor keeps turning
for a while even after turning off the power
supply switch.)
(4) Be sure to remove the gasket too, when the
cover removed at the maintenance, inspec-
tion, and repair. If not removed, may be
injured at the edge of gasket.
(5) Do not modify the sewing machine by the
customer's judgment.
(6) Be sure to use original replacement parts
for repairs or maintenance.
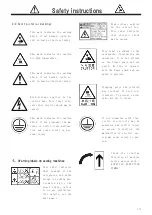
4.Caution signs and alert pictorial markings
This instruction manual contains the following
caution signs and alert pictorial markings to
prevent you from injuring yourself or the sew-
ing machine from being damaged.
Please follow the instructions.
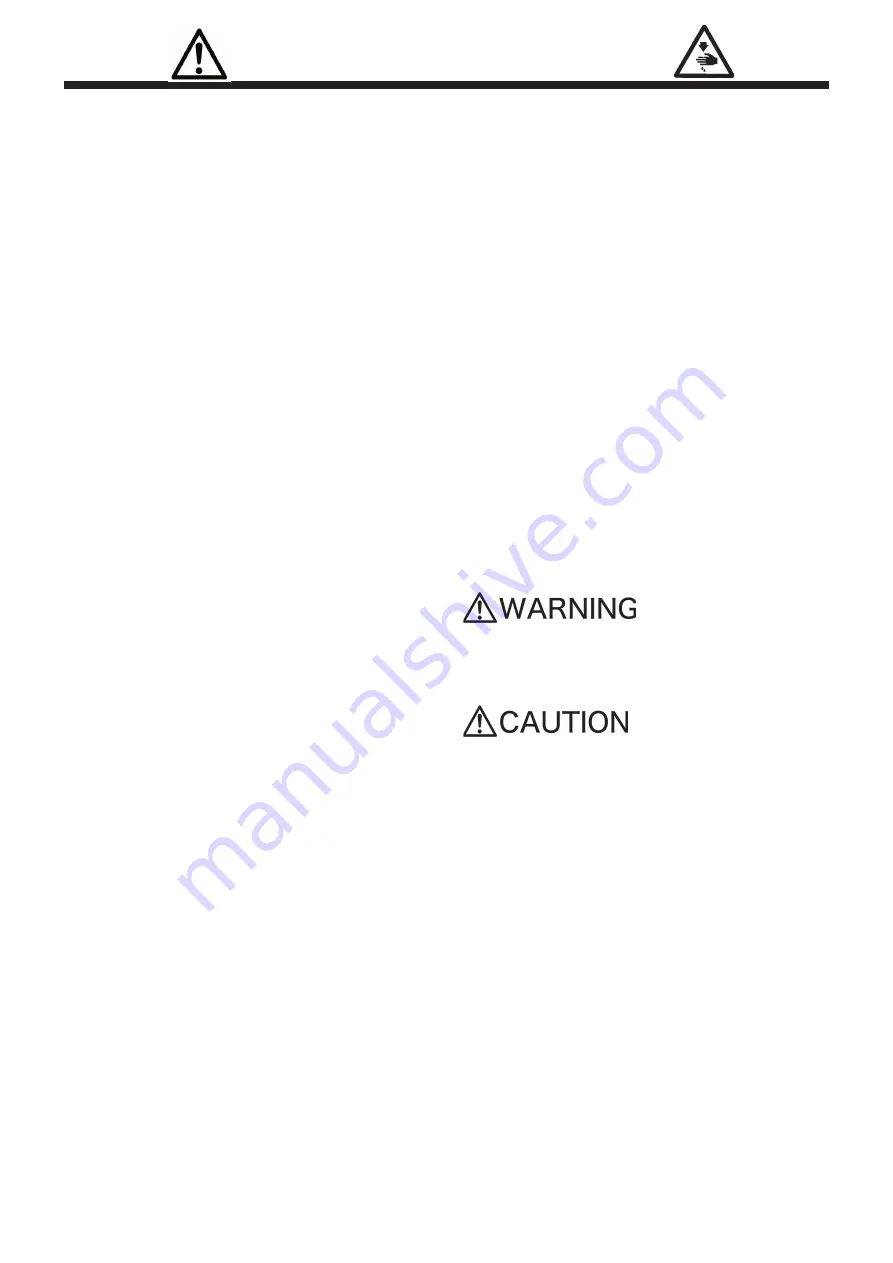
4-1 Meanings of caution signs
WARNING
indicates potentially hazardous situ-
ations which, if not heeded, could result in
death or serious injury to you and others.
Caution
indicates hazardous situations which,
if not heeded, may result in minor or moderate
injury to you and others, or may result in ma-
chine damage.
NOTE
is used to emphasize essential informa-
tion.
(4) When operating a new sewing machine, make
sure the rotating direction of pulley agrees
with the rotating-direction mark.
2-5 During operation
(1) Be sure to operate the sewing machine with
the safeguards such as belt cover, finger
guard, and eye guard.
(2) Never place the finger, hair or objects un
-
der the needle or close to the moving parts
while operating the sewing machine.
(3) Be sure to turn off the power supply switch
when threading or replacing the needles.
(4) Never place your hands close to the knives
when operating the sewing machine with the
trimming devices.
(5) Be sure to turn off the power supply switch
when terminating the sewing work or leaving
the sewing machine.
(6) If the sewing machine malfunctions, abnormal
sound or smell something unusual while oper-
ating, be sure to turn off the power supply
switch.
2-6 Removal
(1) Turn off the power supply switch if removed
or replaced any parts or during adjustment
of sewing machine.
(2) Do not pull the cord when removing the plug.
Be sure to hold the plug itself.
(3) A high voltage is applied inside the control
box. Turn off the power supply switch and
wait more than 5 minutes before opening the
cover.

