


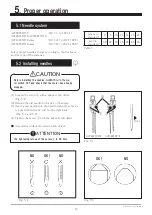


5. Proper operation
17
AZ7000SDR-8, 7500SDR-8
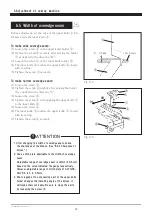
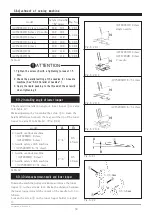
5.8 Adjusting stitch length
The adjustable range of the stitch length is shown in Table
8.
Table 9 shows the number of stitches per inch (25.4 mm)
and 30 mm.
Table 9
Table 8
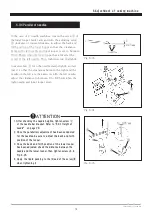
Each graduation on the machine pulley indicates the
length (㎜) for one stitch.
Actual stitch length may different from the length on
graduations. It may changes depending on the application,
type, weight of material or the differential ratio.
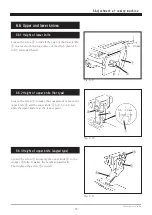
(1) Rotate the pulley while pressing the push button ①. At
the point that the push button can go in, press it again
strongly.
(2) Then align the desired graduation of the pulley with
the mark ② on the belt cover.
(3) Release the push button ①.
● To make stitch length smaller, turn the pulley in the
direction “S”.
● To make stitch length greater, turn it in the direc
-
tion “L”.
Fig. 5-11
Fig. 5-12
①
②
model
stitch length (㎜)
AZ7000SDR-8 class
AZ7500SDR-8 class
( except for below)
1~4
AZ7016SDR-8
0.6~2
stitch length
(㎜)
number of stitch
(per 1 inch)
(25.4㎜)
number of stitch
(per 30㎜)
1
25
30
2
12
15
3
8
10
4
6
7.5
ÃÁÕÔÉÏÎ
Check that push button is released completely and the
pulley rotates smoothly.
Before adjusting, ALWAYS turn the motor switch OFF
and check that the motor has already stopped.
ÃÁÕÔÉÏÎ