Perio
d
ic maintenance an
d
a
d
justment
7-15
7
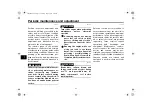
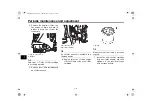
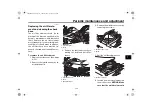
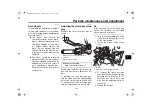
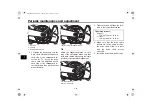
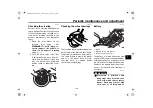
5. Remove the coolant reservoir cap,
add coolant to the maximum level
mark, and then install the reservoir
cap.
WARNING! Remove only
the coolant reservoir cap. Never
attempt to remove the ra
d
iator
cap when the en
g
ine is hot.
[EWA15162]
NOTICE:
If coolant is not
availa
b
le, use
d
istille
d
water or
soft tap water instea
d
. Do not
use har
d
water or salt water
since it is harmful to the en
g
ine.
If water has
b
een use
d
instea
d
of coolant, replace it with cool-
ant as soon as possi
b
le, other-
wise the coolin
g
system will not
b
e protecte
d
a
g
ainst frost an
d
corrosion. If water has
b
een
a
dd
e
d
to the coolant, have a
Yamaha
d
ealer check the anti-
freeze content of the coolant as
soon as possi
b
le, otherwise the
effectiveness of the coolant will
b
e re
d
uce
d
.
[ECA10473]
6. Install the coolant reservoir cover.
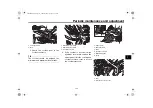
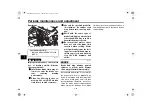
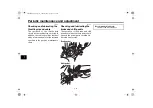
7. Install the left side cowling and
then install the upper panel.
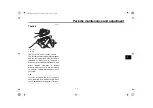
TIP
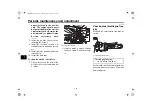
Fit the projections on the cowling into
the holes as shown.
8. Install the left side panel.
EAU33032
Chan
g
in
g
the coolant
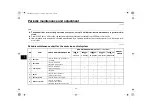
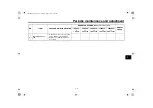
The coolant must be changed at the in-
tervals specified in the periodic main-
tenance and lubrication chart. Have a
Yamaha dealer change the coolant.
WARNING! Never attempt to remove
the ra
d
iator cap when the en
g
ine is
hot.
[EWA10382]
1. Coolant reservoir cap
Coolant reservoir capacity (up to
the maximum level mark):
0.25 L (0.26 US qt, 0.22 Imp.qt)
1
1. Hole
2. Projection
3. Left side cowling
1
3
2
UB7PEZE0.book Page 15 Thursday, May 9, 2019 9:34 AM

