82
PSR-A3000 Owner’s Manual
3
Press the [8
] (START SEARCH) button to start the search.
After the Search is completed, the resulting Records appear in the SEARCH 1
tab of the MUSIC FINDER display. If no Records are listed, try steps 1 – 3
again with another song title or keyword.
4
Use the [2
]/[3
] buttons to select the desired Record.
5
Start playback of the Style by specifying the chords in the chord
section.
As a factory default, some sample Records are provided in the Music Finder. To use the Music Finder function more
conveniently and effectively, we recommend that you download the Records from the Yamaha website, and load
them to this instrument.
1
On the computer, access the following website and download
the Music Finder file (***.mfd) to the USB flash drive connected
to a computer.
http://download.yamaha.com/
2
Connect the USB flash drive which contains the Music Finder
file (***.mfd) to the [USB TO DEVICE] terminal of the instrument.
3
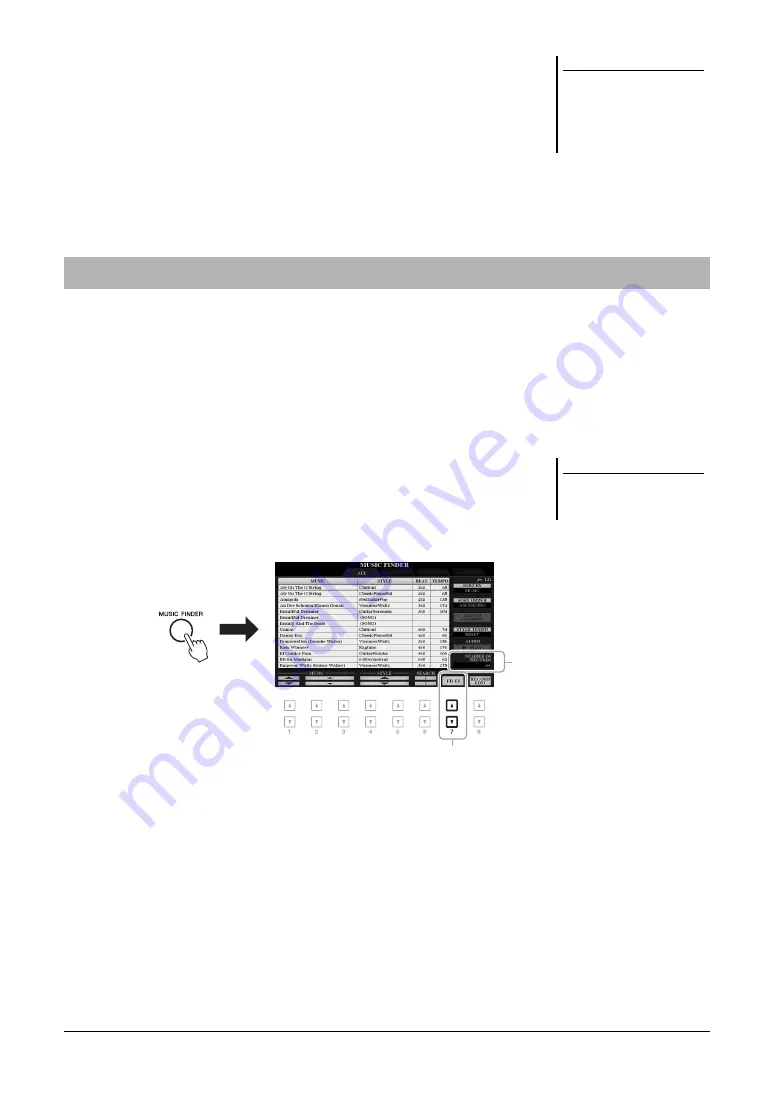
Press the [MUSIC FINDER] button to call up the MUSIC FINDER
display.
4
Use the [7
] (FILES) buttons to call up the File Selection
display.
5
Select the Music Finder file in the USB flash drive by pressing
the [A] – [J] buttons to call up a message prompting you to
select REPLACE or APPEND.
6
Press the [H] (APPEND) button if you want to add Records of
the selected Music Finder file, or press the [G] (REPLACE)
button if you want to replace all Records with the new ones.
NOTE
If you want to maintain the current
search results and start another
search, use the [6
] (SEARCH 2)
button in step 1. (The current search
Records will remain in the SEARCH 1
tab.)
Downloading Records (Panel Settings) from the Website
NOTE
Before using a USB flash drive, be sure
to read “Connecting USB Devices” on
page 95.
4
The number of Records
Summary of Contents for PSR-A3000
Page 100: ...100 PSR A3000 Owner s Manual Memo ...
Page 218: ...Memo ...
Page 220: ......
Page 223: ......


