18
Screen Display
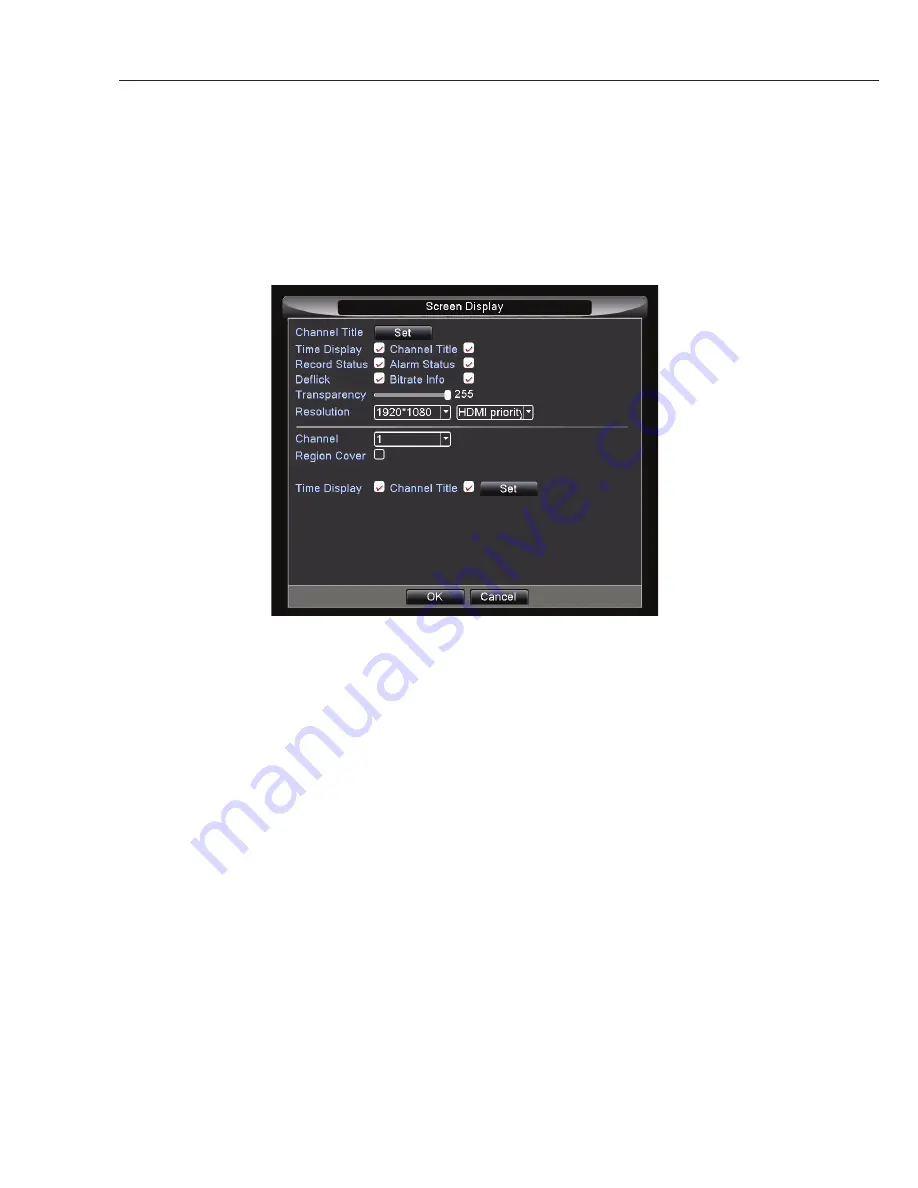
In this menu you will be able to change display size. Here you will also have the ability to change the
display names of the cameras and be able to black out parts of an image for areas you do not wish to
record such as moving trees, main roads etc.
Channel Title: Here you can change the name of each camera which is displayed on the screen from your
DVR. Click Set to bring up a submenu with camera names (default cam 01, 02, 03 ... etc). Common name
changes include GARDEN, DRIVEWAY, FRONTDOOR, SHED, PLAYROOM. Simply Click on the Channel
you wish to change the name of and the on-screen keyboard will appear. Once completed click OK and the
new details will be saved.
Frame Display: Displays live Time and Date
Channel Title: Name you have given to each camera or the default CAM01, CAM02 etc
Record status: Indicates if the DVR is recording the Channel
Alarm status: Indicates if one of the Detection settings have been activated
Transparency: Change opacity of the menu against the background camera picture.
Resolution: Here you can change the display output screen resolution. Please check the resolution
supported by your display. Typical HD 1080 TV via HDMI will support 1920x1080 (best resolutions).
Connecting via VGA cable to a small PC monitor often means it can only support 1024x768 or 1280x1024.
Region Cover: You can black out areas on screen (for privacy reason). Choose a camera/channel and tick
this option. You can now black out a maximum of 4 regions.
Time Display and Channel title positioning: Click set to define positioning of time stamp and title in your
camera image.
Summary of Contents for H48000-960H
Page 7: ...7 ...


