33
Notes on recording
The Yakumo Record Master HDD pauses the recording automatically if no
signal is received from the connected video device. This may occur if, for
example, a DVD player is switched off or there is no cable connection.
If you try to record from an external device which contains a copy protected
DVD/CD, it will not be possible to transfer data to the Yakumo Record Master
HDD. The screen then shows the message: "DISC COPY PROTECTED
PLEASE WAIT...". If this occurs switch the device off and on again.
Automatic recording ("TIMER" menu)
You can programme up to 8 timed recordings with your DVD/HDD
recorder. This is done as follows:
`
Ensure that the time and date are set correctly and if necessary reset them
from SETUP > SYSTEM > Set Time.
`
If you want to record to DVD, insert a pre-formatted DVD+/-R or
DVD+/-RW into the recorder.
`
Check whether there is enough space on the DVD or hard disk.
`
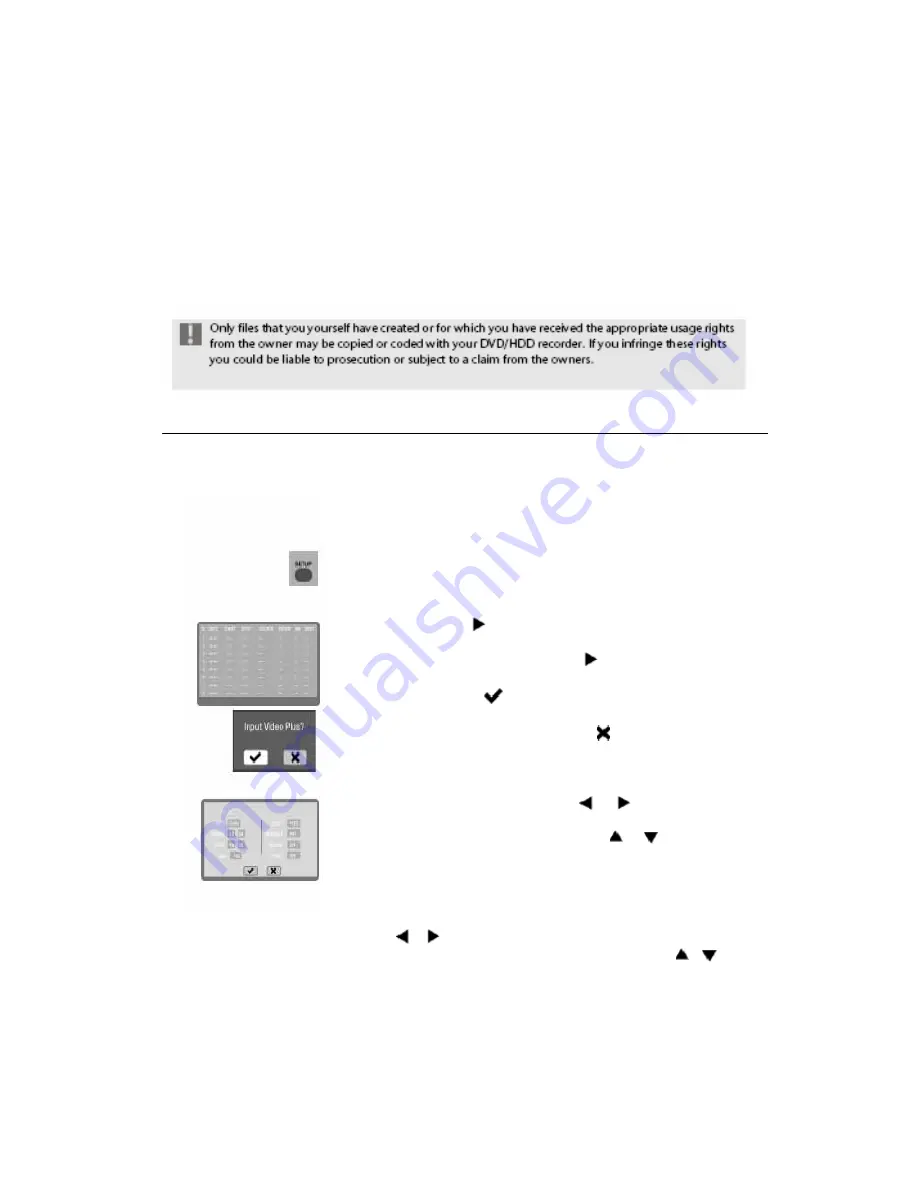
Press SETUP on your remote control to open the setup menu.
`
Select the RECORD menu and confirm the Schedule Record
option by pressing
.
`
Select the first free line if it is not already highlighted.
`
Move the cursor to the date field with the
arrow key. An entry field for
the VIDEO Plus+ system opens.
`
Confirm the entry field
by pressing ENTER in order to move directly
to the VIDEO Plus+ menu. If you do not want to use a VIDEO Plus+
number end the query by confirming the
entry field by pressing
ENTER. With regard to VIDEO Plus+ programming please refer to
Page 36,
“
VIDEO Plus+ programming
”
. Set date for the recording
( DATE)
`
You move from field to field by pressing
or
. Set the day, month
and year using the number buttons.
`
You can select a recording rhythm by pressing
or
. In this case the
recorder does not record on a specific date; instead it takes the time
settings from the stated recording rhythm. The potential recording
settings are: Weekly Sun, -Sat, -Fri, -Thu, -Wed, -Tue, -Mon /
Daily / Mon-Fri.
Set the start time for the recording (START)
`
Use the
or
buttons to move the cursor to the start field.
`
Set the desired start time for the recording by pressing the
or
or the
number buttons.


