80
The following operations can be completed with
the use of an SD card in the transceiver:
● Saving the Memory Channel information
● Saving the Set-up Mode settings
● Transceiver firmware update
● Save a screen capture of the TFT display
•
SD Cards that can be used
YAESU has tested with the 2GB SD card, and
4GB, 8GB, 16GB and 32GB SDHC cards, most
can be used in this radio.
Please format (initialize) the SD card used for the
first time on this unit with this transceiver.
•
The SD or SDHC cards are not provided with
the product.
•
Not all SD and SDHC cards sold commercial-
ly are guaranteed to work with this product.
•
Do not touch the contacts of the SD card with
your hands.
•
SD memory cards formatted on other devices
may not properly save information when used
with this transceiver. Format SD memory
cards again with this transceiver when using
memory cards formatted with another device.
•
Do not remove the SD memory card or turn
the transceiver OFF, while saving data to a
SD memory card is in progress.
•
When a single SD card is used for a long pe-
riod of time, writing and deletion of data may
become disabled. Use a new SD card when
data can no longer be written or erased.
•
Note that Yaesu shall not be liable for any
damages suffered as a result of data loss or
corruption in use of the SD card.
Using the SD Card
•
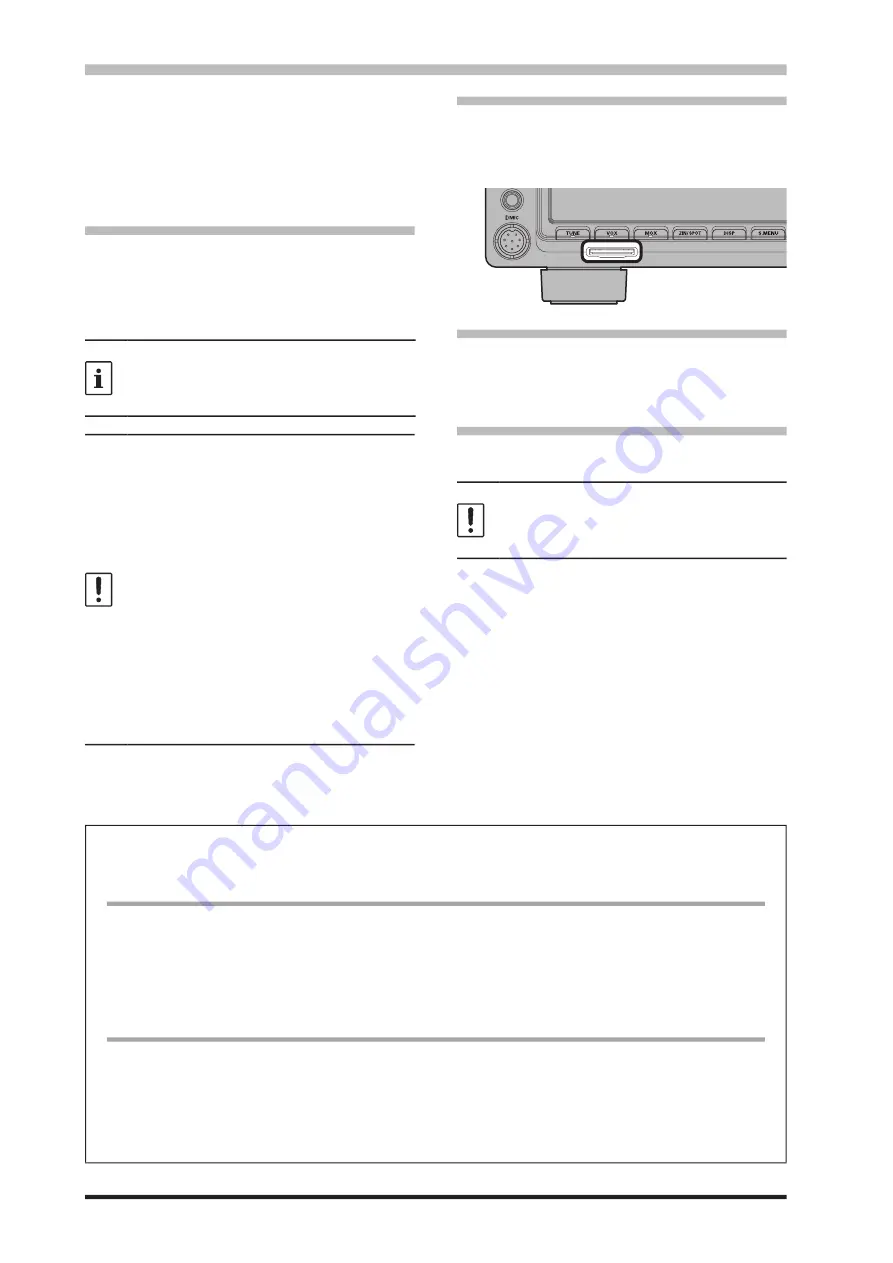
Installing the SD card
1. Turn OFF the transceiver.
Insert the SD card into the SD card slot, with
the contact face on the bottom, until a click
sound is heard.
• Removing the SD card
1. Turn OFF the transceiver.
2. Push in on the SD card.
A click sound will be heard and the SD card
will be pushed outward.
• Formatting a SD card
When using a new SD card, format it according to
the following procedure.
Formatting a microSD memory card erases all
data saved on it. Before formatting the microSD
memory card, be sure to check the data previ-
ously saved on it.
1. Press the [FUNC] key.
2.
Select [EXTENSION SETTING] → [SD
CARD] .
3. Touch “DONE” on the “FORMAT” item.
The format confirmation screen will be
displayed.
4. Touch “START”, the SD card will be initialized.
Touch “BACK” to cancel the initialization.
5. “FORMAT COMPLETED” will be displayed
when initialization is completed.
6. Touch the screen to end formatting.
7. Press the [FUNC] key to exit to normal operation.
Adjusting the Date and Clock
If the time stamp of the saved file is not correct, adjust the date and time by the following operation.
Adjusting the Date
1. Press the [FUNC] key.
2.
Select [EXTENSION SETTING]→ [DATE&TIME].
3. Select the item “DAY", “MONTH or “YEAR”.
4. Rotate the [MULTI] knob to select the “day", “month” and “year", then press the [MULTI] knob.
5. Press the [FUNC] key to save the new setting and exit the Setting Menu.
6. Press the [FUNC] key to exit to normal operation.
Adjusting the Clock
1. Press the [FUNC] key.
2.
Select [EXTENSION SETTING]→ [DATE&TIME].
3. Select the item “HOUR” or “MINUTE”.
4. Rotate the [MULTI] knob to select the “hour” and “minute", then press the [MULTI] knob.
5. Press the [FUNC] key to save the new setting and exit the Setting Menu.
6. Press the [FUNC] key to exit to normal operation.


