background image


Specifications 

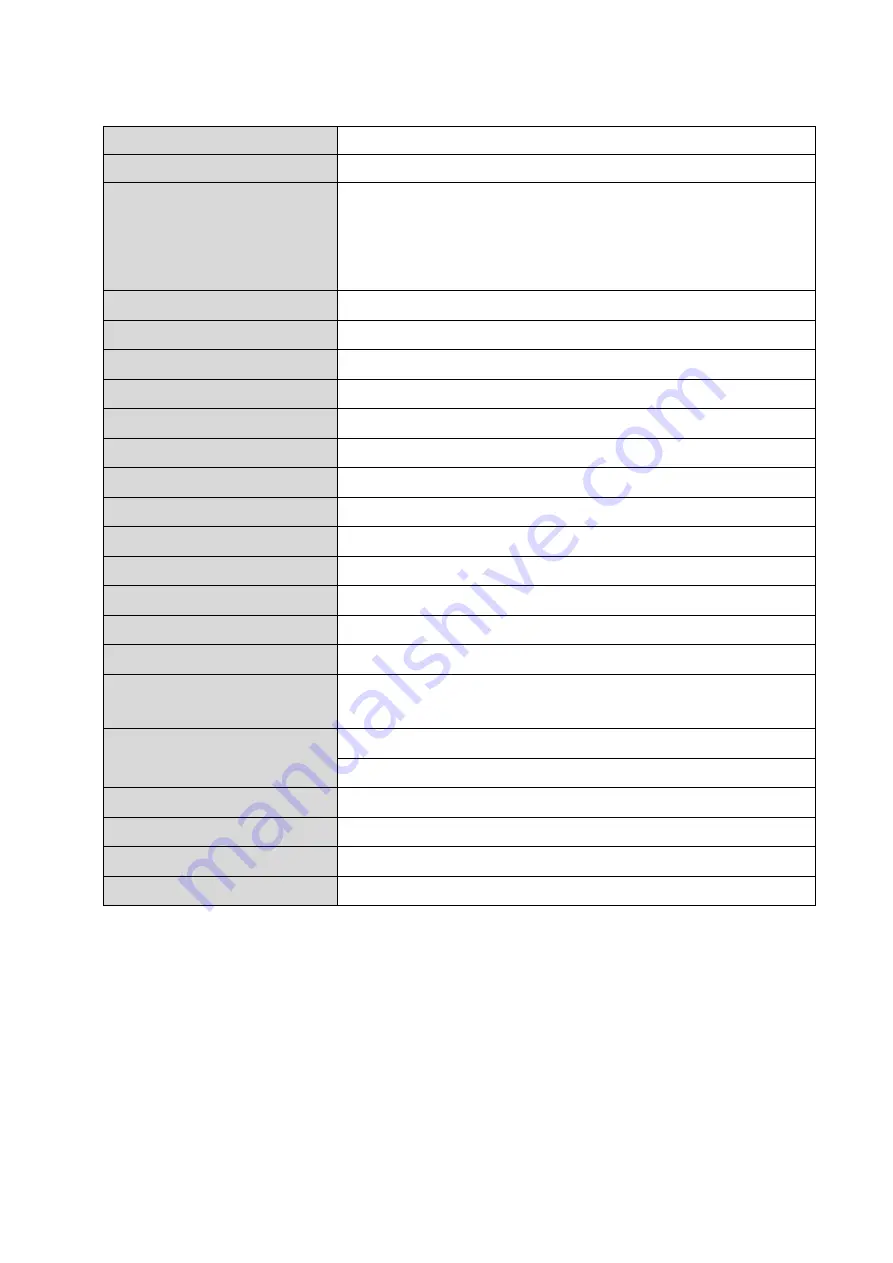
Print technology               

Fused Filament Fabrication( FFF ) 

Max. build area (WxDxH) 

220 x 200 x 200 mm 

Material compatibility 

TPU / Nylon / Premium Metallic PLA / Carbon Fiber / PP GF30 / 
Tough PLA / PETG / ABS / PLA / PC / *PC/ *Carbon PET(PET CF15) 
/ *Carbon Nylon(PAHT CF15)   
*Optional High Temp extruder module


Filament diameter 

1.75 mm 

Layer resolution 

0.05 mm ~ 0.4 mm 

XY positioning precision 

X / Y : 0.0125 mm 

Auto calibration 

Yes 

Filament feeding system 

P-Motor gap adjustment 

Offline printing 

Yes(USB) 

Support 3rd party material 

Yes 

Print head diameter 

0.4 mm 

User interface   


5 inch touch screen 

Print bed       

Heated, removable metal print bed 

Print bed temperature 

40 ~ 110 °C 

Connectivity       

USB 2.0 cable, Wi-Fi dongle, USB flash drive


Printing software 

XYZprint 3 

Supported file formats 

.stl / .3mf / .obj / .igs / .stp / .ply / .amf / .3cp / .iges / .step / 
G-code 

Operating systems 

Microsoft Windows 10 / 11(64-bit) 

macOS 10.14及以上 

Product dimensions (WxDxH)  485 x 532 x 572 mm 

Net weight 

24 kg 

Operating temperature


15 ~ 32  ℃ 

Storage temperature-Filament  10 ~ 40  ℃ 


Summary of Contents for da Vinci Pro EVO

Page 1: ...autions and Instructions of Maintenance Tools P 6 Maintenance and Service P 7 Unpacking and Installation P 7 Unpacking P 7 Hardware Installation P 9 Software Installation P 12 Feed Module Adjustment P...

Page 2: ...demarks All trademarks and registered trademarks are the properties of their respective owners Print History New editions of this manual incorporate new and changed material different from previous ed...

Page 3: ...ot touch or replace parts when they are not cooled down After startup the parts in the machine will heat up or move depending on the user s instructions During product operation do not touch or block...

Page 4: ...uder module 2 Print bed and removable metal print bed 3 5 inch touch screen 4 USB socket USB Port 5 USB socket USB Port 6 USB cable port 7 Power switch 8 Power inlet 9 Feeding motor system 10 Filament...

Page 5: ...bration Yes Filament feeding system P Motor gap adjustment Offline printing Yes USB Support 3rd party material Yes Print head diameter 0 4 mm User interface 5 inch touch screen Print bed Heated remova...

Page 6: ...iliar with the tools to have access to them in case of danger Precautions and Instructions of Maintenance Tools Regular cleaning of the print nozzle facilitates to not only extending service life of t...

Page 7: ...machine is operating please apply grease to protect the machine When the printer needs to be serviced during the term of the warranty it is recommended that the machine is packed with original packag...

Page 8: ...e off the top cover 5 Open the front cover and remove the tapes and cardboard above the front of the printer and the tape below 6 Cut the tape binding the cushions on both sides and remove the cushion...

Page 9: ...metal print bed Accessory 11 on the magnetic bonded print bed Extruder Module Installation Hand Tools L shaped torx Key accessory 16 or T10 Torx Screwdriver Disconnect the power Insert the heated fla...

Page 10: ...nsert the clear tube accessory 9 into another end and be sure to complete this installation in order to press the clear tube down to remove the guide tube in the future Please be sure to complete this...

Page 11: ...printer Put down the filament holder first and place the filament on the spool holder Pull out a section of the filament and insert it into the feed port Note Before pushing the filament into the gui...

Page 12: ...age 1GB above Recommended 20GB 1GB free storage for installation For MAC RAM 8GB Hard disk space 20GB or more Software Installation XYZprint 3 should be installed on the service PC for preparing the f...

Page 13: ...13 Start XYZmaker Suite select and start XYZprint3 to perform printing XYZprint 3 Interface...

Page 14: ...ly If the gear screw of the feed module is too tightly the gear will not be able to push the filament correctly Filament Properties 1 Check the properties of the filament Cut off 15 20cm of filament G...

Page 15: ...ease adjust the clamping force of the gear in order that the filament will be extruded steadily from the print head Clockwise to loosen Middle left General When it is impossible to judge the material...

Page 16: ...il the sound stops and the print head is steadily extruding the filament Clockwise to loosen Middle left If the gear of the feed module is loosened you may execute the adjustment In this case the gear...

Page 17: ...ing keys Function and description 1 USB drive Users may browse the 3D model stored in the USB drive or directly select the 3cp file import it into the printer and carry out printing without importing...

Page 18: ...ion from the USB or select the file 3w file to print 2 Filament You can see filament information on this page Including the Load Unload and Temperature adjustment of the filament 2 1 Load filament Fil...

Page 19: ...nd hold the up key to speed up the feeding Press DONE anytime if you find filament is comes out of print head When the loading operation is complete tap to YES confirm 2 2 Unload filament Filament Unl...

Page 20: ...loaded and unloaded filament Preset temperature value will be imported regardless of the filament system Users may set the temperature values of loaded and unloaded filament by manual according to the...

Page 21: ...printing bed is calibrated perform the vertical calibration of Z offset to ensure the print head can eject onto the printing bed smoothly Wait for the extruder module to automatically move to the adju...

Page 22: ...extruder module or print bed Select Move print head module left and right direction of X axis Select Move extruder module forward and backward direction of Y axis Select Move print bed up and down dir...

Page 23: ...ning temperature before cleaning General extruder module can set within the temperature range of 190 260 optional high temperature extruder module can set within the temperature range of 250 300 a Ins...

Page 24: ...n plugged into the US B port on the top of the printer Click FIND the printer will search for available access points Click the Access Point you want to connect to and enter the access password Wait f...

Page 25: ...f the printer Uptime Display the cumulative time of this use and the total cumulative time after the machine is started and used Nozzle Print Time The time of the installed extruder Display the last p...

Page 26: ...settings one minute three minutes five minutes ten minutes and never 3 7 Language A total of seven languages are supported You can select Settings Languages on the main screen Including English Espa...

Page 27: ...detection system is set On by default When the front cover is opened during printing printing will stop and a reminder message will appear Directly click the button to set it On or Off 3 Dry Filament...

Page 28: ...ilament Abnormal popping sound are heard during printing Uneven discharging with viscosity decreased Poor print strength or adhesion between layers Filament drawing sag and overflow between layers Rou...

Page 29: ...to the adjusted position check the distance between the nozzle and the print bed after positioning and then evaluate the height of Z axis to be adjusted Click the icon on the screen to adjust the up a...

Page 30: ...nt used and wait for the print head to be heated to the cleaning temperature before cleaning General printing module temperature range 190 260 High temperature printing module temperature range 250 30...

Page 31: ...or users may enter the message function operation interface by clicking the icons shortcut keys 7 WiFi Click the WiFi icon on the upper right to quickly enter the wireless transmission settings Before...

Page 32: ...will search for available Wait for the Access Point scanning Access Point Click the Access Point you want to connect to Enter the access Access Point password Wait for the connection Confirm that the...

Page 33: ...oint will be displayed when connection succeeded Invalid connection Disconnect Please confirm that the WiFi Dongle is plugged into the printer Please make sure your passwords match Please confirm that...

Page 34: ...B drive After that you may insert the drive into the USB slot to access the USB printing function Wi Fi Please make sure that the Wi Fi d ongle has been plugged into the US B port on the top of the pr...

Page 35: ...o the computer or download the latest version of XYZmaker Suite from the official website of XYZprinting and install it on the computer Software Interface The main window includes 1 Print 2 Dashboard...

Page 36: ...rry out printing on the Internet Internet printing function is only in printer and computer both need to connect to the same WiFi of using Connect the USB to Pro Evo printer set WiFi connection on the...

Page 37: ...y or replacement of the product please read the safe use instructions of the laser engraving module provided in the user manual carefully and follow the safety precautions Specifications Engraving are...

Page 38: ...e extruder Contact the service center for help 0 0 3 0 X axis go home failed Check the cable of the motor and the sensor and check the position of the sensor If the problem persists please contact cus...

Page 39: ...nto an outlet on a circuit different from that to which the receiver is connected Consult the dealer or an experienced radio TV technician for help XYZprinting is not responsible for any radio or tele...

Reviews: