XPR16H - User Manual
73
Step 1
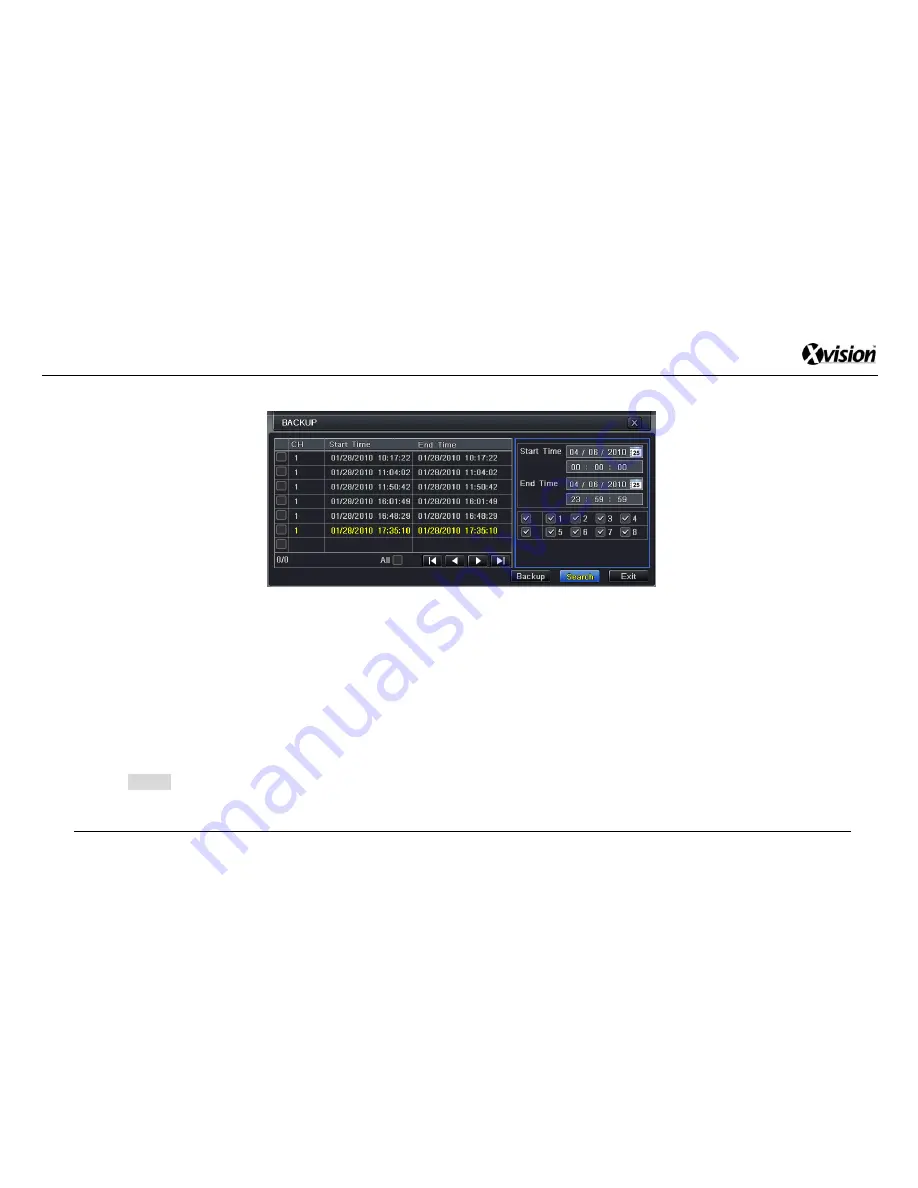
: Go to Main Menu > Backup (refer to Fig 5-4)
Fig 5-4
Step 2:
To select the backup file parameters, users can click the relevant check-boxes to choose which channels and
manually enter
date/time into the “Start Time” and “End Time” fields.
Step 3:
Click the “Search” button to start the search. The search results will be displayed as a list as per the Channel (CH),
Start Time, End Time.
Step 3:
Select the relevant check-boxes from the list that are to be backed up
(select the “All” option to apply the backup to
all items simultaneously)
. Once selected click the “Backup” button and a new information window will pop-up.
Step 4:
In this new window the user can select the relevant check-boxes on the information for backup files (i.e. storage
type, file type etc.). Click the
“Start” button to start the backup process.
Note:
If the monitor’s resolution is set to VGA 800*600, the search interface will appear as a hidden button. Click this
button, to expand the whole interface.
Summary of Contents for XPR16H
Page 1: ...XPR16H Professional 16 Camera 4 CPU D1 H264 DVR USER MANUAL...
Page 34: ...XPR16H User Manual 34 Fig 4 11 Fig 4 12...
Page 78: ...XPR16H User Manual 78 Fig 7 1...
Page 81: ...XPR16H User Manual 81 7 2 The remote live preview interface as below Fig 7 2...
Page 90: ...XPR16H User Manual 90 Fig 7 7...
Page 93: ...XPR16H User Manual 93 Fig 7 9...
Page 98: ...XPR16H User Manual 98 Fig 7 12...
Page 110: ...XPR16H User Manual 110 Fig 8 34 Fig 8 35 Fig 8 36...
Page 115: ...XPR16H User Manual 115 Fig A 1 Fig A 2 Fig A 3...


