USING
Prior To Operation
1. Power source check
Ensure that the power source to be utilized conforms to the power requirements specified on the
product nameplate.
2. Switch status check
Ensure that the power switch is in the OFF position. If the plug is connected to a power receptacle
while the power switch is in the ON position, the power tool will start operating immediately,
which could cause a serious accident.
3. Extension cord
When the work area is removed from the power source, use an extension cord of sufficient
thickness and rated capacity. The extension cord should be kept as short as practicable.
Assembly
Before any work on the power tool itself, pull the mains plug
.
1.
Auxiliary handle
Operate your power tool only with the auxiliary handle.The auxiliary handle can be set to any
position for a secure and low-fatigue working posture. Turn the bottom part of the auxiliary handle
in counterclockwise direction and swivel the auxiliary handle to the desired position. Then retighten
the bottom part of the auxiliary handle by turning in clockwise direction.Pay attention that the band
of the auxiliary handle is positioned on the front housing as intended for.
2. Mounting tool bits
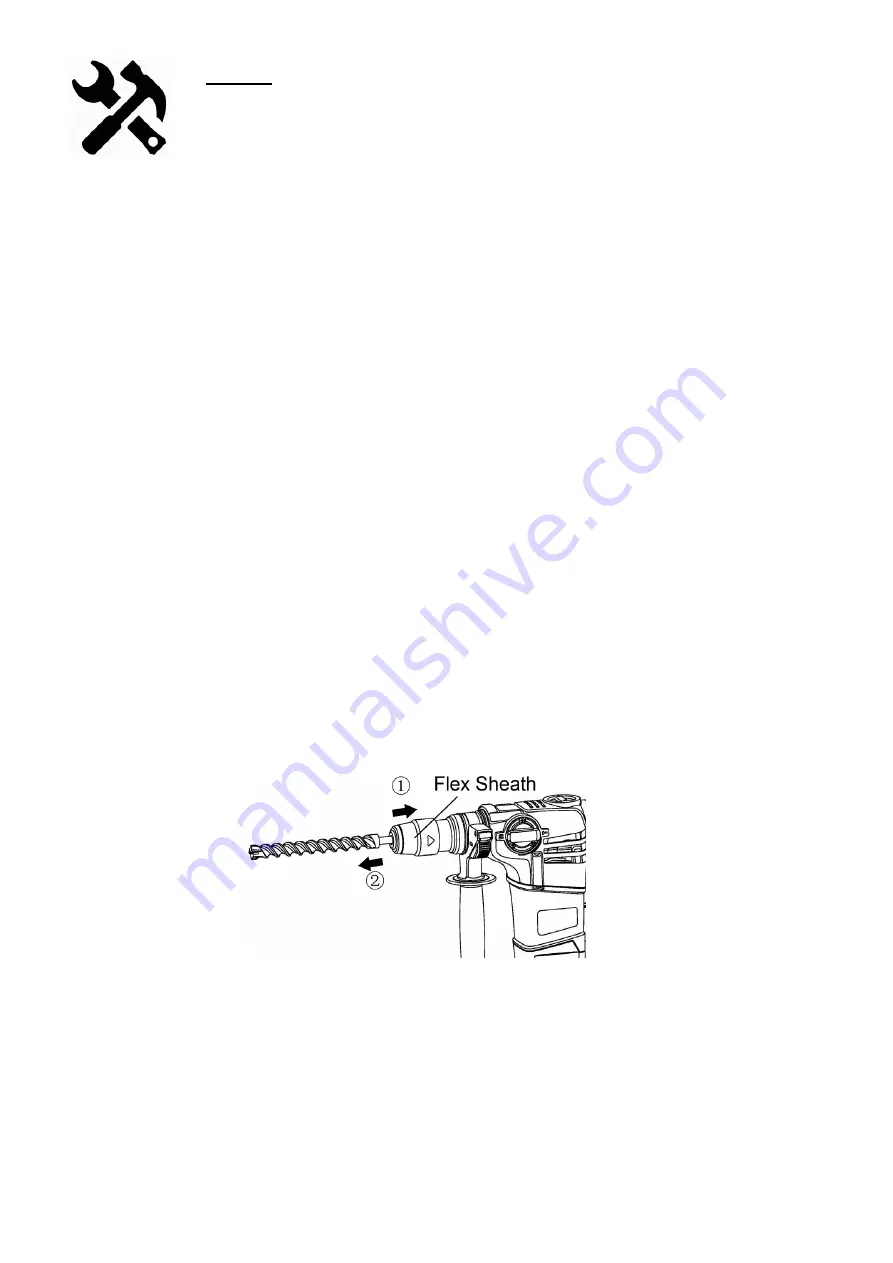
Clean and lightly grease the shank end of the tool. Insert the bit into the tool. Turn the bit with slight
pressure, you can feel a spot where there is a hitch. At that spot, Pull the Flex sheath down a couple
of times, and push it in until it engages. Pull the drill bit to make sure it is locked completely.
Removing bit
To remove the bit, pull the flex sheath down all the way and pull the bit.
3.
Install the Orientation Staff Gauge
- Press the locked push button and keep it depressed. insert the staff gauge into the mounting
hole on the side handle.
- Adjust the drilling depth as shown. Release the locked pushbutton


