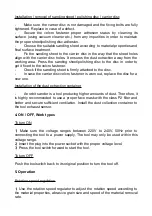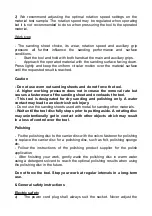
Installation / removal of sanding sheet / polishing disc / carrier disc
-
Make sure the carrier disc is not damaged and the fixing bolts are fully
tightened. Replace in case of a defect.
-
Secure the velcro fastener proper adhesion status by cleaning its
surface (using vacuum cleaner etc.) from any impurities in order to maintain
the proper sheet/polishing disc adhesion.
-
Choose the suitable sanding sheet according to material properties and
final surface treatment.
-
Fix the sanding sheet to the carrier disc in the way that the sheet holes
align with the carrier disc holes. It ensures the dust extraction away from the
working area. Press the sanding sheet/polishing disc to the disc in order to
get it fixed to the velcro fastener.
-
Check if the sanding sheet is firmly attached to the disc.
-
In case the carrier disc velcro fastener is worn out, replace the disc for a
new one.
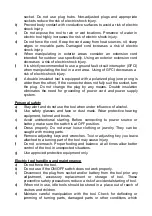
Installation of the dust extraction container
-
An orbit sander is a tool producing higher amounts of dust. Therefore, it
is highly recommended to use a proper face mask with the class P2 filter and
better and secure sufficient ventilation. Install the dust collection container to
the tool exhaust sensor.
4. ON / OFF, Work types
To turn ON
1) Make sure the voltage ranges between 220V to 240V, 50Hz prior to
connecting the tool to a power supply. The tool may only be used within this
voltage range.
2) Insert the plug into the power socket with the proper voltage level.
3) Press the tool switch forward to start the tool.
To turn OFF
Push the tool switch back to its original position to turn the tool off.
5. Operation
Rotation speed regulation
1) Use the rotation speed regulator to adjust the rotation speed according to
the material properties, abrasive grain size and speed of the material removal
rate.
Summary of Contents for R0-001
Page 7: ...Rozkres ...
Page 9: ......

