


XtendLan G.SHDSL.bis Router XL-GRT402S, XL-GRT404S, User Manual
•
Name
- name of LAN service that the security interface is based on
•
Type
of network connection specified
•
NAT
setting. It contains hyperlinks that allow you to configure NAT. See
Configuring NAT
•
Delete Interface...
hyperlink. Click on this to display the
Security: Delete Interface
page. Check the interface details, then click on the
Delete
button.
Configuring NAT
To configure NAT, you need to:
1.
Enable Security; see
Enabling Security
section.
2.
Create at least two different security interface types based on existing LAN services;
see
Configuring security interfaces
section
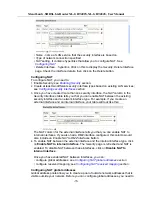
3.
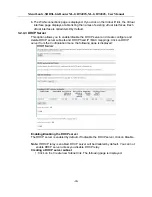
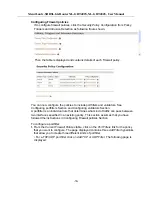
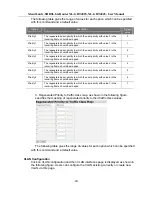
Once you have created more than one security interface, the
NAT
column in the
Security Interfaces
table tells you that you can enable NAT between the existing
security interface and a network interface type. For example, if you create an
external interface and an internal interface, your table will look like this:
The NAT column for the external interface tells you that you can enable NAT to
internal interfaces. If you also had a DMZ interface configured, this column would
also include an
Enable NAT to DMZ interfaces
button.
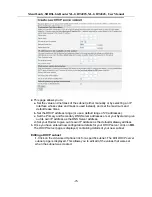
4.
To enable NAT between the external interface and the internal interface type, click
on
Enable NAT to internal interface
. The
Security
page is refreshed and NAT is
enabled. To disable NAT between these interfaces, click on
Disable NAT to
internal interface
.
Once you have enabled NAT between interfaces, you can:
• configure global addresses; see
Configuring NAT global addresses
section
.
• configure reserved mapping; see
Configuring NAT reserved mapping
section
.
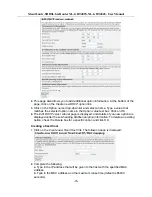
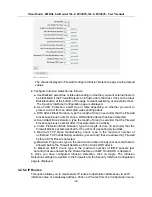
Configuring NAT global addresses
Global address pools allow you to create a pool of outside network addresses that is
visible outside your network. Before you can configure global addresses, you need to
-35-