background image

X|Smart™ Users Manual

Page 17

X Stream Designs, Inc.

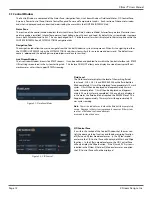
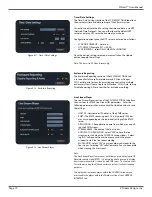
Display

The Display Status con

fi

guration section allows the user to enable 

or disable Status Pane status readings, enable or disable displaying 

the Power Usage and Temperature Graphs and choose the display 

units for temperature - Fahrenheit or Celsius.

To disable displaying of a status parameter, mouse click on the 

check mark under the Display header.   To Enable displaying a 

status parameter, mouse click in the empty box  and a check mark 

will appear indicating that displaying of the parameter is enabled.  

After enabling or disabling a status display parameter, mouse click 

the update button.

Figure 4.6 - Display 

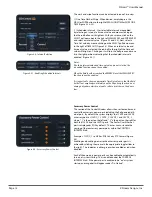
4.2 SYSTEM SETTINGS Tab

Under the SYSTEM SETTINGS tab, you will 

fi

nd System, Network Settings, User Password, Authentication, Time/Date Settings, En-

closure Reporting and Live Stream Player con

fi

guration sections.  Each section and the con

fi

guration options are explained below 

in detail.

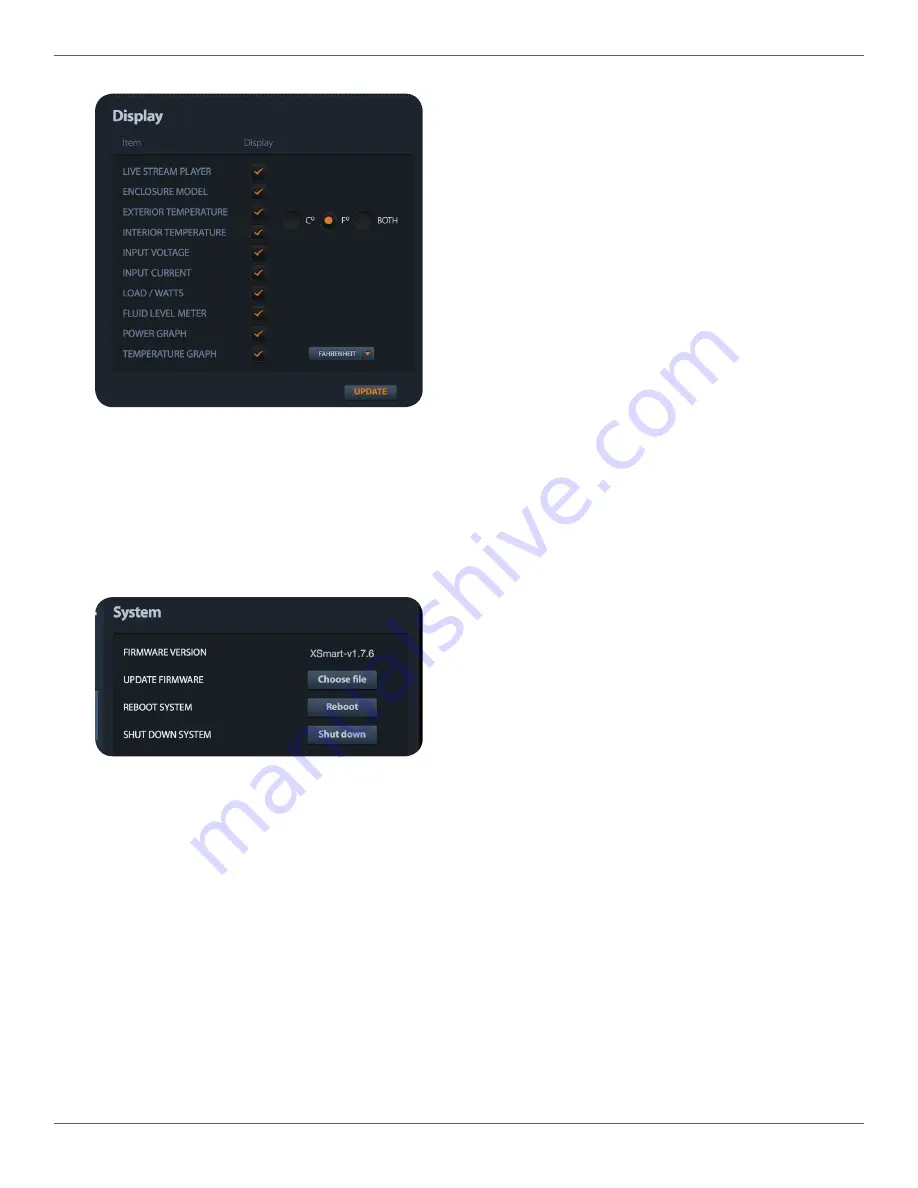
Figure 4.7 - System

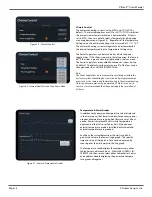
System

The System section of the SYSTEM SETTINGS displays the current 

Firmware Version and allows the user to update the 

fi

rmware, 

reboot the X|Smart system and Shutdown the enclosure system.

To update the system 

fi

rmware, mouse click on the Choose 

fi

le but-

ton, browse your computer 

fi

les for the 

fi

rmware update 

fi

le and 

select OK.  The system uploads the update 

fi

rmware 

fi

le and aut-

matically updates the system 

fi

rmware.   Contact X Stream Designs 

support for updated 

fi

rmware.

To Reboot the system, click on the Reboot button and con

fi

rm your 

reboot intensions when the con

fi

rmation window appears.

To properly shutdown the X|Smart system, click on the Shutdown 

button and con

fi

rm your shutdown intensions when the con

fi

rma-

tion window appears.

Note:

The X|Smart system is based on a linux operating system.  As such, to 

power down the enclosure system, it is highly recommended to prop-

erly shutdown the system by using the Shutdown button.   Failure to do 

so has been known to result in lost con

fi

guration settings.

Summary of Contents for XSmart PSP

Page 1: ...X Smart PSP Users Manual Revision 1 2...

Page 2: ...ures 7 1 2 Applications 8 1 3 Accessory Power Connections Indicators 8 1 4 Accessing the X Smart Web Interface 9 1 5 Good Wiring Practices 9 Section 2 Network Connection 10 Control Window 3 Overview 1...

Page 3: ...urchaser of this product X Stream Designs Inc assumes no responsibility for any errors that may appear in this document Whereas reasonable effort has been made to make the information in this document...

Page 4: ...s In such case freight and insurance shall be paid by the Customer MAKING A WARRANTY CLAIM 1 Customer must inform X Stream Designs as soon as the warranty claim arises by calling 1 858 768 2992 or sen...

Page 5: ...e X Smart system and access other devices on your local network As with any device installed on a network appropriate security precautions should be observed If the X Smart system is installed on the...

Page 6: ...sory power ports It can be controlled and or monitored over any IP network including private networks and the Internet Using a web browser users can control the dome wiping and cleaning process check...

Page 7: ...he user 3 available ports after populating the up link port with your network connection The 5th port connects to the integrated Linux embedded controller Power Supply Fans 2 Integrated into the power...

Page 8: ...cator LED which illuminates when power is available on the port 2 24VDC Accessory Power Ports The X Smart system has two 24VDC accessory power ports Each port is individually controlled on off via the...

Page 9: ...order to access the system from outside of your local network 1 5 Good Wiring Practices CAUTION MAKE SURE THAT POWER IS COMPLETELY OFF BEFORE WIRING MIS WIRING OR MIS CONFIGURATION COULD CAUSE PERMANE...

Page 10: ...This can be done direct or through a network switch Figure 2 1 2 It is suggested that no other devices are connected to the network if connecting through a switch to avoid potential IP Address confli...

Page 11: ...hin the control window that you monitor power and temperatures control the CID washing and wiping functions and power on and off accessory power ports The system by default does not require a username...

Page 12: ...Control Interface tab RTMP URL setttings are entered in the System Settings tab This feature DOES NOT allow you to display live video from typical IP net work cameras unless they support RTMP streami...

Page 13: ...id bottle is not emptied pre maturely and the Wipe Every function is not wiping a dry dome which can lead to surface scratches on the dome lens Figure 3 3 Interval Selection Page 13 X Stream Designs I...

Page 14: ...Control The enclosure heating system is set to AUTO and 10 C 50 F by default The selectable options are OFF or AUTO If OFF is selected the Internal Heater Lower Limit value is not selectable If Heat i...

Page 15: ...d date in the Status Pane Simply enter the desired text into the text input box and mouse click the update button The user has the option to display or not display the System Name field in the status...

Page 16: ...To enter a hyperlink URL for quick web access to accessory power port devices click on hyperlink icon to the left of the Custom Name text input box Figure 4 4 1 A window will appear Figure 4 4 2 allo...

Page 17: ...d the configuration options are explained below in detail Figure 4 7 System System The System section of the SYSTEM SETTINGS displays the current Firmware Version and allows the user to update the fir...

Page 18: ...network settings of the X Smart_PSP sys tem It is suggested to contact the administrator of your network for these settings prior to changing these settings and connecting to your network Selecting DH...

Page 19: ...e Stream Player The Live Stream Player section of the SYSTEM SETTINGS tab allows the user to enter RTMP Live Stream URI parameters Enter the following parameters then mouse click the Update button to...

Page 20: ...Lens XSD RDL Replacement Fixed Dome Lens Replacement Fixed Dome Lens XSD FDL XSD Camera Mounting Plate XSD Camera Mounting Plate XSD CMP XSD _L Extended Camera Mounting Tray Convert your X Model short...

Reviews: