24
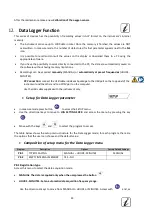
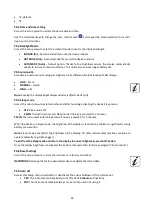
indicated by the icon
, change the value of the acquisition time. Confirm the setting with the key
.
•
Use of automatic Data Logger
•
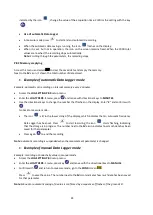
In measure mode press
to start and end automatic recording.
•
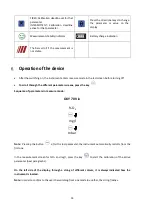
When the automatic data saving is running, the icon
flashes on the display.
•
When it is set, but not in operation, the icon on the screen remains fixed. When the 1000 total
values are reached, the recording stops automatically.
Note:
Scrolling through the parameters, the recording stops.
P8.2 Memory emptying
Access this menu and select
YES
to clear the saved data and empty the memory.
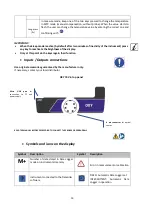
Next to the
M+
icon. It shown the total number of data stored.
•
Example of automatic Data Logger mode
Example: automatic pH recording on internal memory every 2 minutes
•
Access the
LOG SETTING P8.0
setup menu.
•
Enter the
LOG TYPE P8.1
menu, press
and move with directional keys to
MINUTES
.
•
Use the directional keys to change the number that flashes on the display. Enter "
2
" and confirm with
.
Go back to measure mode
.
•
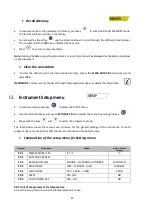
The icon
is lit in the lower string of the display, which indicates that an automatic frequency
Data Logger has been set. Press
to start recording; the icon
starts flashing, indicating
that the storage is in progress. The number next to the
M+
icon indicates how much data has been
saved for that parameter.
•
Press again
to end the recording.
Note
: automatic recording is suspended when the measurement parameter is changed.
•
Example of manual Data Logger mode
Example: recording a Conductivity value in manual mode
•
Access the
LOG SETTING P8.
0 setup menu.
•
Enter the
LOG TYPE P8.
1 menu, press key
and move with the directional keys to
MANUAL
.
•
Confirm with
and return to measure mode, go to the
COND
screen
.
Press
to save the value. The number next to the
M+
icon indicates how much data has been saved
for that parameter.
Note
: Manual or automatic saving of a value is confirmed by a sequence of flashes of the green LED


