XNET User Manual
69 /
71
2
2
.
.
9
9
.
.
3
3
.
.
P
P
R
R
I
I
V
V
A
A
C
C
Y
Y
M
M
A
A
S
S
K
K
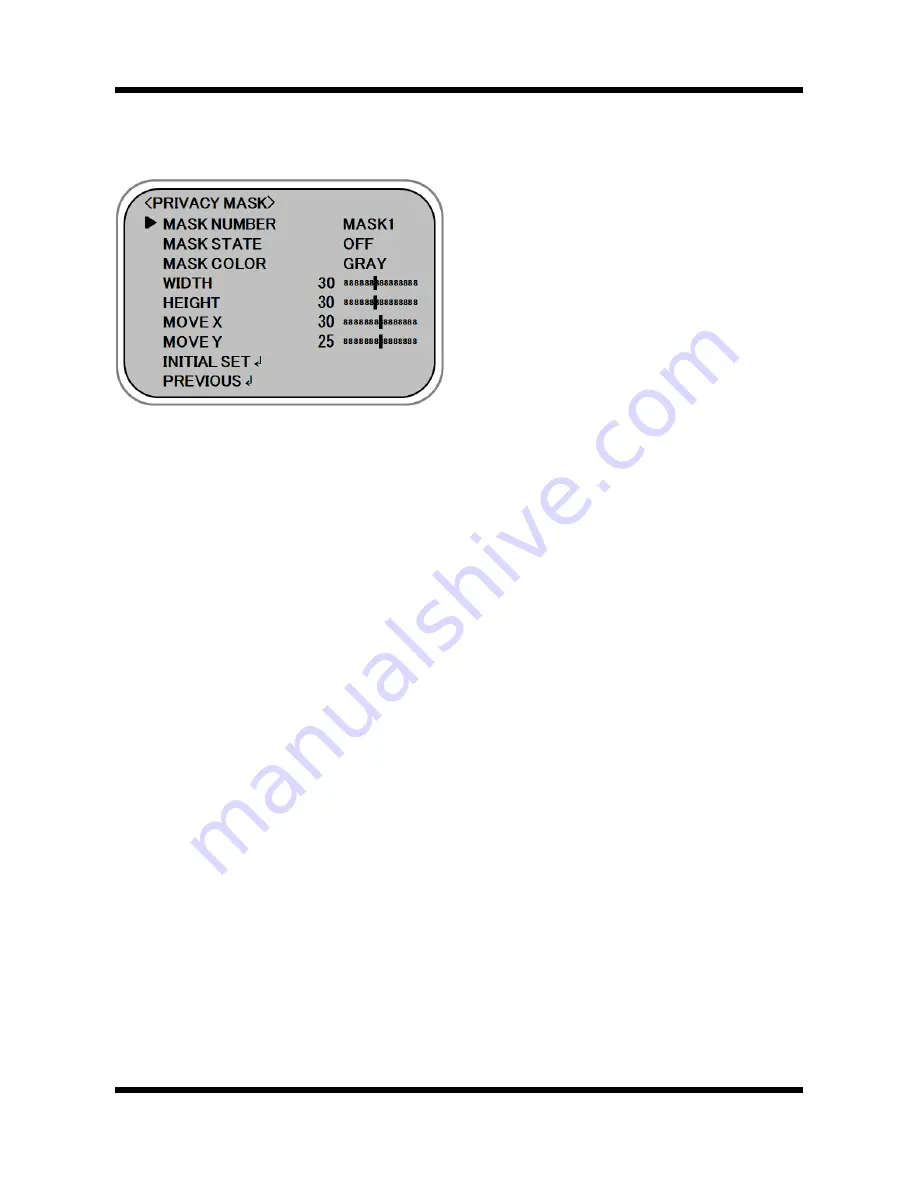
Select “PRIVACY MASK” using the UP or DOWN button. To use privacy mask function, Select “ON” using the
LEFT or RIGHT button and then press the MENU button.
1) MASK NUMBER
Select “MASK NUMBER” using the UP or DOWN button. You can select up to 8 MASK areas using the LEFT or
RIGHT button.
2) MASK STATE
Select “PRIVACY STATE” using the UP or DOWN button. As you select one of the “ON” / “OFF” using LEFT or
RIGHT button, Determines whether or not to use the selected MASK area.
3) MASK COLOR
Select “MASK COLOR” using the UP or DOWN button. You can select between “GRAY”, “WHITE”, “RED”,
“GREEN”, “BLUE”, “YELLOW”, “BLACK” using the LEFT or RIGHT button.
4) WIDTH
Select “WIDTH” using the UP or DOWN button. You can enlarge or decrease the horizontal size of the
selected MASK area by using the LEFT or RIGHT button. [4 ~ 100]
5) HEIGHT
Select “HEIGHT” using the UP or DOWN button. You can enlarge or decrease the vertical size of the selected
MASK area by using the LEFT or RIGHT button. [4 ~ 100]
6) MOVE X
Select “MOVE X” using the UP or DOWN button. You can move horizontal position of the selected MASK area
by using the LEFT or RIGHT button. [2 ~ 98]
7) MOVE Y
Select “MOVE Y” using the UP or DOWN button. You can move vertical position of the selected MASK area by
using the LEFT or RIGHT button. [2 ~ 98]


