Technical Support US: 888-443-2751
Technical Support INTL: 316-943-2751
82
3. Press & hold the <FUNC> key until <
d001
>
displays.
4. Use the Up/Down arrows to reach <
F001
>.
5. Press the <FUNC> key one (1) time. A frequency will display according to the switches that
are ON per the chart below.
6. Turn all oven switches OFF. The display should read <
0.0
>.
7. Turn ON the oven switches to be set. For example, both Top and Bottom ovens, or Top oven
only, or Bottom oven only, etc.
8. Press the Up/Down arrows until you reach the desired initial settings.
9. Press the <STR> key once to store the new setting.
10. Repeat steps 6-8 for additional settings as needed.
11. When finished, turn all of the oven switches to the OFF position.
12. Press the <FUNC> key until <
d001
> appears in the display.
13. Press the <FUNC> key one more time. The actual frequency will appear in the window
display.
14. Press the <STR> key one time to store the values.
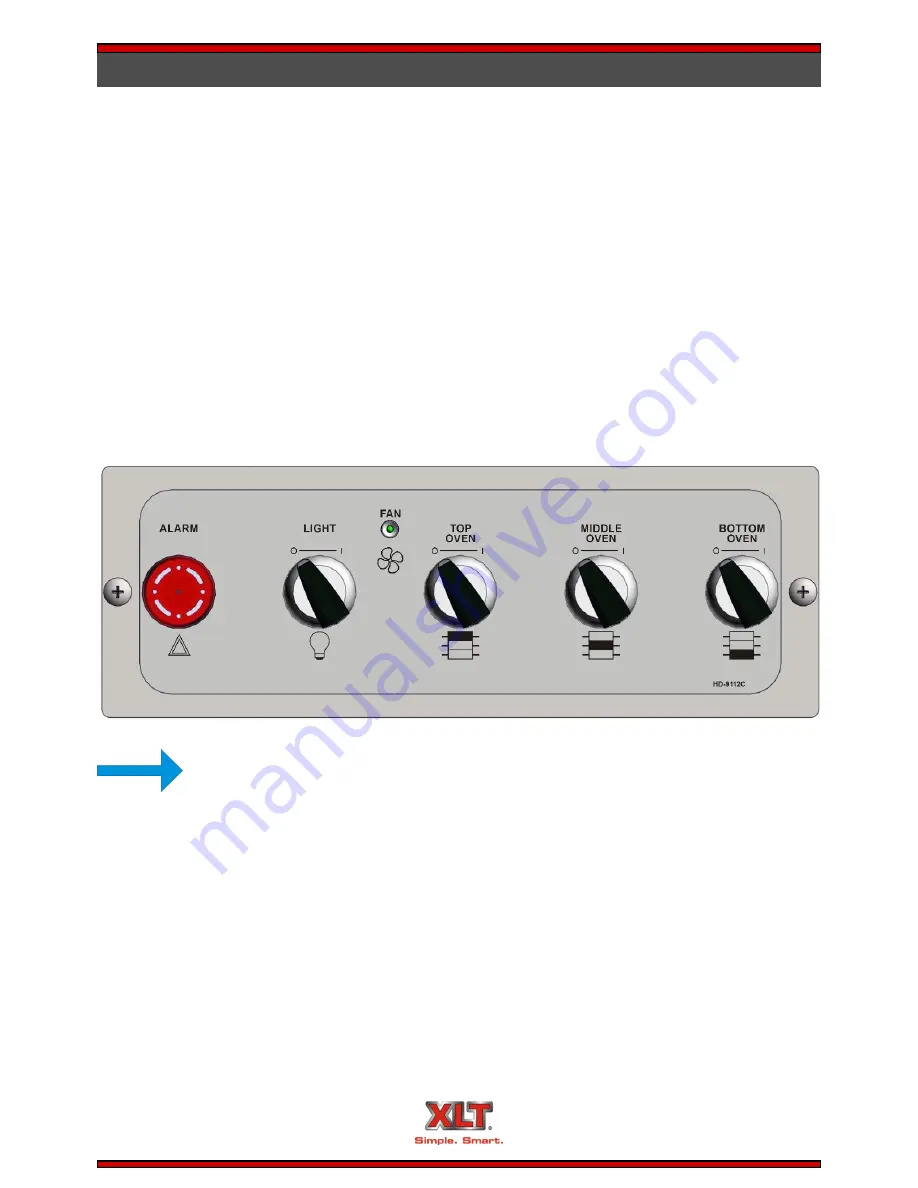
HOOD OPERATOR CONTROLS
The control switches are located on the front of the hood.
1. Turn the light switch on. (Bulbs not included with hood)
2. Turn the desired oven switch on. Refer to the Oven start-up section for instructions on how to
adjust temperature and conveyor speed. The oven(s), exhaust fan, and make-up air unit will be
activated by this switch if the AVI Hood is installed according to this manual.
3. When additional oven switches are turned on, the VFD will automatically increase the exhaust
fan speed.
4. When shutting down the ovens, turn the desired oven switch off. The make-up air unit will
shut off. The ovens and exhaust fan will shut off after about 30 minutes. Refer to the Oven
shutdown section for instructions.
5. Do not press the <STOP/RESET> key on the Variable Frequency Drive itself. The RUN and
POWER LED should stay lit all of the time.
Hood Operation
NOTE
When XLT Ovens are outfitted with AVI Hoods, the main switch on the oven is dis-
abled and no longer operates. The switch on the AVI Hood overrides the oven switch.


