


3 Navigating with XSG2
You can set up your route in the XSG2 in several ways:
if you need a simple route (a route with only one destination, without any intermediate via
points), you can select the destination and start navigating to it right away
you can plan a multi-point route
you can also plan a route independently of your current GPS position or even without GPS
reception
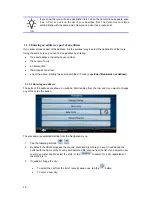
3.1 Selecting the destination of a route
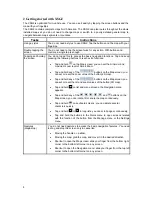
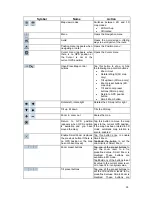
XSG2 offers you several ways of choosing your destination and via points (intermediate destinations):
Use the selected location on the map (the Cursor) (page 21).
Enter a full address or a part of an address, for example a street name without a house number
or the names of two intersecting streets (page 22).
Enter an address with ZIP code (page
Error! Bookmark not defined.
). This way you do not
need to select the name of the city and the search for street names might be faster as well.
Use
a
coordinate (page
Error! Bookmark not defined.
)
Use a saved location:
a
Favorite (page
Error! Bookmark not defined.
)
a
POI (page
Error! Bookmark not defined.
)
the
History of previously set destinations and waypoints (page
Error! Bookmark not
defined.
)
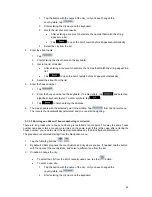
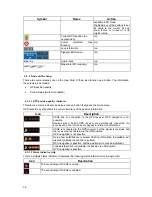
Tip!
If you are going to use a route later, save it before you start navigating. Tap the
following buttons:
,
,
.
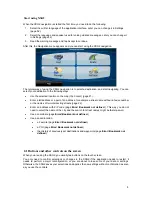
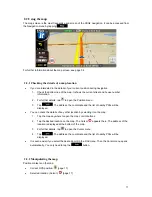
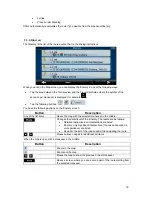
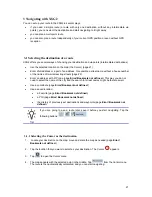
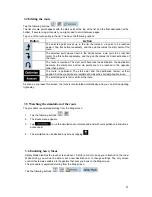
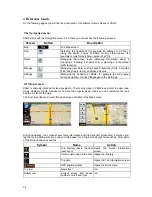
3.1.1 Selecting the Cursor as the destination
1. Locate your destination on the map: move and scale the map as needed (page
Error!
Bookmark not defined.
).
2. Tap the location that you want to select as your destination. The Cursor
appears.
3. Tap
to open the Cursor menu.
4. The map appears with the selected point in the middle. Tap
from the Cursor menu.
The route is then automatically calculated, and you can start navigating.
21


