


5.2
U s e r G u i d e
S C A N U S I N G P R E S E T 1
Scan Using Preset 1
Your WorkCentre is set up with five presets. A
preset is a programmed setup that allows you to
scan using preferred settings. (For example, if
you make frequent scans of color pictures, you
might set up one of the presets to scan to your
favorite photo application).
Two of the presets, scan and fax, are factory
default settings. When you select preset 1, your
image scans and the ControlCentre - Pagis Inbox
application opens automatically on your PC.
When you select preset 2, your image scans and
the QuickLink III PC Fax application opens.
Scanning using preset 1:
Place your original face-down on the document
glass.
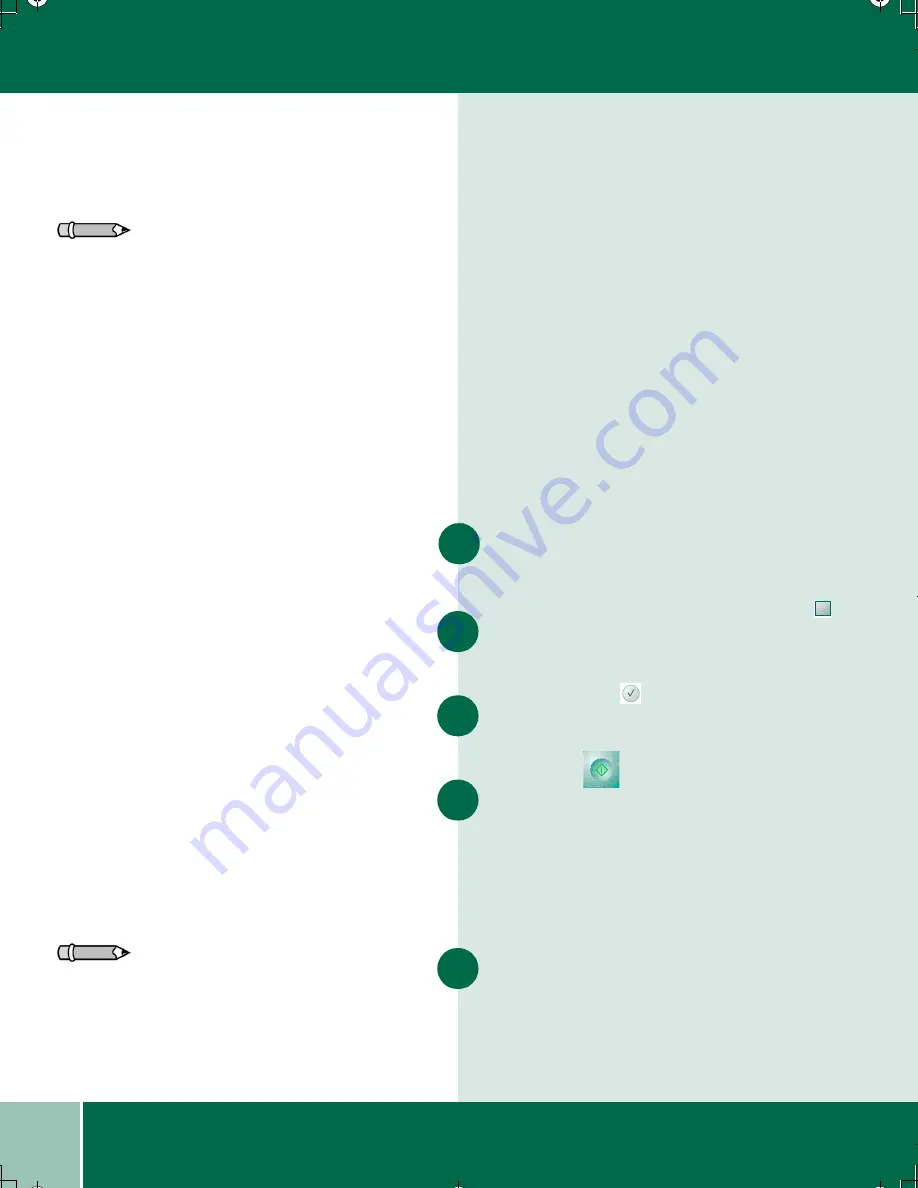
On the control panel, press the
Scan Mode
button. The display reads, "Scan using: Preset 1."
Press the
Select
button. A check mark
appears next to preset 1 to show that it is selected.
Press
Start
. The Scan Status window
displays and the original scans. Pagis Scan Tool -
Scanner opns on your PC. You can select
Properties to change color and resolution,
brightness, and page size. The scan appears in the
Pagis Scan Tool - Scanner window.
If you want to scan more pages, click
More
Pages
. When finished, click
Save
.
Note: How to set presets is covered in chapter 4 of
this guide, "Customizing your WorkCentre."
1
2
3
4
5
Note: For more information about using the
ControlCentre - Pagis Inbox, in the WorkCentre -
Pagis Inbox, select Help>Pagis User’s Guide.
00-ugm940.book Page 2 Monday, July 31, 2000 3:20 PM


