


Getting started
3-3
Date en cours : 29 March 2005
C:\Documents and Settings\G092899\Bureau\MFF LU 252032677A WorkCentre222-228_Australie\03_PriseEnMains GB.fm
The display screen
The screen has two lines of 16 characters.
The cursor shows the line you selected.
For menus with more than two choices, use the arrows
or
of the navigator to obtain the
next (hidden) lines of the menu (3,4, etc.).
A
CCESS
TO
FUNCTIONS
Access to functions may be achieved in two ways.
• Menu-driven access.
• Direct function access.
Menu-driven access
You can print the guide to find out the number of a function by pressing
the key or by
scrolling through the menus, as indicated below.
Press the
key, the functions menu appear
.
Confirm your entry.
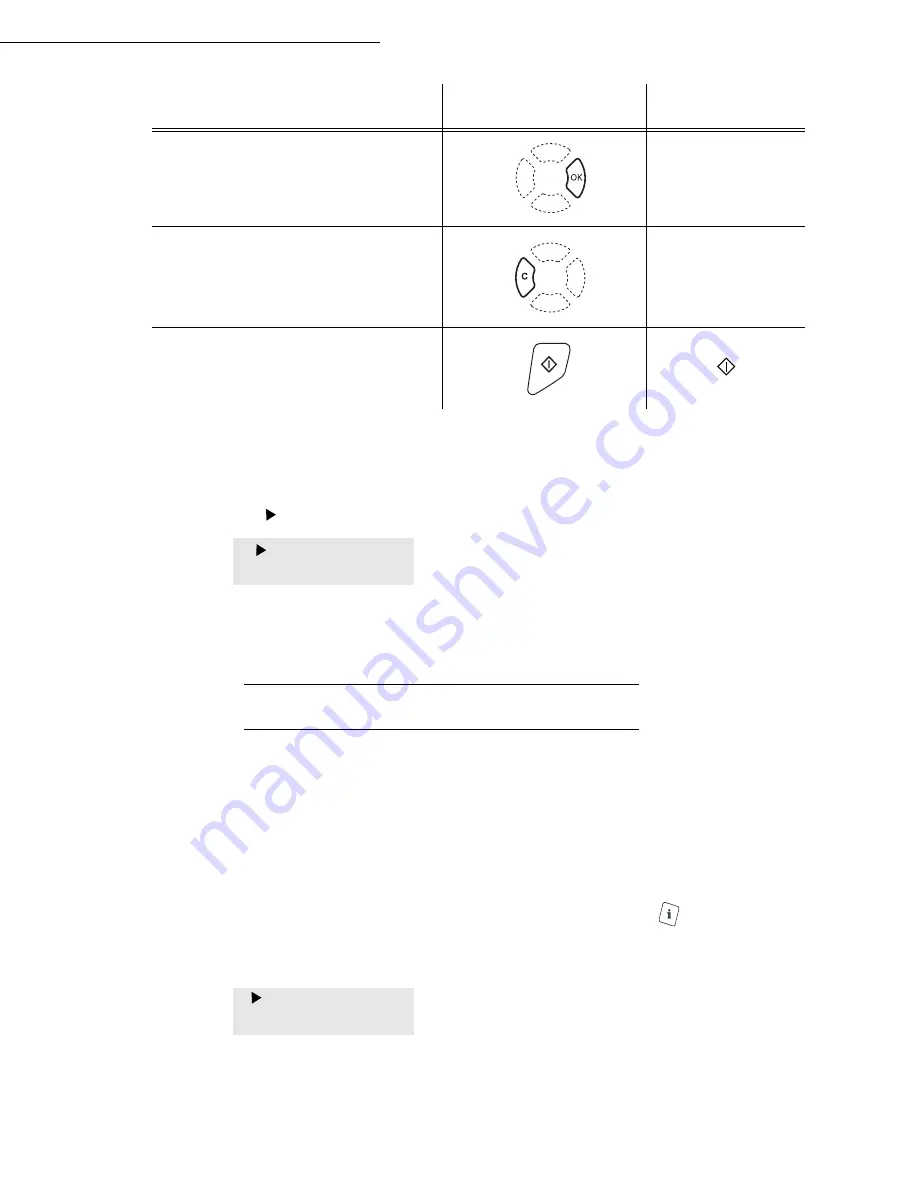
OK
Delete a character by moving the cursor to
the left.
C
Confirm your entry and return to the initial
screen.
To
Use key
Symbol used
1
DIRECTORY
2 SETUP
1
DIRECTORY
2
SETUP
Summary of Contents for WorkCentre 222
Page 1: ...User Guide WorkCentre 222 228...
Page 8: ...6 Contents...
Page 20: ...1 12...
Page 50: ...3 10 Getting started...
Page 74: ...4 24 Setting your machine...
Page 108: ...6 26 Operation...


