


-!8
Xerox
®
ColorQube™ 9301/ 9302/ 9303
XEROX®, XEROX and Design® and ColorQube® are trademarks of Xerox Corporation in the United States and/or other countries. ©
2010 Xerox Corporation. All rights reserved.
Preparation
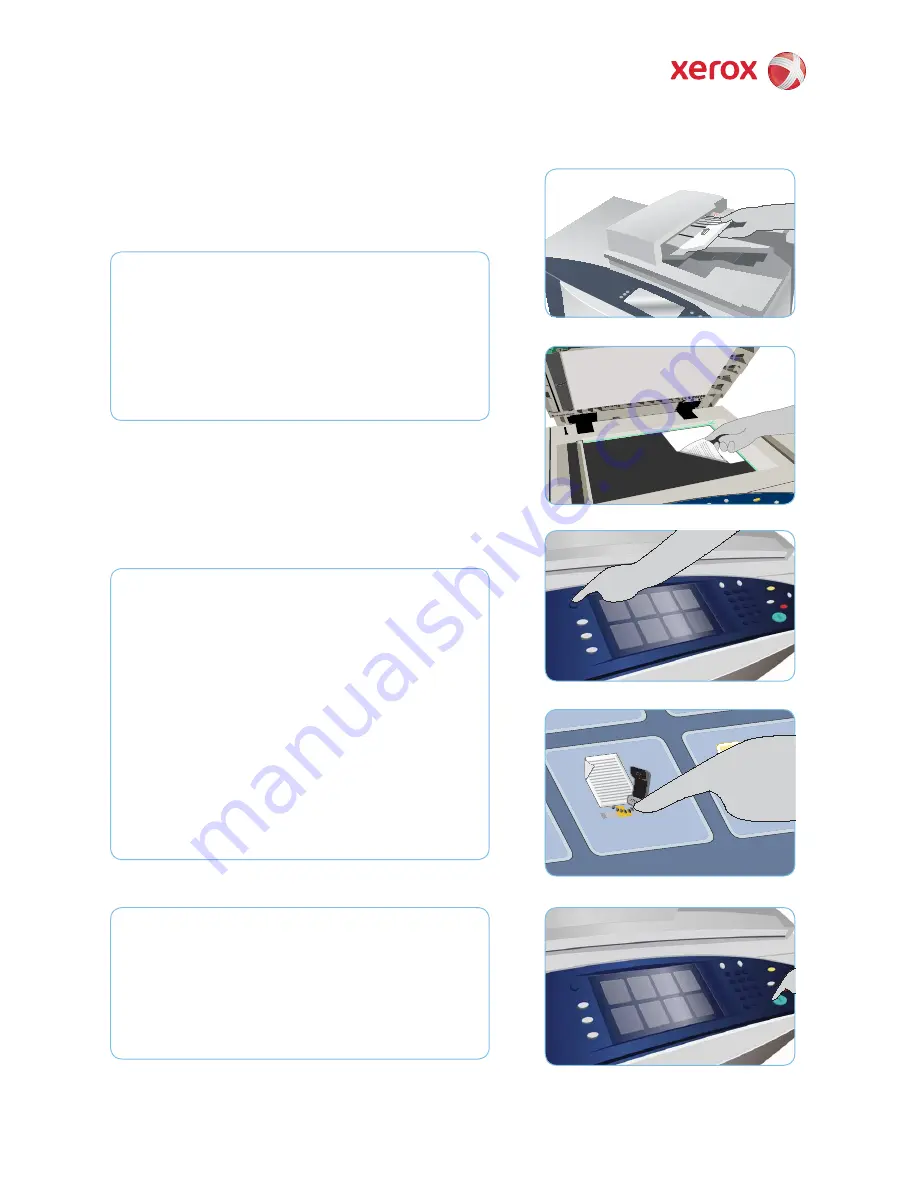
Press the
1.
Clear All (AC)
button
twice and then
Confi rm
to cancel
any previous screen programming selections.
Load the original documents face up in the document feeder or
2.
face down on the document glass.
Fax
Press the
3.
Services Home
button.
Select the
4.
Server Fax
option. The Server Fax tab is displayed.
Select the entry fi eld and enter the fax number. Select
5.
Add
to
add the number to the recipient list. Enter additional numbers as
required.
Make any programming changes that are required.
6.
Press
7.
Start
to scan the originals and process the fax job.
The fax job enters the job queue ready for processing.
More information
For more information, please refer to:
User Guides
•
http://www.support.xerox.com
•
4
3
2
2
7
How to Send a Server Fax


