3
Select your path, feather the edge,
use the eraser or gradient fill tool, etc.
4
Create a new layer and fill your
shape with black.
5
Convert your file to Monotone,
making sure to name Ink 1 the
same as your metallic ink swatch
in InDesign
®
—
Silver
(PMS 877C)
or
Gold
(PMS 871C).
6
Delete your background layer.
7
Save your monotone file as an EPS.
Creating a spot or alpha channel
1
Open the image to apply Metallic
Dry Ink in Photoshop
®
.
2
Create a new path or select a shape.
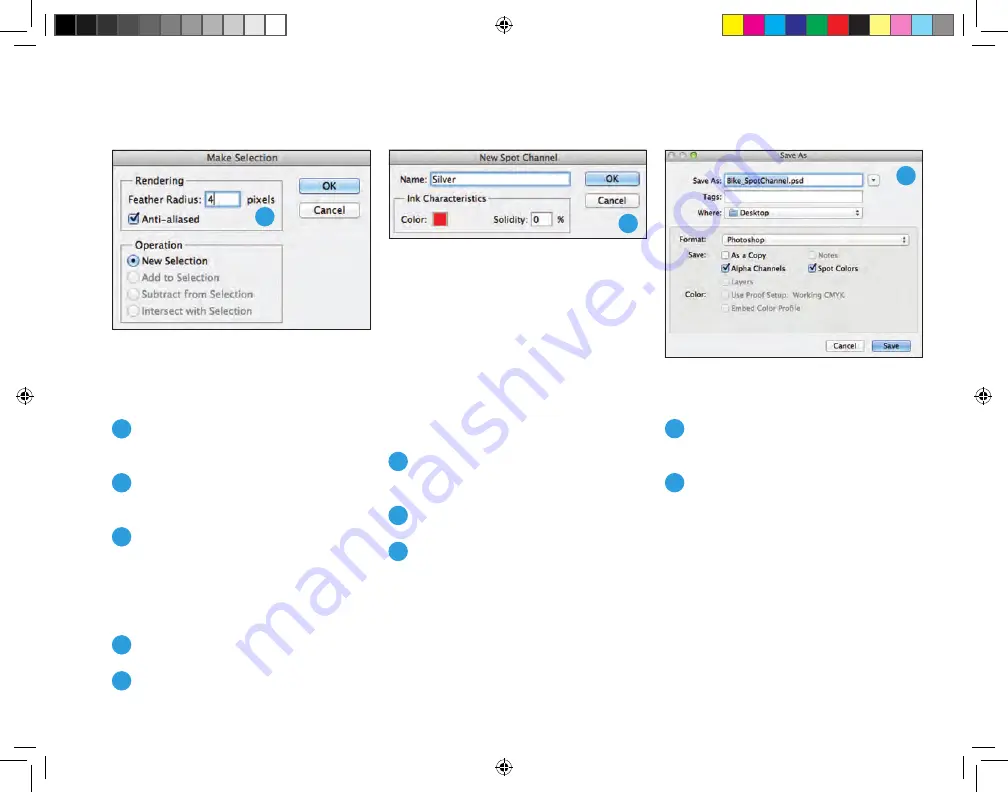
3
With your shape selected, add a
New Spot Channel.
a. Name the new spot channel the
same name as your metallic ink
swatch in InDesign
®
—
Silver
(PMS 877C) or
Gold
(PMS 871C).
b. Select % value if desired.
4
Save as PSD or TIFF with spot
color included.
5
Place into InDesign
®
on the
metallic layer.
Note:
This option may present a layering
issue in InDesign
®
since your base image
and metallic area are part of the same
image file. If you have additional design
elements assigned to print with metallic
inks on the same page, we recommend
using the Monotone, EPS option — verses
the Spot Channel, PSD/TIFF option.
To see your image in your PDF file, select
Advanced > Print Production > Output
Preview and click on Simulate Overprinting.
3
3
4
17
Xerox_MetallicDryInksDesignGuide_4c_030915_SPG_FINAL.indd 17
3/9/15 11:55 AM


