


IIddeennttiiffyyiinngg JJaam
m LLooccaattiioonnss
• When Jam Assist is set to On, the printer flushes blank pages or
pages with partial prints after a jammed page has been cleared.
Check your printed output for blank pages.
• When Jam Recovery is set to On or Auto, the printer reprints
jammed pages.
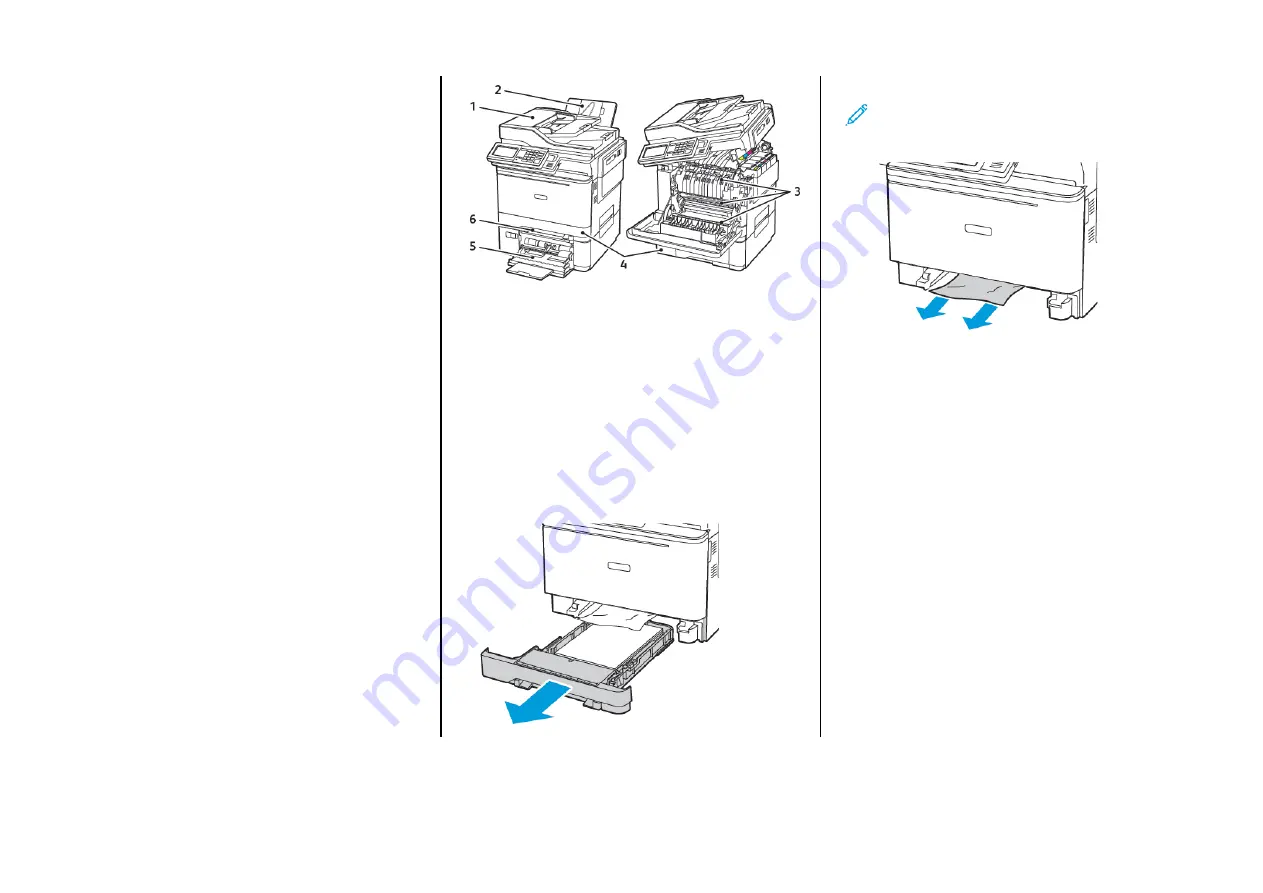
1. Automatic
Document Feeder
(ADF)
2. Standard Output
Tray
3. Door A
4. Trays
5. Multipurpose
Feeder
6. Manual Feeder
PPaappeerr JJaam
m iinn TTrraayy 11
1.
Remove the tray.
2.
Remove the jammed paper.
Note:
Make sure that all paper fragments are removed.
3.
Insert the tray.
14


