


24
USER GUIDE
Page
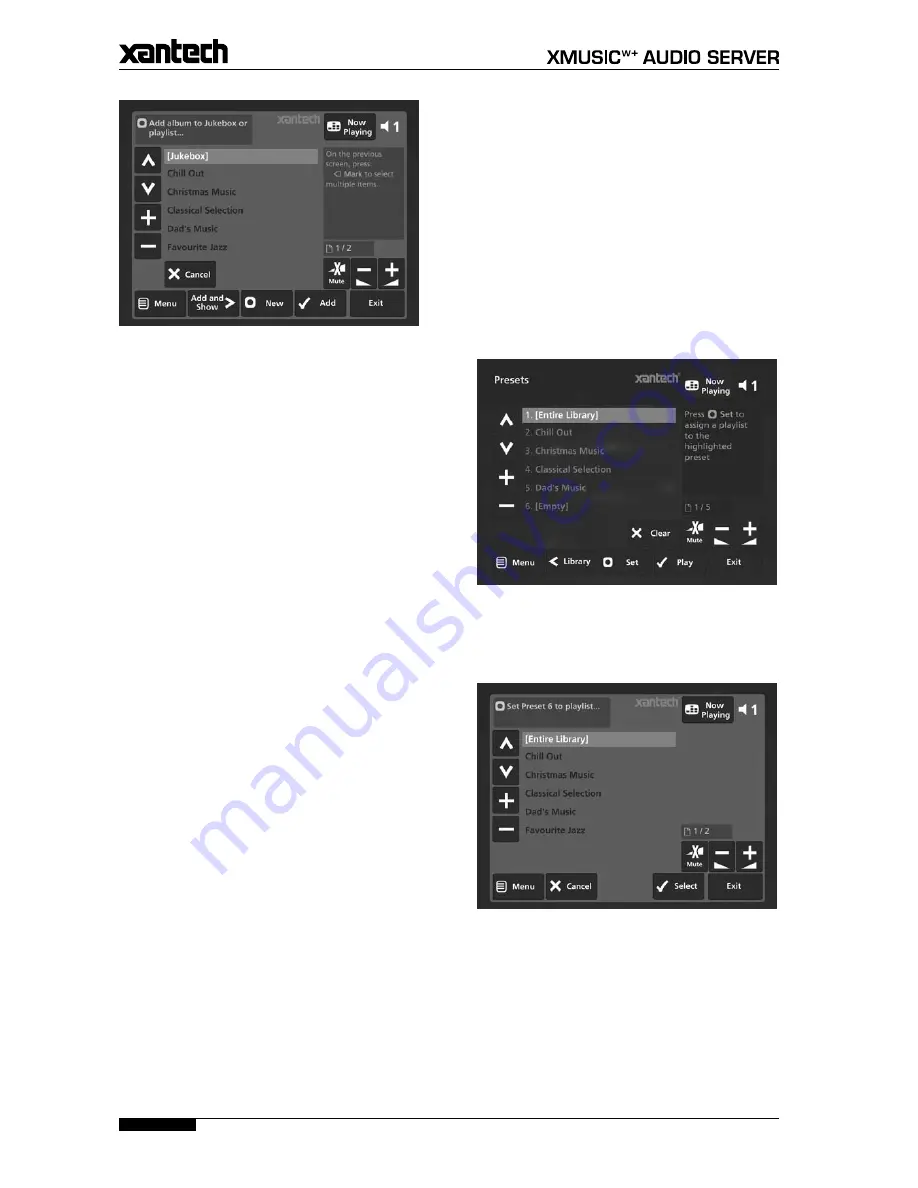
The following screen is displayed:
Use the
U
or
V
keys to select the playlist to which
you would like to add the selected album.
Alternatively, use the
M
New
key to create a new playlist
as described in the previous section.
Press the
ä
Add
key to add the album to the
playlist.
Alternatively:
Press the
O
Add & Show
key to add the album to
the playlist and display the playlist’s contents.
You can also use the
p
Mark
key to mark multiple items
in the
Library
and then add them to a playlist using the
above method.
Editing Playlists
To edit a playlist name
From the
Playlists
screen, use the
U
or
V
keys to
highlight the playlist you wish to edit.
Press the
ä
Options
key and choose
Edit Playlist
Name
.
Use the alphanumeric keypad to edit the playlist
name and then press the
O
Ok
key.
To remove an item from a playlist
Use the
U
or
V
keys to highlight the item you
would like to remove from the playlist.
Press the
P
Delete
key.
To delete multiple items from a playlist use the
p
Mark
key to mark the items you wish to remove and then
follow the process described above.
To move an item in a playlist
Use the
U
or
V
keys to highlight the item you
would like to move in the playlist.
Press the
p
Mark
key twice to place a
î
Move
symbol next to the item you wish to move.
Use the
U
or
V
keys to move the selection to a new
place in the playlist.
Press the
p
Mark
key again to remove the
î
Move
symbol.
To delete a playlist
From the
Playlists
screen, use the
U
or
V
keys to
highlight the playlist you wish to delete.
Press the
ä
Options
key and choose
Delete playlist.
Press the
O
Yes
key to confirm the deletion.
To delete multiple playlists use the
p
Mark
key to mark
the playlists you wish to remove and then follow the
process described above.
•
•
•
•
•
•
•
•
•
•
•
•
•
•
•
PRESETS
Presets are simple playlists that can be used in the same
way as a preset station on your radio tuner; for example,
you may have a preset which plays a random selection
from your entire
Library
. Although you can select a
preset for playback using the TV user interface, presets
are more commonly used by simple multi-room control
systems and remote controls to trigger playback without
referring to the TV screen.
Before a preset can be used a playlist must be assigned
to that ‘station’:
Storing a Preset
Display the
Library
by pressing the
à
Library
key on
your Audio Server remote control.
Press the
U
or
V
keys to select
Presets
and press
the
T
key.
The existing presets will be displayed:
If you have not previously stored a preset all the names
will be labelled
[Empty]
.
Press the
U
or
V
keys to select the
Preset
you
would like to program and press the
M
Set
key.
The following screen is displayed:
Press the
U
or
V
keys to select the
Playlist
you
would like to assign and press the
O
Select
key.
The new preset will automatically be given the same
name as the playlist assigned to it.
To clear a preset
Use the
U
or
V
keys to highlight the preset you
would like to clear.
Press the
P
Clear
key.
Press the
O
Yes
key to confirm.
•
•
•
•
•
•
•


