19
18
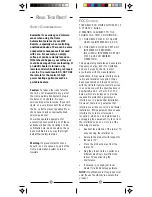
You can change 1-4/5-8 slide switch to
allow you to control X10 Modules set to
9-12/13-16:
C
HANGING
THE
X10 S
LIDE
SWITCH
SETTING
:
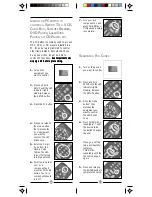
1.
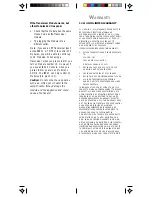
Press and hold
SETUP until the LED
indicator lights
steadily. Release
the SETUP button.
2.
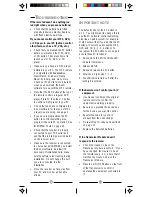
Press and hold the
ALL OFF button
(LED blinks off) for
about 8 seconds
until the LED
indicator turns off.
The above procedure changes the switch
on the side of the remote to control X10
Modules set to 9-12 or 13-16. To
change it back to 1-4/5-8, repeat the
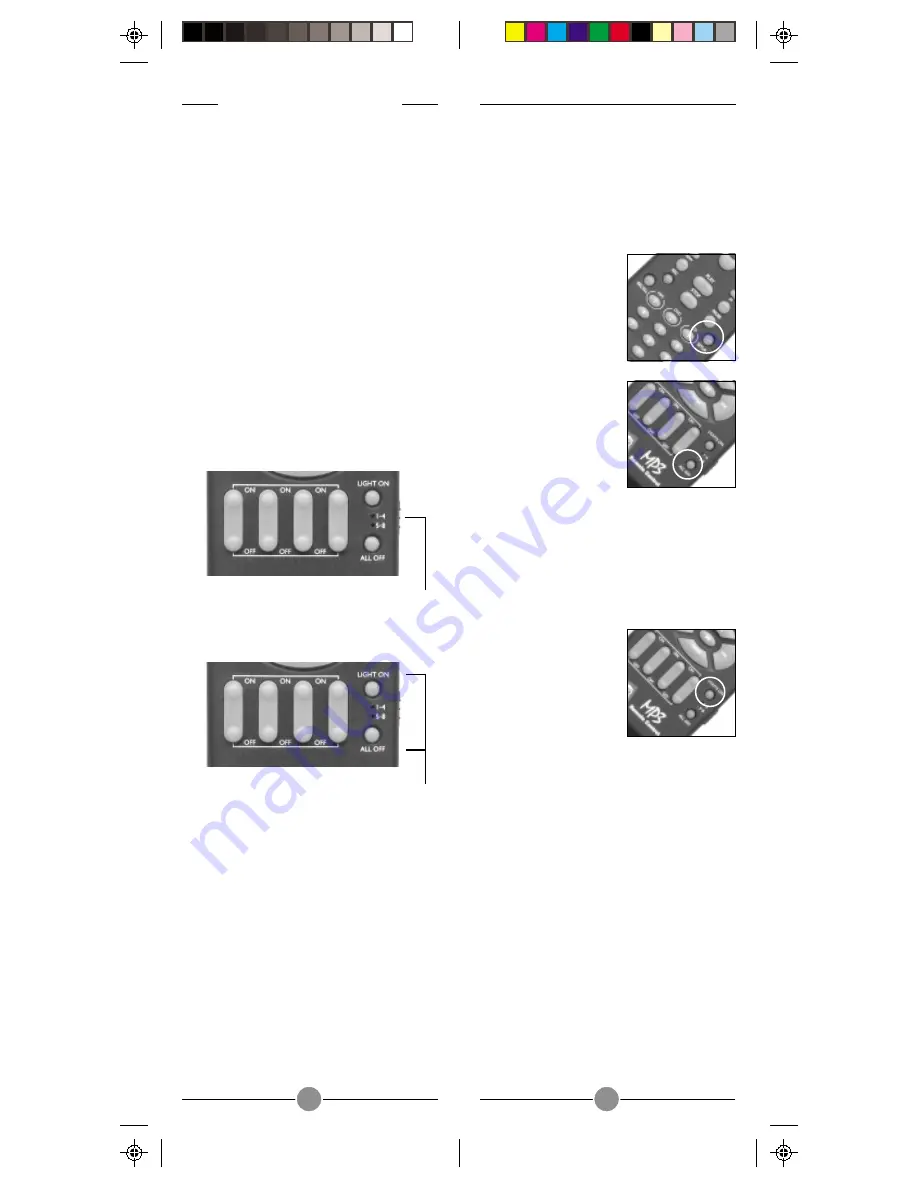
above procedure, pressing LIGHTS ON
instead of ALL OFF.
C
ONTROLLING
X10 M
ODULES
If you have purchased and installed a
Transceiver Module, you can control it
and other X10 modules as follows:
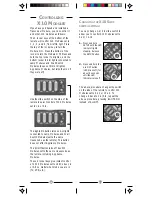
The 4 rocker keys at the bottom of the
remote will control X10 Modules set to
1, 2, 3, and 4, from left to right. Press
the top of the rocker key to turn the
Module ON. Press the bottom of the
rocker to turn the Module OFF. Press and
hold the top rocker to brighten, and the
bottom rocker to dim lights connected to
Lamp Modules and Wall Switch
Modules (does not dim or brighten
Appliance Modules, but turns them on if
they were off).
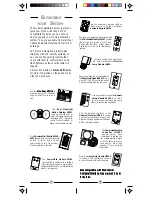
Use the slide switch on the side of the
remote to select control of X10 Modules
set to 1-4 or 5-8.
The Lights On button turns on ALL lights
connected to Lamp Modules and Wall
Switch Modules (set to the same
Housecode as the remote). This button
does not affect Appliance Modules.
The All Off button turns off ALL X10
Modules set to the same Housecode as
the remote, including Appliance
Modules.
These 4 rocker keys give instant control
of 4 X10 Modules set to Unit Codes 1-4
or 5-8 no matter what mode you are in
(TV, VCR, etc.).


