RM200QC User Manual
27
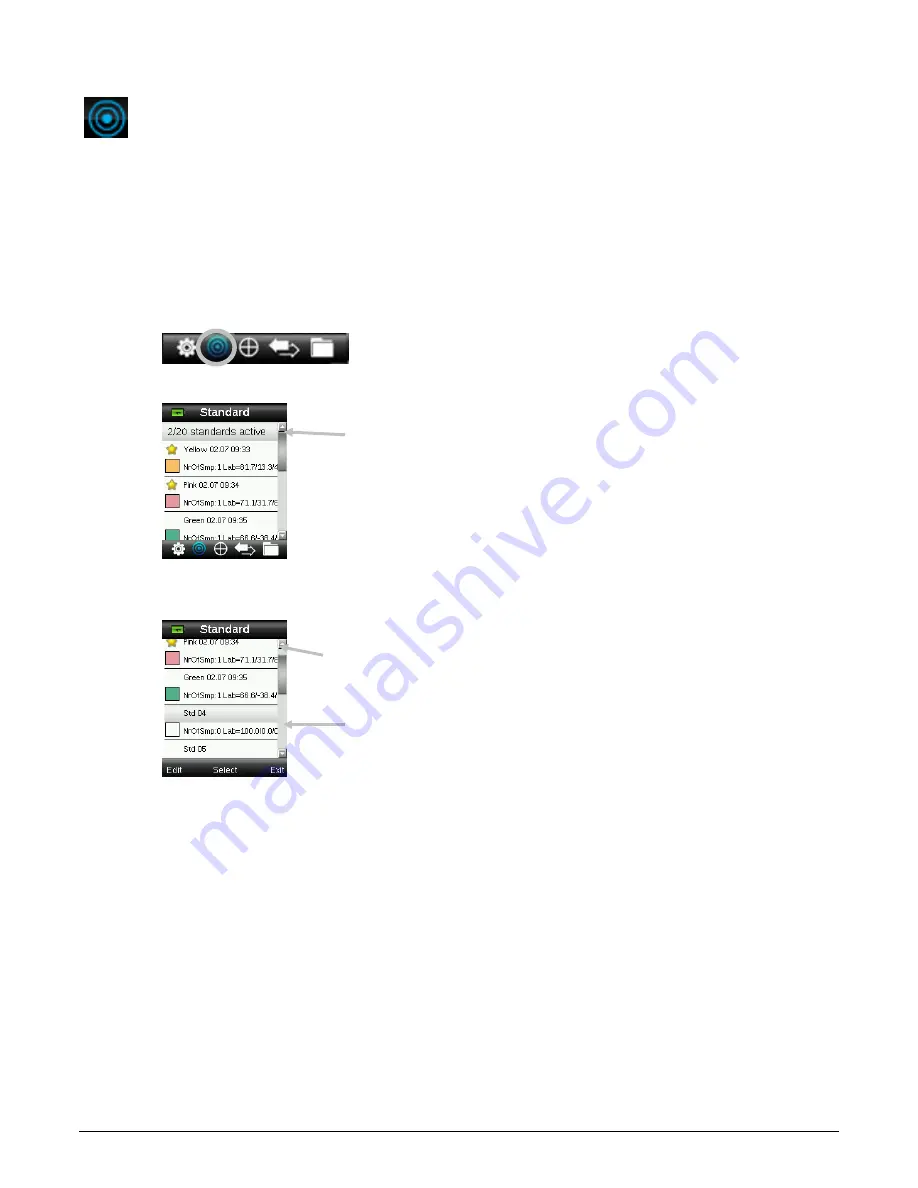
Standard Menu
The RM200QC can store a maximum of 20 standards with L*a*b* data. When a standard is
measured, the instrument automatically assigned it a generic color name that can be changed.
More than one standard can be set active (star icon) to allow the instrument to automatically
selected the closest standard during a Color QC measurement. The tolerance assigned in the
Settings menu applies to all stored standards.
Creating a Standard
1.
Select the Standard icon in the function bar by pressing on the right or left side of the
Navigation control.
2.
Press the up and down sides of the Navigation control to select the next available standard
location.
3.
Press the left side of the Navigation control (Edit) to enter the Edit Standard screen.
If your device has security enabled you will be prompted to enter the password “999” to
unlock. Refer to the Security Settings section of this manual for further information.
4.
Make sure the white reference slider is in the storage location and position the RM200QC
on to the standard as previously explained.
5.
Lightly press and hold the Measure button to activate the preview. The area to be
measured is indicated in the preview by the circle.
If desired, adjust the measurement area by pressing on the up or down side of the
Navigation control while lightly holding down the Measure button. Note: You can preset
your aperture preference in the Settings menu.
6.
When you have located the area you wish to measure, press the Measure button firmly. An
audible “camera-click” sound indicates the start of the measurement. A progress bar
Star indicates selected
standard for QC
measurements
Available standard location
Standards active for auto
selection
Summary of Contents for RM200QC
Page 1: ...RM200QC User Manual...


