RM200QC User Manual
13
Changing Aperture View
1.
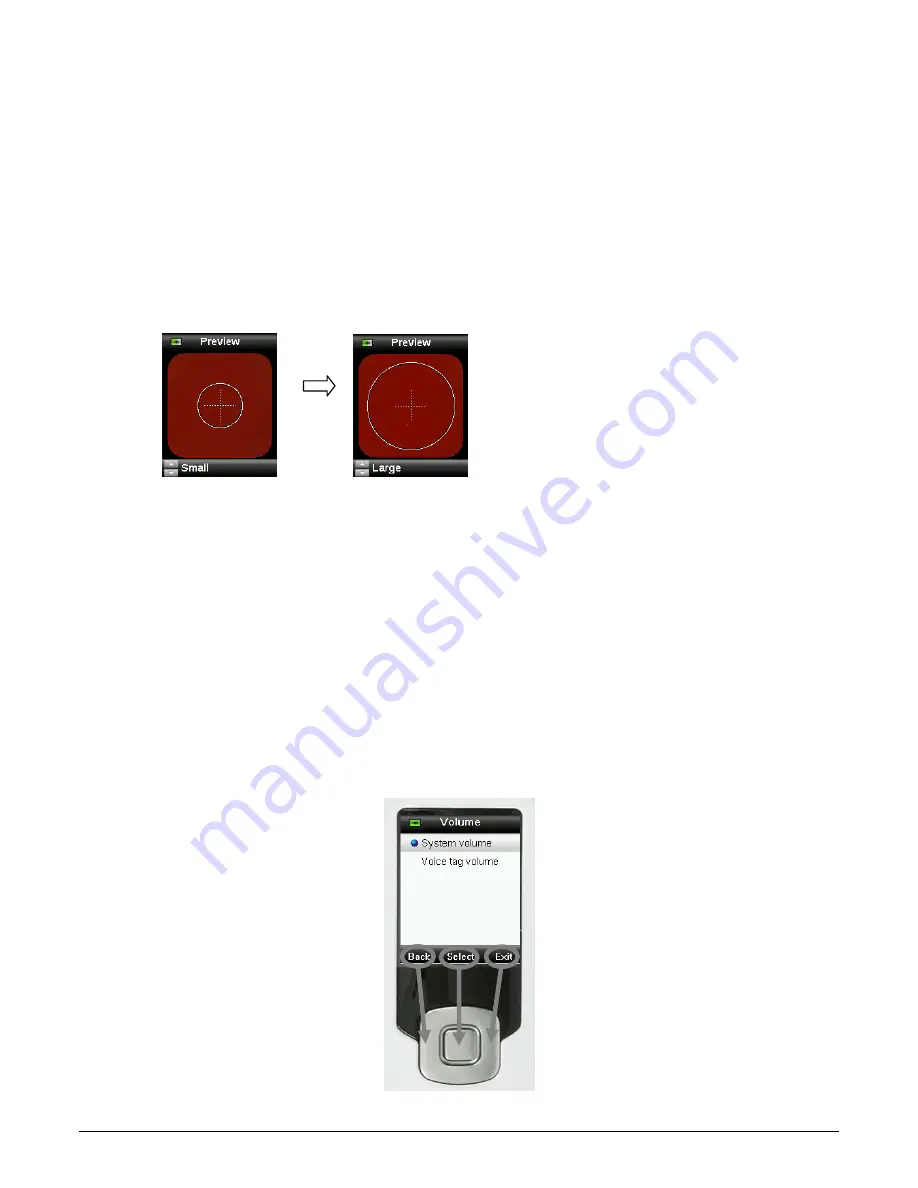
Lightly press and hold the Measure button to activate the preview. The area to be
measured is indicated in the preview by the circle.
Two measurement areas are available:
•
Small (4 mm aperture)
•
Large (8 mm aperture)
2.
Adjust the measurement area by pressing on the up or down side of the Navigation control
while lightly holding down the Measure button.
(4 mm)
(8 mm)
Note: You can preset your aperture preference in the Settings menu.
Navigating the Screens
Many secondary screens contain the words “Back”, “Select”, and “Exit” at the bottom. This
refers to actions that take place when using the Navigation control and Enter button.
Back – indicates that the display is jumping back to the previous screen. This is selected by
pressing the left side of the Navigation control.
Select – indicates that the option or item highlighted in the screen will be selected. This is
chosen by pressing the Enter button.
Exit – indicates that the current screen will be closed and returned to the main match screen.
This is selected by pressing the right side of the Navigation control.
Nav. up
or down
Summary of Contents for RM200QC
Page 1: ...RM200QC User Manual...


