Workrite Sequoia
Assembly Instructions for
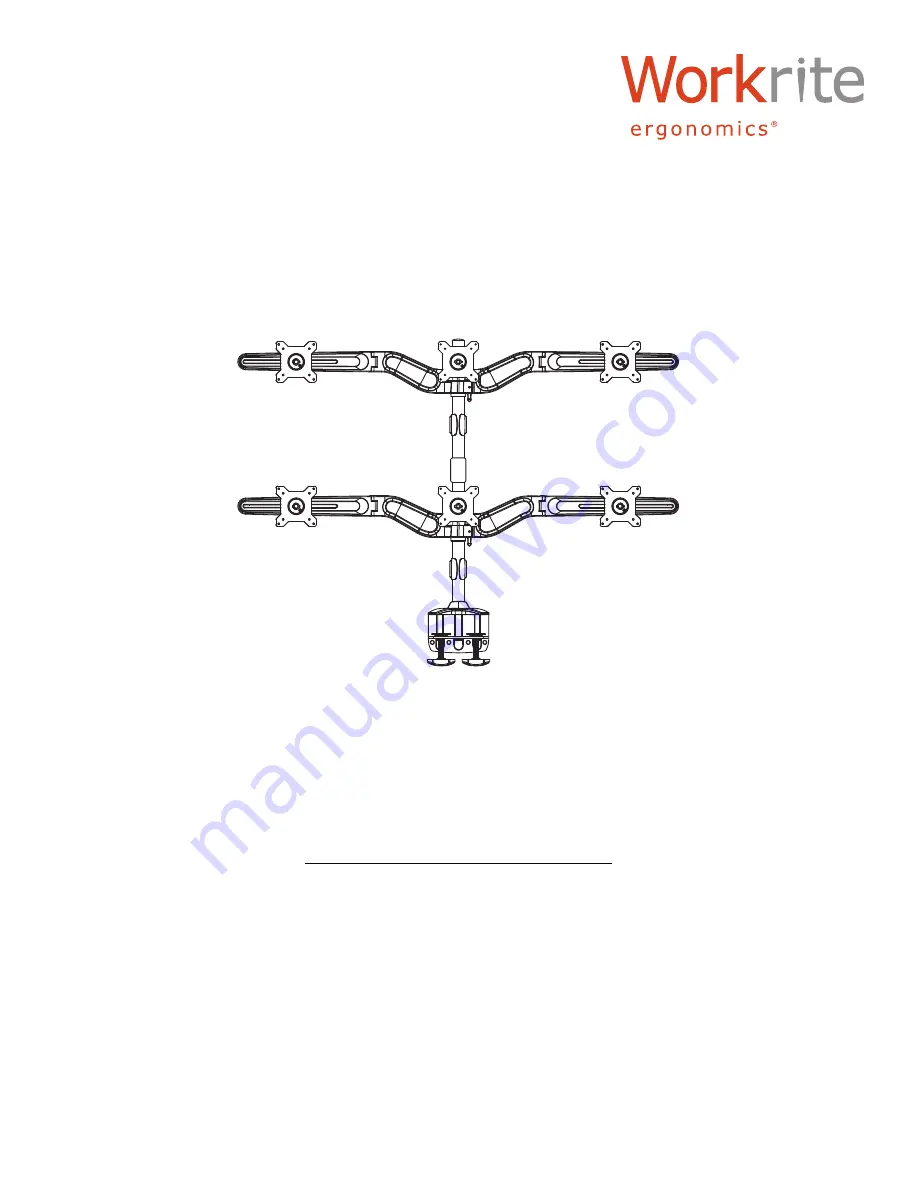
Model SQ-633
#1500209 - Rev A
Page 1: ...Workrite Sequoia Assembly Instructions for Model SQ 633 1500209 Rev A...
Page 2: ...Qty 12 R 8mm Flat Washer Qty 4 I 2 5mm Hex Wrench Qty 1 S 6mm Hex Wrench Qty 1 P M8 50mm Arm Bolt Qty 2 OR Hardware Packs TT 2 Piece Heavy Duty C Clamp Mount Qty 1 U Grommet Mount Qty 1 G M5 4mm Set S...
Page 3: ...1 K Outside VESA Mounts Qty 2 C Collar Qty 1 J Center VESA Mount Qty 1 F VESA Mount Knob Qty 2 E Plastic Washer Qty 2 D Ratchet Lever Qty 3 M Right Wing Bar Mount Qty 1 N Left Wing Bar Mount Qty 1 O...
Page 4: ...lamp Base TT over the rear edge of the workstation Attach the Clamp Bracket to the Clamp Base with 4 M6 10mm Alan Cap Bolts V and tighten with the 6mm Hex Wrench S Grommet Mount Note A grommet hole or...
Page 5: ...e Center Monitor Mount J to the VESA pattern in the monitor Install 4 VESA Monitor Screws H and tighten securely with a 2 Phillips screwdriver Outer Monitor Mount Align the outer mounts K to the VESA...
Page 6: ...ole to rest on the Right Wing Bar Mount Install Ratchet Levers D into the rear of both Wing Bar Mounts and tighten a b a b c Place 8mm Flat Washers R into recesses into the Wing Arm as shown Hold in p...
Page 7: ...st overall height of the assembly To do this simply loosen the Set Screw G in the Collar C with the 2 5mm Hex Wrench I and move accordingly Retighten the Set Screw and Wing Bar Mount when desired heig...
Page 8: ...uctions Add Capped Pole 8 a Install the Pole Coupler BB into the threads on the Extension Pole AA and tighten securely Install the Capped Pole A into the threads on the Pole Coupler and tighten secure...
Page 9: ...the Capped Pole to rest on the Right Wing Bar Mount Install Ratchet Levers D into the rear of both Wing Bar Mounts and tighten a b a b c Place 8mm Flat Washers R into recesses into the Wing Arm as sho...
Page 10: ...y to adjust overall height of the assembly To do this simply loosen the Set Screw G in the Collar C with the 2 5mm Hex Wrench I and move accordingly Retighten the Set Screw and Wing Bar Mount when des...
Page 11: ...obs then through the Cable Manager B Monitor Tilt Swivel Adjustments Depending on the size of your monitor it may be necessary to adjust the tilt and swivel setting If the monitor doesn t hold its til...
Page 12: ......