Electrical connection
29
Worcester Commercial Boiler Series – 6720814332 (2019/04)
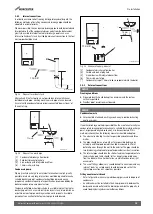
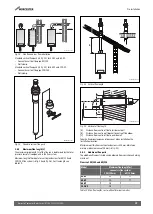
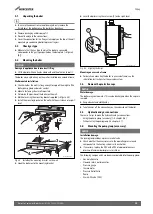
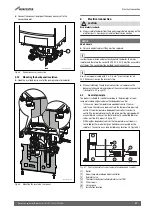
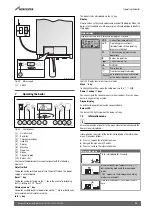
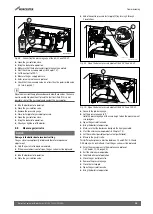
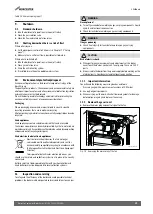
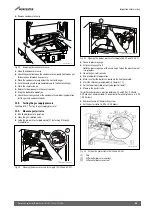
▶ Tighten the screw of the strain relief.
Fig. 53 Tightening the screw
6.4
Connecting the on/off room temperature-dependent
control unit
All standard potential-free on/off room temperature-dependent control
units without heat acceleration element (anticipation resistor) can be
connected.
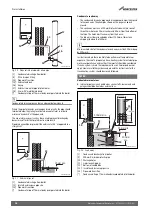
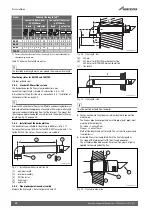
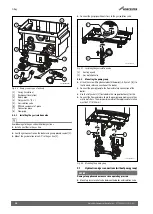
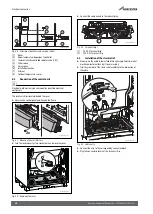
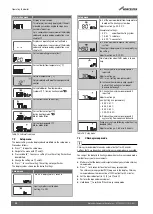
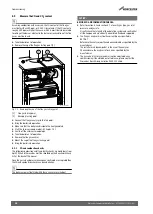
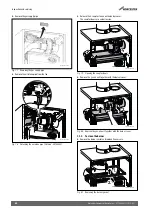
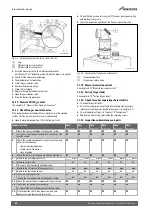
▶ Connect the on/off room temperature-dependent control unit via the
green plug on the terminal strip [1]. The maximum permissible
electrical resistance of this cable is 100
.
Fig. 54 Connecting the on/off room temperature-dependent control
unit
6.4.1
Connecting the RTH convertor (only for 50-V2 and 65-V2)
WARNING:
▶ This appliance must be earthed.
The boiler can be fitted with the following external controls:
• a room-temperature control device at 230 V connected via the relay
supplied (only for 50-V2 and 65-V2). For connection, see the
electrical wiring diagram supplied with the 230 Volt convertor,
• On/off temperature controller, Volt free.
▶ Install the RTH convertor as specified in the accompanying wiring
instructions.
6.5
Connecting the modulating controller
The following modulating controllers can be connected:
• Greenstar Sense II
• Commercial 8000 controls range
For more information on other controllers and modules that can be used,
please consult the manufacturer. You will find the relevant addresses on
the back cover of these instructions.
▶ Install the modulating controller as specified in the accompanying
instructions.
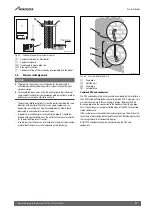
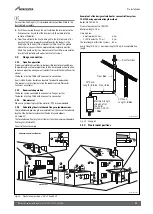
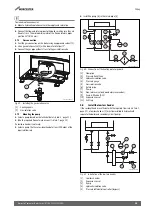
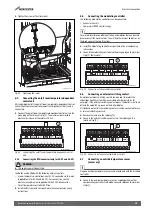
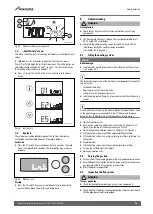
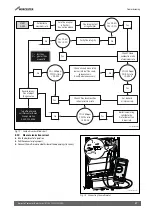
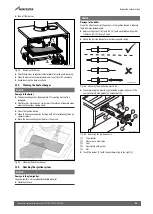
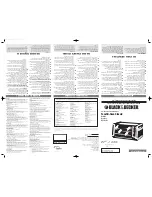
▶ Connect the modulating controller via the orange plug on the terminal
strip [1] (BUS cable).
Fig. 55 Connection of the modulating controller
6.6
Connecting an external switching contact
An optional external switching contact can be used (to protect the
underfloor heating system from excessive boiler temperatures for
example). If the external switching contact opens, the boiler is switched
off and the code “d3” appears on the boiler display.
All standard, potential-free switching contacts can be connected for use
as external switching contacts.
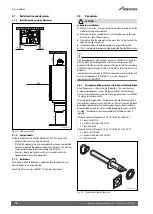
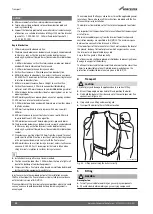
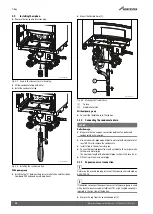
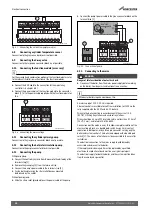
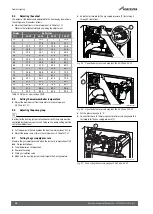
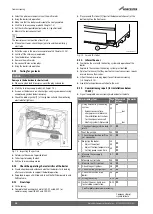
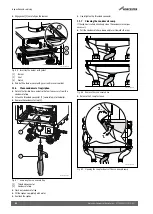
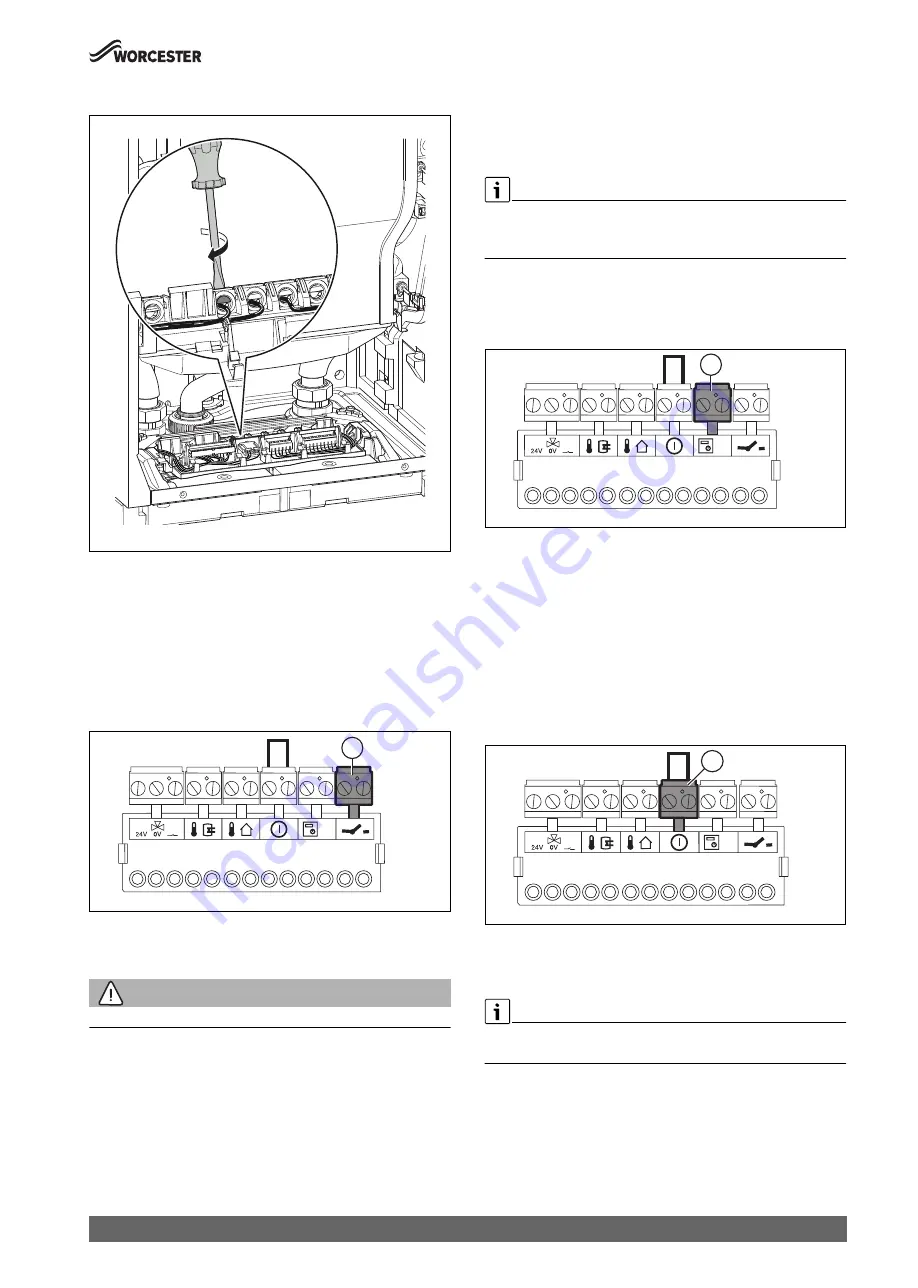
▶ Remove the jumper in the red plug [1].
▶ Connect the external switching contact via the red plug on the
terminal strip [1].
Fig. 56 Connection of an external switching contact
6.7
Connecting an outside temperature sensor
(accessory)
Only one outside temperature sensor can be combined with the installed
controller.
▶ Connect the outside temperature sensor, supplied with weather
compensating controller, via the blue connector block on the terminal
strip [1].
0010010008-001
0010010009-001
13 12 11 10 9 8 7 6 5 4 3 2 1
1
0010010010-001
13 12 11 10 9 8 7 6 5 4 3 2 1
1
0010010012-001
13 12 11 10 9 8 7 6 5 4 3 2 1
1

