4
Installation of the various Pedelec Assist Sensor (PAS) types
There are three types of PAS that can be used, two that fit on the right side of the bike between the chain
-
ring and frame, and the left
-
side sensor, which slots into the end of the bottom bracket.
The
right
-
side PAS
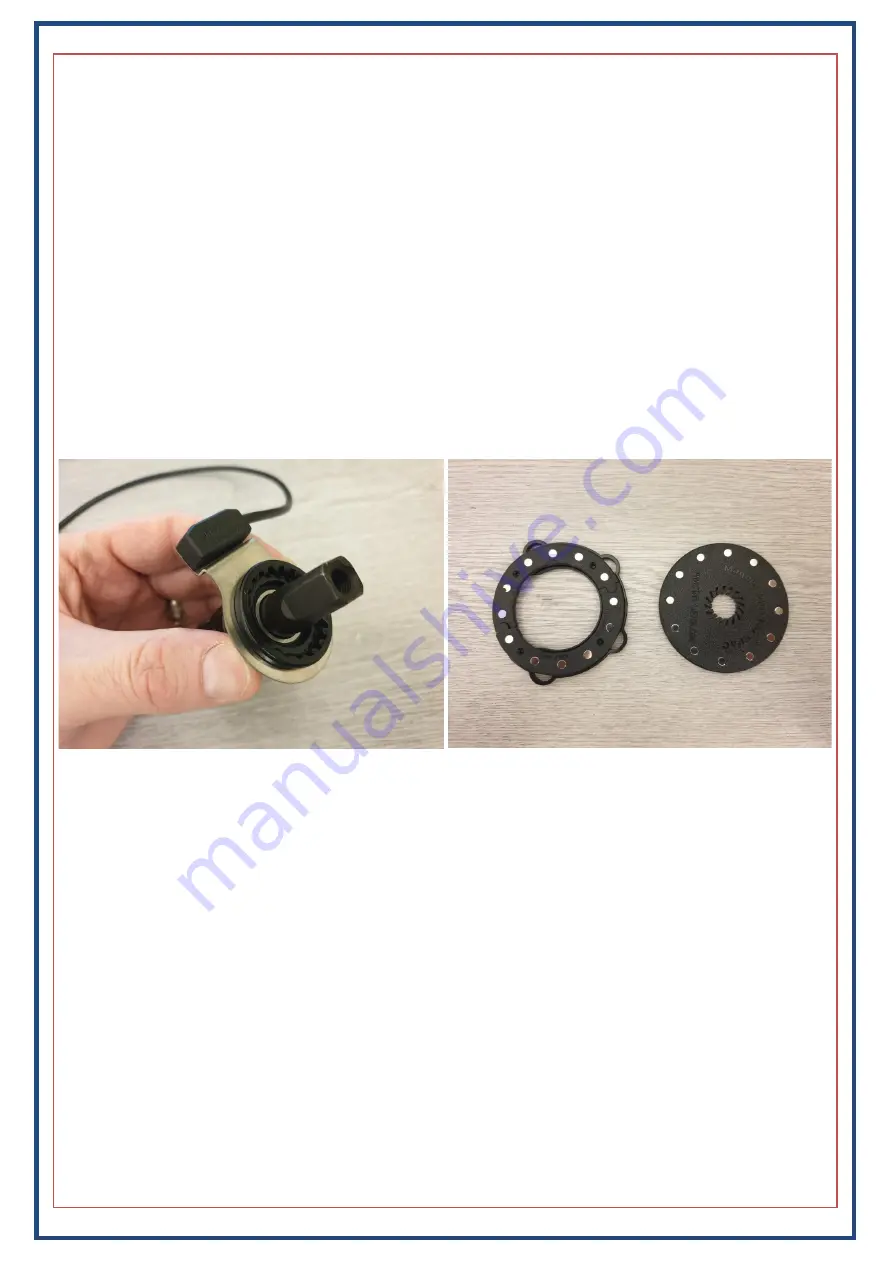
kit consists of two parts, these are the sensor itself and the PAS disc. There are two
different options for the disc/magnet
-
ring part of the PAS kit (see below
-
right), depending on whether
you have a square taper bottom bracket or something else. In all cases, the sensor ring is mounted be-
hind the lip of the fixed cup, or behind the right bearing shell (in the case of a BB with external bearings).
The PAS disc for square taper bottom brackets is simply slid down the axle so that it is close to, but not
touching the sensor. For all other types of bottom bracket, you would need to use the alternate disc
which comes in three parts—the two halves of the magnet ring, and the support/mounting plate. Ideally,
the mounting plate is cable
-
tied to the smallest chain ring (using the loops around the outside of the
plate), and the two halves of the magnet ring are then glued to the plate. In some cases, there is not al-
ways enough room to do this, and the ring needs to be bonded directly to the smallest chain ring and/or
you may need to use the
seat
-
post mounted sensor
instead—see next page.
Installation Notes:
You need to ensure that the disc is the correct way around on the axle. The disc should be fitted such that
the arrows on the disc are on the left side (facing the sensor). For other non
-
square taper bottom
brackets, the two halves of the magnet ring only fit on the mounting plate one way, so you can
’
t get it
wrong.
With external bearing shells, it is sometimes necessary to fit a spacer behind the shell, we can supply
these, but in many instances, you can just take one from the left side and move it over to the right.


