22
Mini Boiler Owners Manual
2015
Programming and information about the PLC control
To make changes to the settings of the PLC, use button 1 to scroll between menus. Once you have found the
menu with the setting you wish to change, press the white button on the right with button 4.
Once the white button and button 4 have been pressed one of the values that can be changed is now blinking.
Note: In cold temperatures, the blinking may not be visible due to screen delay caused by extreme cold.
To change the desired value, adjust with buttons 2 (down) and 3 (up).
Buttons 1 and 4 let you scroll between the different settings on each menu.
Press the menu/ok to save any changes made. The value should stop blinking.
The burner is not adjusted from the factory. The burner has to be adjusted with a flue gas instrument the first
time the burner is fired and after a change in fuel brand/quality.
1. Remove the blue hose from the burner prior to priming the feed auger. Connect cable of the auger
with the power cable for the burner and run it manually until pellets have been fed out from the auger
for about 15 minutes using a bucket or pail to catch the pellets. Insert the tube adaptor into the tipping
chute when complete.
2. Setting of screw on (the amount of pellets at ignition). A good start dose is approx. 150 grams
(5.25 ounces) We recommend manually measuring the start dose. The start dose is approx. equal to
the volume of an 8.5 oz cup.
3. To adjust amount of fuel for operation, a flue gas instrument must be used. The proper adjustment is
needed to obtain the cleanest and most efficient burn. This should be made by your authorized
WoodMaster Dealer.
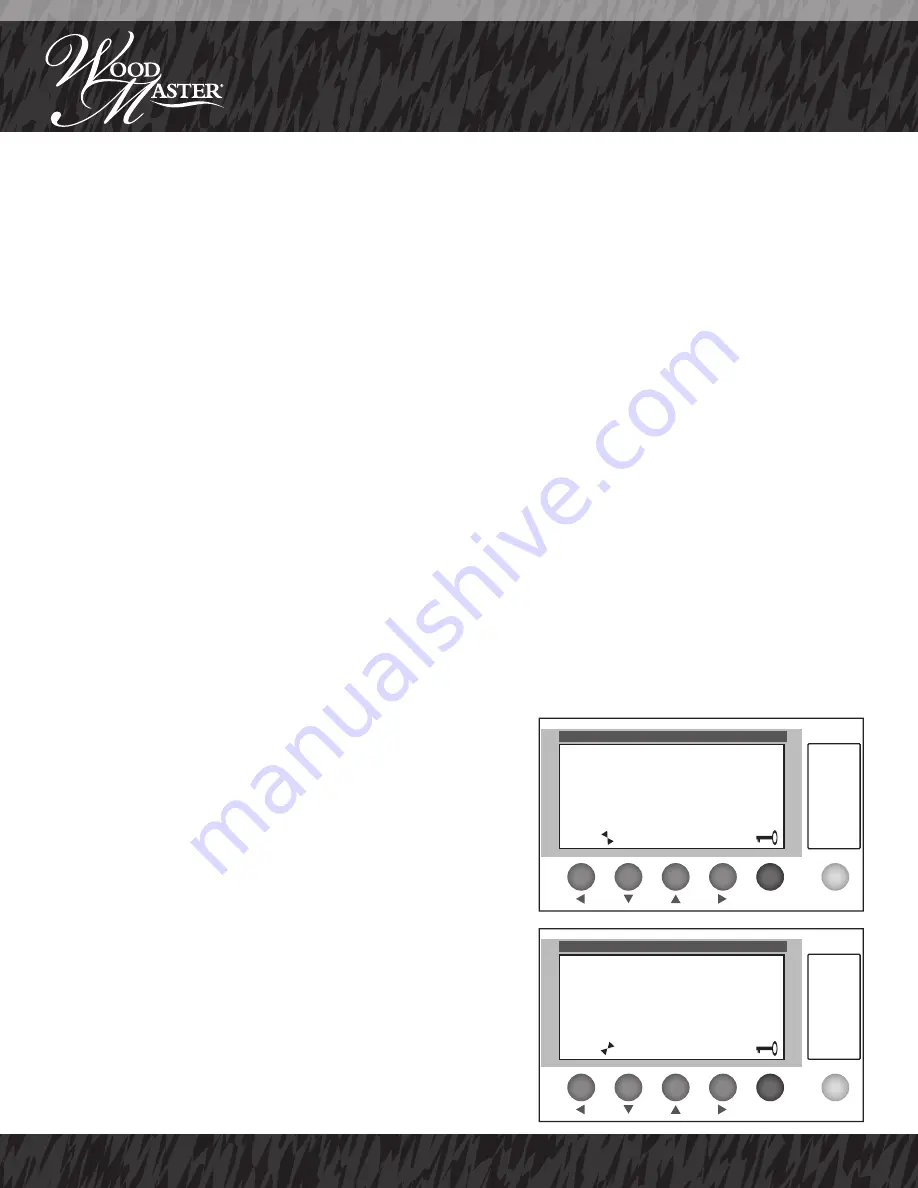
1.
This is the default home screen. No changes can be made
in this menu. Pressing the white button and the Menu/Ok
button will briefly change the display to show the date/time
screen. This will change back on its own.
2.
In this menu you can set the screw on time. Here you
choose how many seconds the auger takes to feed the opti
-
mal start dose (approx. 150 grams or 5.25 oz) of fuel pellets.
This menu also handles the desired value of the photo sen
-
sor that controls the flame at combustion. When the sensor
sees the flame has reached input value the burner switches
to the soft start in the combustion phase. The photo sensor
value can also be read in real time.
NOTE: DO NOT open the
doors during operation.
1
2
3
4
Menu/Ok
RENOVATOR
v22
START SET UP
PHOTO000
SCREW ON +070.0
PRESET PHOTO+10
Menu/Ok
1
2
3
4
Operation


