background image

7

JSK2F-55-0002

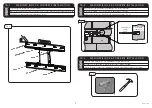
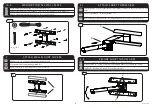
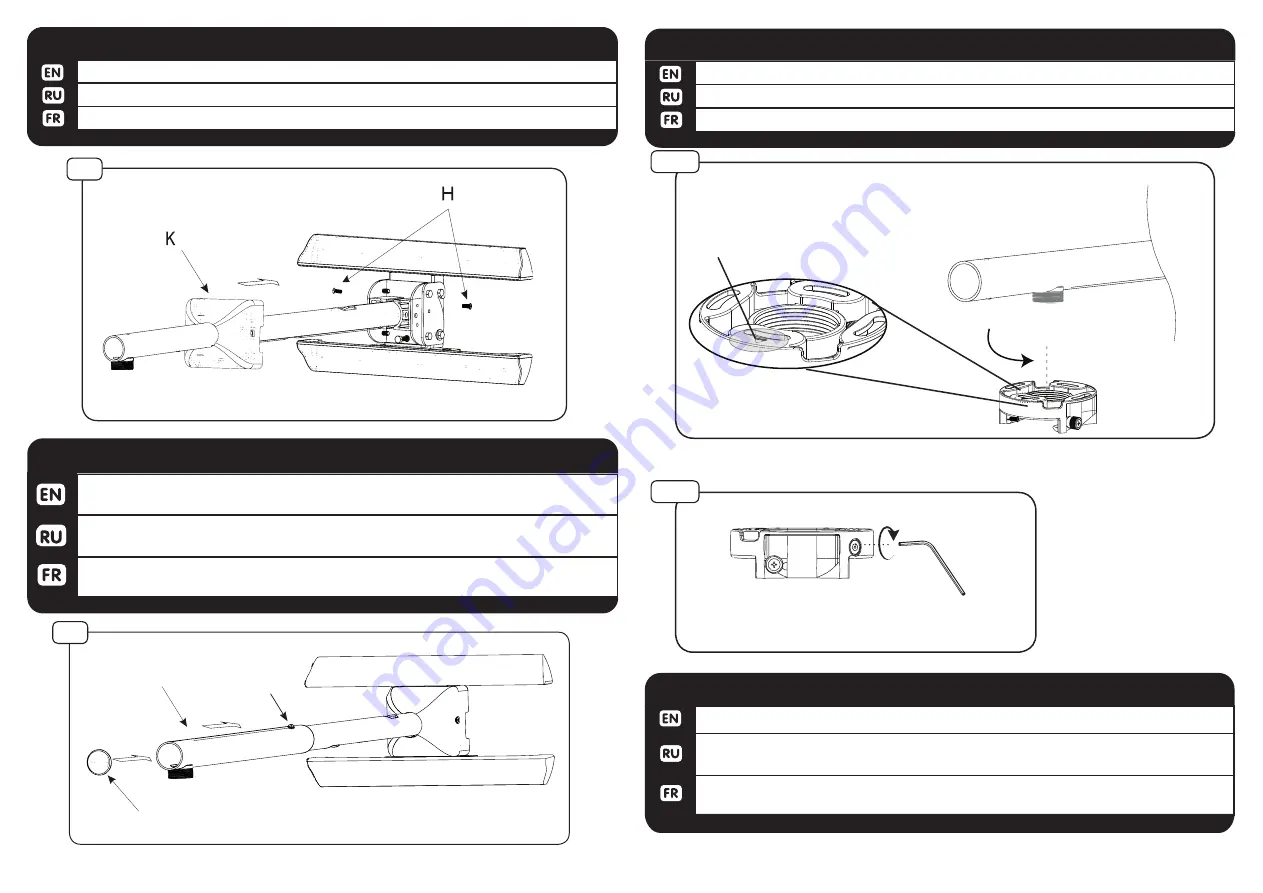
Slide plastic cover (K) into place and secure with screws (H).

Повесьте пластиковую крышку (К) на место и закрепите винтами (H).

Faites glisser le couvercle en plastique (K) en place et le fixer avec des vis (H).

AT TACH  SHORT  THROW  ARM  COVER                  

3-3

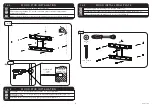
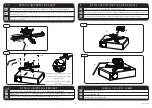
Thread the projector plate on to threaded pipe.

Привинтите адаптер проекторa к колонке.

Enrosque el soporte de fijación al tubo roscado.

4-1

PROJEC TOR PLATE INSTALLATION

Allign arrow and tighten security screw to lock the rotation.

Совместите стрелку с экраном и затяните винт для блокировки вращения.

Alignez la flèche à l’écran du projecteur. Serrer la vis de sécurité pour bloquer la rotation.

PROJEC TOR PLATE INSTALLATION

4-2

4-1

4-2

(K)

Make sure arrow points to projector screen

Убедитесь, что стрелка указывает на 

проекционный экран

Assurez-vous que la flèche pointe l’écran du 

projecteur à

(S)

3-3

E

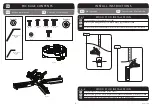
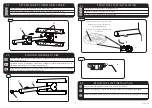
Slide threaded tube (E) into desired position.  Tighten set screw (V) to lock into place.  

Snap on tube cover (I).
Сдвиньте стойку (Е) в нужное положение. Затяните установочные винты, чтобы 

зафиксировать на месте. Установите крышку (I).
Diapositive un tuyau fileté (E) dans la position désirée. Serrer la vis (V) pour verrouiller 

en place. Aligner sur la couverture du tube (I).

3-4

POSITION THREADED TUBE

3-4

I

V

Summary of Contents for STP-55

Page 1: ...UM WEIGHT CAPACITY FOR THIS PRODUCT WARNING AVERTISSEMENT SI CE PRODUIT N EST PAS CORRECTEMENT INSTALL OU ASSEMBL IL RISQUE DE CAUSER DES BLESSURES RAVES VOIRE MORTELLES AINSI QUE DES DOM MAGES MAT RI...

Page 2: ...n cessaires C 1 Wood bit 6mm 7 32 Masonary bit 11mm 7 16 Socket wrench 13mm Hammer if necessary 6 7 32 11 7 16 13 Bois peu 6mm 7 32 peu ma onnerie 11mm 7 16 13mm Cl douille Marteau si n cessaire J 2...

Page 3: ...0mm O 4 JSK2F 55 0002 INSTALL INSTRUCTIONS Instructions d installation 1a 1 1a 2 Using level draw a vertical line at stud center Utilisez un niveau et tracez une ligne verticale au centre du montant W...

Page 4: ...wall plate C to mark hole location on center line C Utilisez la plaque murale C pour marquer l emplacement des trous dans la ligne m diane WOOD STUD INSTALLATION 1a 3 1a 4 drill depth 65mm 2 5 drill...

Page 5: ...r enfoncer dans le cas ch ant 1b 3 MASONRY BLOCK CONCRETE INSTALLATION F Use 11 mm 7 16 drill bit to drill 65mm 2 5 holes on marks 11 7 16 65 2 5 Utilisez un 11 mm 7 16 bits de forage pour percer 65mm...

Page 6: ...w A and washer U U Fixer la plaque murale au mur avec la vis A et la rondelle U MASONRY INSTALL WALL PLATE 1b 4 Align part D to top and bottom wall plate and snap on D Aligner la partie D support mura...

Page 7: ...curity screw to lock the rotation Alignez la fl che l cran du projecteur Serrer la vis de s curit pour bloquer la rotation PROJECTOR PLATE INSTALLATION 4 2 4 1 4 2 K Make sure arrow points to projecto...

Page 8: ...to fit the projector hole pattern Desserrer les vis de s curit que n cessaire pour r gler adaptateur pour s adapter la configuration de trous du projecteur 5 1 ATTACH UNIVERSAL BRACKET Use screws M P...

Page 9: ...hout prior notice WARRANTY Nous vous f licitons pour l achat de ce produit Wize Vous venez d acqu rir un produit r alis partir de mat riaux durables et d une conception ing nieuse jusque dans les moin...

Reviews: