background image

3

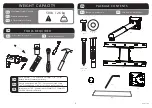
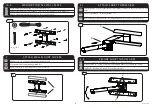
PACKAGE CONTENTS

Входит в комплект

Contenu de l’emballage 

T(1)

S(1)

Washer

Q (4)

Security

Security

M4-M6 Security 

Wrench 

K (1)

M3 Security 

Wrench 

L (1)

10-32x10

R (1)

M6 x 10mm

P (4)

M4 x 10mm

N (4)

M3 x 8mm

M (4)

M5 x 10mm 

O (4)

JSK2F-55-0002

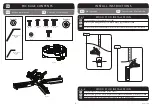
INSTALL INSTRUC TIONS

Инструкция 

 Instructions d’installation 

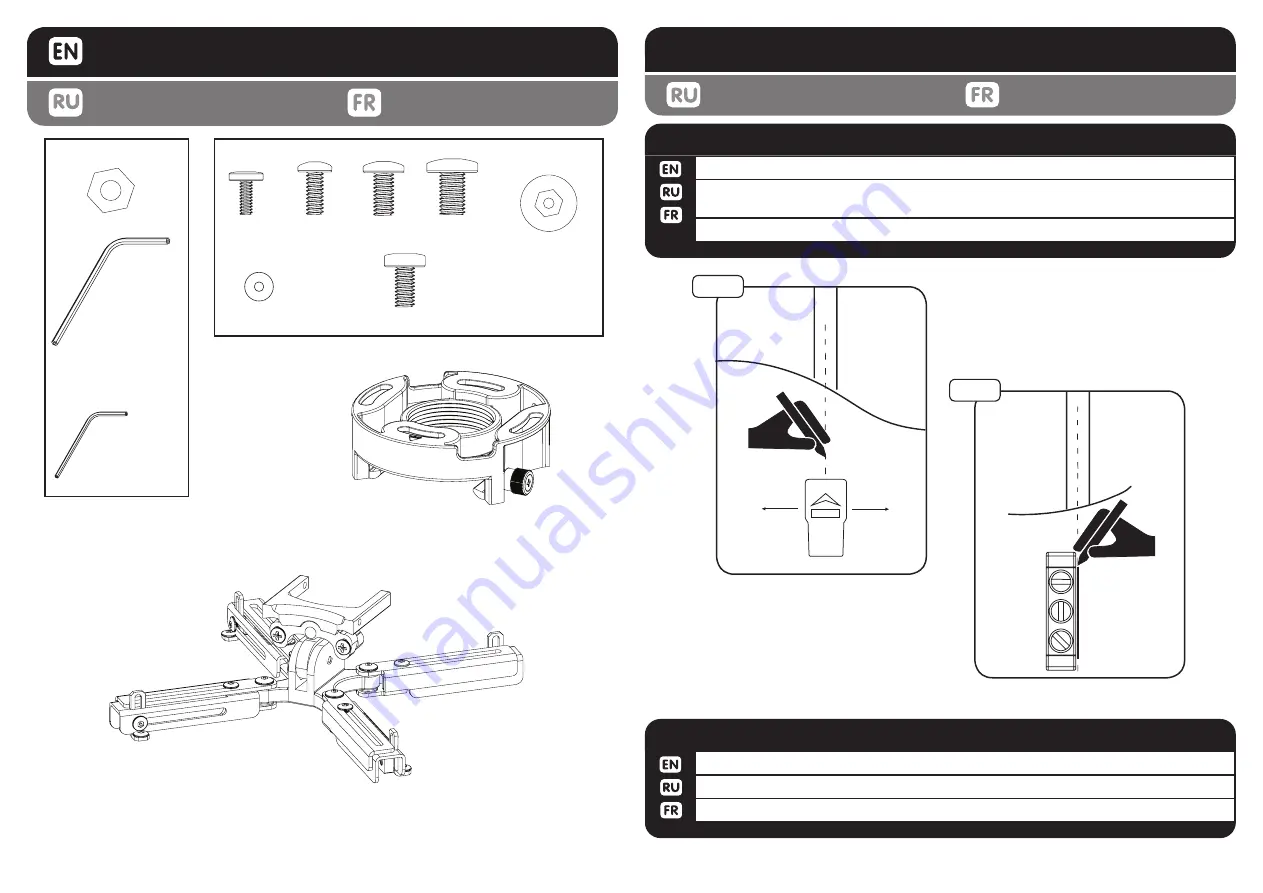
1a-1

1a-2

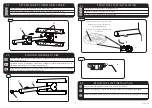
Using level draw a vertical line at stud center.

Используйте уровень, чтобы нарисовать вертикальную линию по центру стойки.

Utilisez un niveau et tracez une ligne verticale au centre du montant.

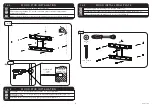
WOOD STUD INSTALLATION

1a-2

Using stud finder locate centers of 2 studs

Используйте инструмент, чтобы найти центр деревянной стойки.

Utilisez localisateur de montants pour localiser les centres de deux piliers structurels.

WOOD STUD INSTALLATION

1a-1

Summary of Contents for STP-55

Page 1: ...UM WEIGHT CAPACITY FOR THIS PRODUCT WARNING AVERTISSEMENT SI CE PRODUIT N EST PAS CORRECTEMENT INSTALL OU ASSEMBL IL RISQUE DE CAUSER DES BLESSURES RAVES VOIRE MORTELLES AINSI QUE DES DOM MAGES MAT RI...

Page 2: ...n cessaires C 1 Wood bit 6mm 7 32 Masonary bit 11mm 7 16 Socket wrench 13mm Hammer if necessary 6 7 32 11 7 16 13 Bois peu 6mm 7 32 peu ma onnerie 11mm 7 16 13mm Cl douille Marteau si n cessaire J 2...

Page 3: ...0mm O 4 JSK2F 55 0002 INSTALL INSTRUCTIONS Instructions d installation 1a 1 1a 2 Using level draw a vertical line at stud center Utilisez un niveau et tracez une ligne verticale au centre du montant W...

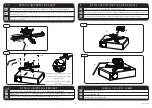
Page 4: ...wall plate C to mark hole location on center line C Utilisez la plaque murale C pour marquer l emplacement des trous dans la ligne m diane WOOD STUD INSTALLATION 1a 3 1a 4 drill depth 65mm 2 5 drill...

Page 5: ...r enfoncer dans le cas ch ant 1b 3 MASONRY BLOCK CONCRETE INSTALLATION F Use 11 mm 7 16 drill bit to drill 65mm 2 5 holes on marks 11 7 16 65 2 5 Utilisez un 11 mm 7 16 bits de forage pour percer 65mm...

Page 6: ...w A and washer U U Fixer la plaque murale au mur avec la vis A et la rondelle U MASONRY INSTALL WALL PLATE 1b 4 Align part D to top and bottom wall plate and snap on D Aligner la partie D support mura...

Page 7: ...curity screw to lock the rotation Alignez la fl che l cran du projecteur Serrer la vis de s curit pour bloquer la rotation PROJECTOR PLATE INSTALLATION 4 2 4 1 4 2 K Make sure arrow points to projecto...

Page 8: ...to fit the projector hole pattern Desserrer les vis de s curit que n cessaire pour r gler adaptateur pour s adapter la configuration de trous du projecteur 5 1 ATTACH UNIVERSAL BRACKET Use screws M P...

Page 9: ...hout prior notice WARRANTY Nous vous f licitons pour l achat de ce produit Wize Vous venez d acqu rir un produit r alis partir de mat riaux durables et d une conception ing nieuse jusque dans les moin...

Reviews: