


1
Product description
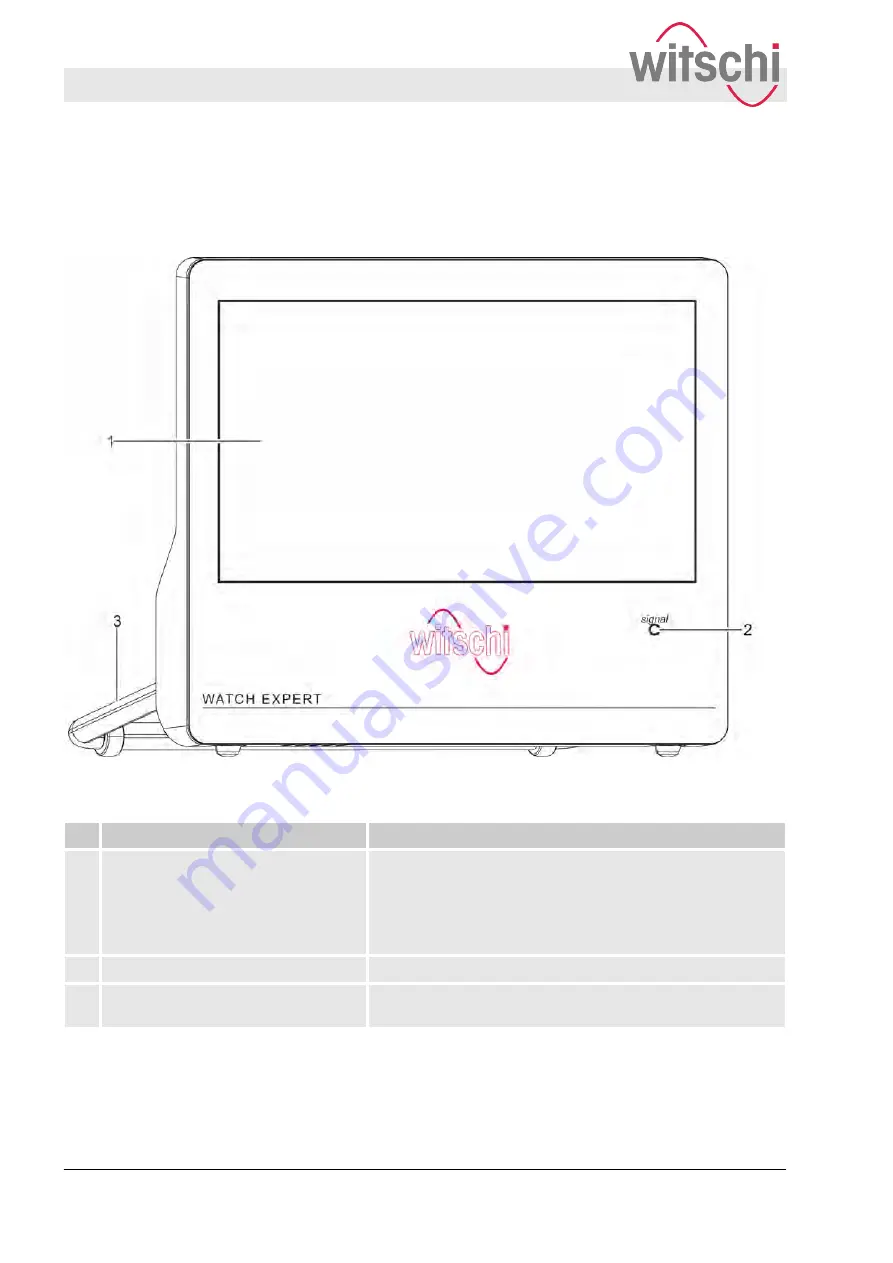
1.1 Watch Expert
Fig. 1: Watch Expert
No. Designation
Function
1
Touchscreen
n
Displays for the numerical test results
n
Displays for the graphical test results
n
Displays for test progress
n
Navigating through the menus
n
Changing parameters
2
[Signal]
LED display
n
LED flashes to the rhythm of the escapement noises.
3
Stand
Adjustable stand for the Watch Expert (can be set to 6 incli-
nation angles)
Overview
Product description
Watch Expert
27.02.2018
Precision measuring device Watch ...
6


