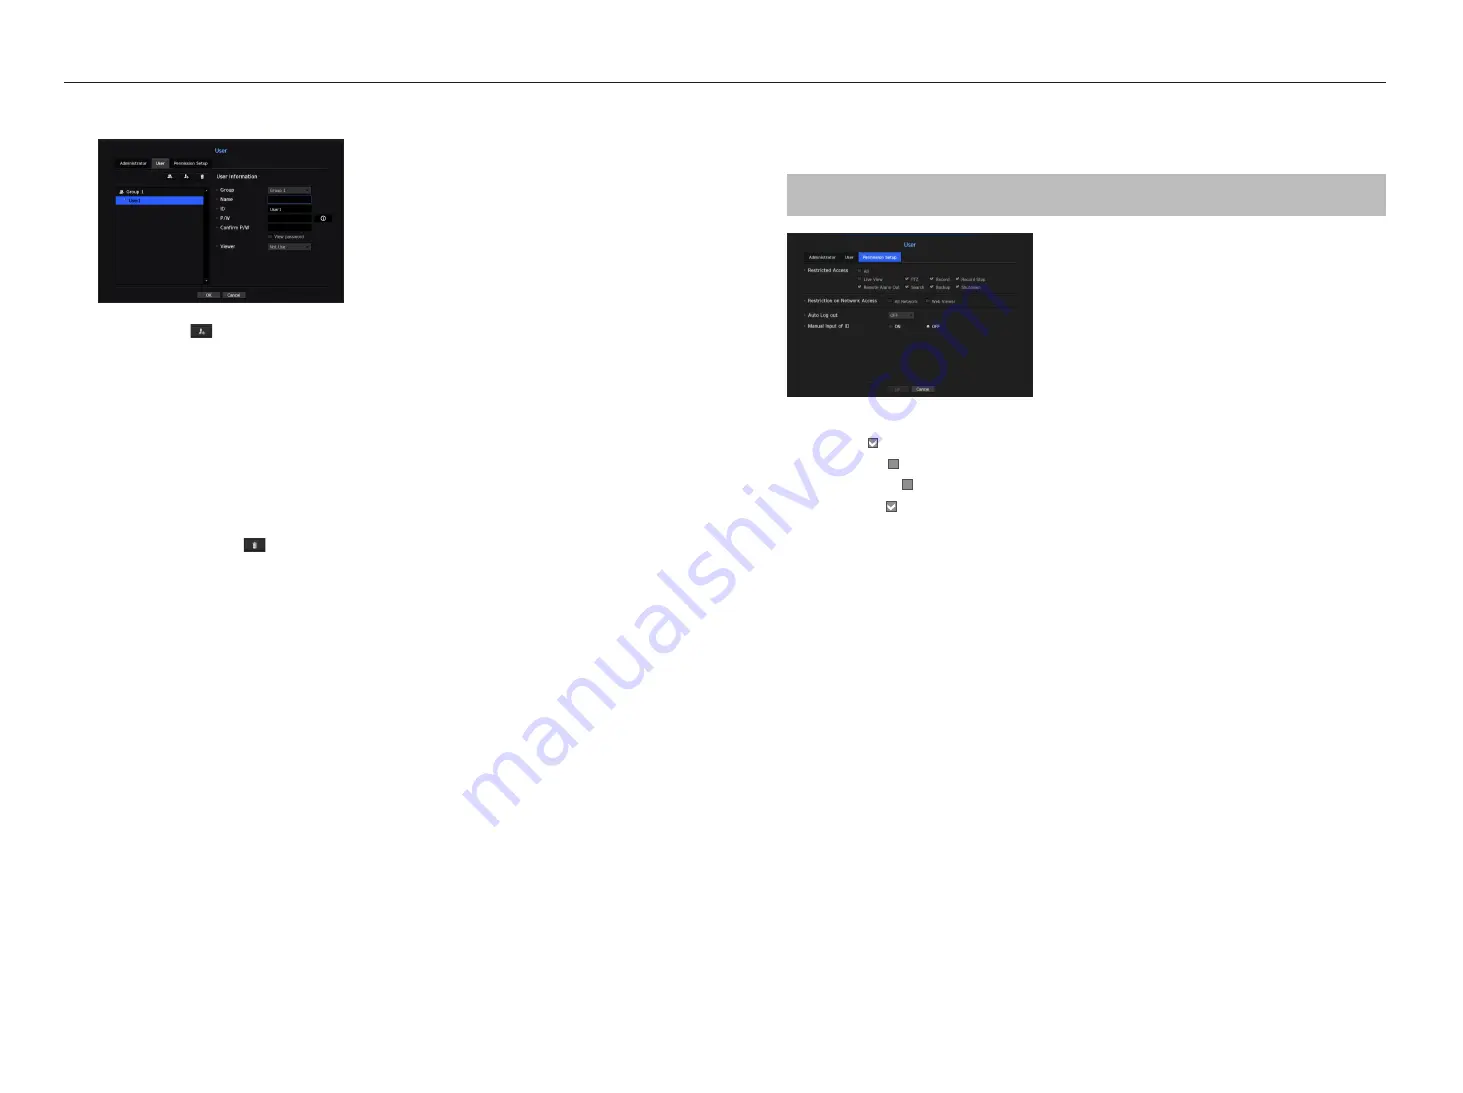
If you want to register a user
1.
Click on the [
] button to launch the user addition popup window.
To add a user, click on <
OK
>.
2.
Select a group.
When registering a user, the selected group will be automatically registered.
`
A group can be changed after inputting all required information.
3.
Enter name, ID, password and select whether to use the viewer.
If you activate use of <
Viewer
>, you will have the right to use the web viewer and the network viewer.
4.
Click <
OK
>.
Registered user information will be saved.
When you want to delete the group and user information
1.
To delete, click on the [
] button.
2.
The deletion confirmation window will appear and you can select an item to delete and click on <
Delete
>.
Setting Permissions
You can set restricted access for all general users.
Items with restrictions will require logging in for use.
[
MENU
]
Ö
[
ENTER
]
Ö
▼
Ö
<
Menu
>
Ö
[
ENTER
]
Ö
<
System
>
Ö
►▼
Ö
<
User
>
Ö
[
ENTER
]
Ö
▼►
Ö
<
Permission Setup
>
Ö
[
ENTER
]
Ö
▲▼◄►
Ö
[
ENTER
]
• Restricted Access : All menu items allowed for a user can be set with restricted access.
- Checked (
) : Restricted
- Not checked (
) : Accessible
`
If it is not checked
(
)
in <
Restricted Access
>, any user can access the item no matter what the <
Permission
> setting.
`
If it is checked
(
)
in <
Restricted Access
>, a user can access the item only if the user has permission in <
Permission
>
setting.
• Restriction on Network Access : Restricts remote access from a <
Restricted Access
> network.
- All Network : Restricts all access instances via Network Viewer and Web Viewer.
- Web Viewer : Restricts access via the Web Viewer.
• Auto Log out : A user will be automatically logged out if there is no operation on NVR for over set period of
time.
• Manual Input of ID : In the login window, select whether to enter ID.
26_
menu setup
menu setup


