English
_19
● LIVE
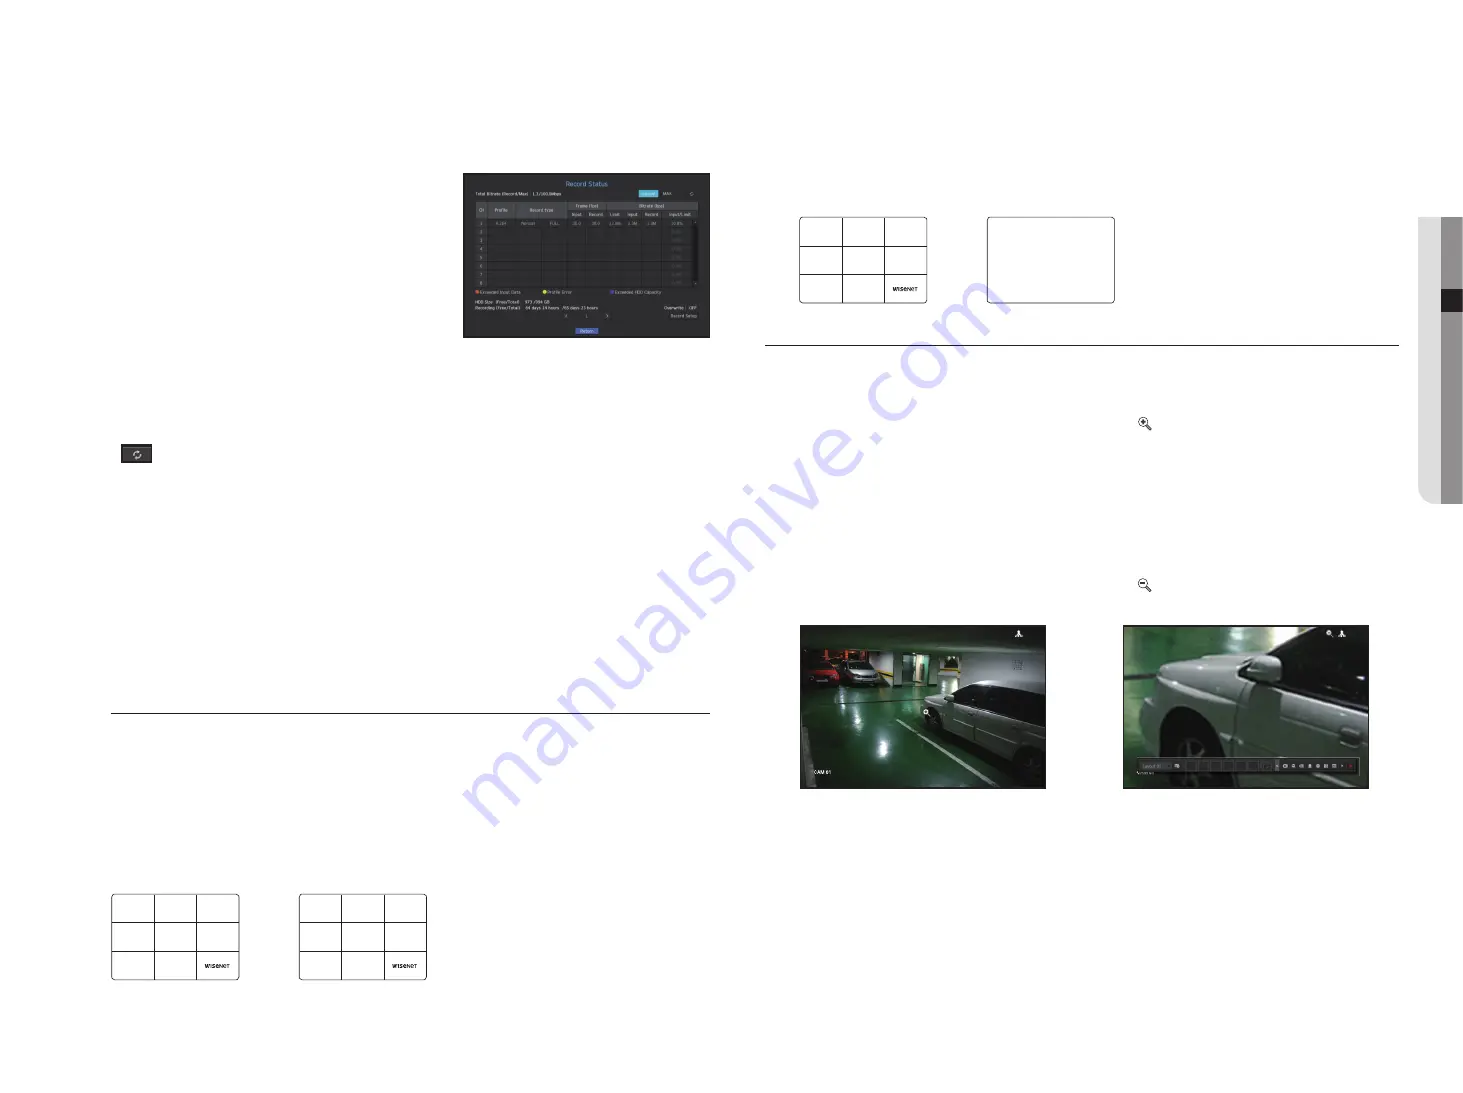
Record Status
If you select <
Record
> under the <
Status
> menu on the live screen, you can check a channel's video type,
recording type, number of input/recording frames, allowed/input/recording data volume.
• Total Bitrate (Record/Max) : Record bitrate shows the amount
of actual data recording while Total bitrate shows the
maximum data transfer allowed by the NVR.
• Profile : Shows the video profile configured to each channel.
• Frame (fps) : Show the input/record frames per second for
each channel.
• Bitrate (bps)
- Limit / Input / Record : Shows the amount of limit/input/
recording data for each channel.
- Input / Limit : Shows the data ratio of actual data transferred from the camera and allowed maximum
defined by user.
• Current : Shows the recording status information of currently transferred data.
• MAX : Shows recording information of the most biggest recording data out of configured standard and event
recordings.
•
: Reloads the recording information.
• Record Setup : The menu screen will switch to the record setting screen.
M
`
The warning message on the list's bottom means the NVR replaced the selected recording profile with other available profile,
since the selected one does not produce video data which prohibits screen saving. If the screen displays video, it
automatically resets to the selected profile and its name turns to yellow in the list.
`
If Key Frame recording exceeds the allowed data amount specified by limit bitrate, a popup alert and icon appear on the
screen.
The limited recording alert popup does not repeat after displaying once unless camera or recording settings are changed; it
may appear again if settings were changed to notify such status.
If you want to set the alert popup not to appear, change your setting of <
Setup Warnings
> not to display a message popup.
For further information on bitrate limit of recording data, refer to “
Record Setting
”. (Page 39)
Channel Setting
You can display the channel in a desired area of a split screen.
1.
Place the cursor over the camera name of each channel to display the <▼> key to the right on the screen.
2.
Click a camera name to display a channel list where you can select a different channel.
3.
Select a desired channel and click it.
The current channel will be switched to the selected one.
Use the cursor to select a channel to move, and drag and drop it to a desired channel; this can also change
the channel position.
`
Ex : if switching CH 1 to CH 7
Switching to Single Mode
When in split mode, select and double-click a desired channel to switch to its Single mode.
Press the channel number button on the remote control to switch to single screen.
Refer to "
Remote Controller
>
Using the Number Button
". (Page 8)
Ex : With your mouse, double click on channel 3 or press the number 3 on the remote control.
ZOOM
This is activated only in Live Single mode.
After selecting a single screen, if you use the Magnify function, the selected area will be magnified by 3.
1.
In the live screen menu, select <
ZOOM
>.
Press the [
ZOOM
] button on your remote control or click <
> on the launcher menu.
The Magnify icon in the middle of the screen will be displayed.
2.
You can use the remote control's directional key(▲▼◄►) or drag with the mouse to set the area of
magnification.
3.
Press the [
ENTER
] button or double click with the mouse to magnify the selected area by 3 times.
`
In the magnified screen, you can drag with the mouse or use the remote control's navigational key (▲▼◄►) to move the
magnified area.
4.
In the live screen menu, select <
Zoom Out
>.
Press the [
ZOOM
] button on your remote control or click <
> on the launcher menu to cancel the
magnification function.
<Normal>
<Enlarged 3x>
CH7
CH2
CH3
CH4
CH5
CH6
CH1
CH8
CH1
CH2
CH3
CH4
CH5
CH6
CH7
CH8
CH3
CH1
CH2
CH3
CH4
CH5
CH6
CH7
CH8


