33
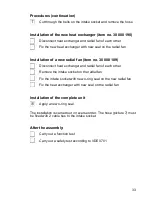
Procedures (continuation)
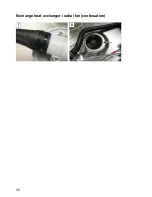
Cut through the belts on the intake socket and remove the hose
Installation of the new heat exchanger (item no. 30 000 190)
Disconnect heat exchanger and radial fan of each other
Fix the new heat exchanger with new seal on the radial fan
Installation of a new radial fan (item no. 30 000 189)
Disconnect heat exchanger and radial fan of each other
Remove the intake socket on the radial fan
Fix the intake socket with new o-ring seal on the new radial fan
Fix the heat exchanger with new seal on the radial fan
Installation of the complete unit
Apply a new o-ring seal
The installation is carried out in reverse order. The hose (picture 7) must
be fixed with 2 cable ties to the intake socket.
After the assembly:
Carry out a function test
Carry out a safety test according to VDE 0701
Summary of Contents for UC-L
Page 1: ...Winterhalter Undercounter Dishwashers UC Series Repair manual ...
Page 10: ...8 Exchange collector ...
Page 12: ...10 Exchange collector continuation ...
Page 14: ...12 Exchange collector continuation ...
Page 16: ...14 Exchange boiler heating element ...
Page 18: ...16 Exchange boiler ...
Page 22: ...20 Exchange tank heating element ...
Page 24: ...22 Exchange pump head dosing device Fluidos ...
Page 26: ...24 Exchange dosing device Fluidos ...
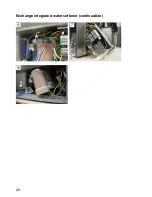
Page 28: ...26 Exchange integrated water softener ...
Page 30: ...28 Exchange integrated water softener continuation ...
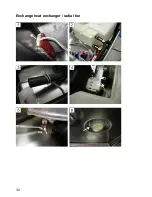
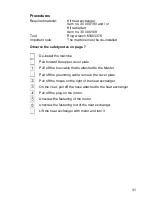
Page 32: ...30 Exchange heat exchanger radial fan ...
Page 34: ...32 Exchange heat exchanger radial fan continuation ...
Page 46: ...44 ...
Page 47: ......

