27
RECORDING
Setting Recording Options
There are several recording options and other settings that
should be understood and checked before you begin recording.
Setting the Record Quality
The Record quality determines the quality of your recordings as
well as the maximum amount of video you can record on a disc.
The higher the quality, the less video recording time can be
1
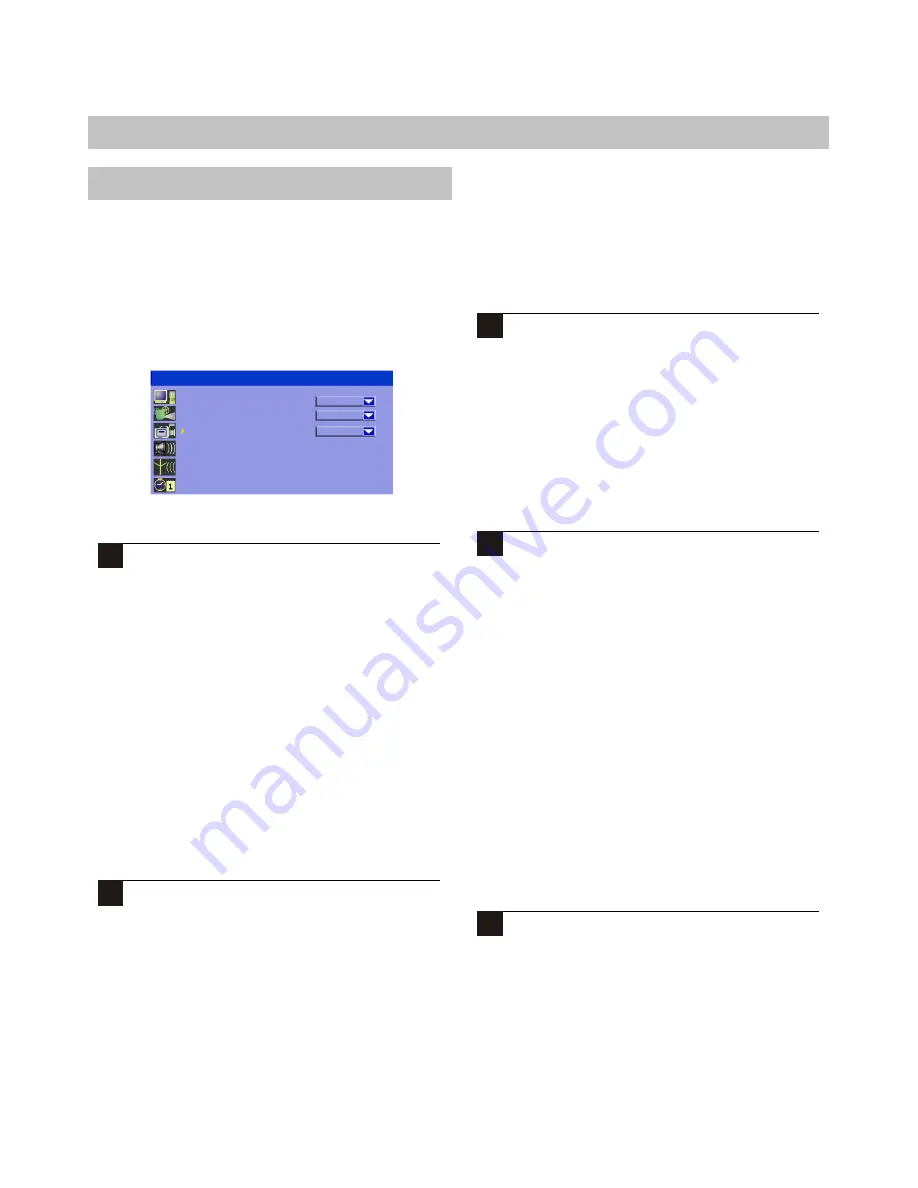
Press SETUP to enter to System Setup and use
UP/DOWN to move the Record. the RIGHT/LEFT
move to Default Quality .press SELECT to confirm.
2
NOTE:
Recording time is an Approximately value.
You can set the record quality for SETUP MENU.
Setting the Auto Chapter Option
You can set the recorder to automatically add a "Auto
chapter marker" every 5 minutes during your
recordings. During playback, this will allow you to
skip forward or back in 5minutes intervals by using the
NEXT/PREV keys on the remote. These chapter
markers are compatible with most standard DVD
Recorders as well.
1
Press SETUP to access the setup menu. Move to
RECORD icon.
2
Press RIGHT/LEFT to highlight the icon and
press SELECT. And UP/DOWN to select the
ON/OFF.
HQ: High quality. About 60 minutes
SP: Standard play quality. About 120minutes
EP: Extended play quality. About240minutes
SLP: Super long play. About 360minutes
Checking the Time and Date
Before you begin recording, you should make sure the Time
and Date are both correct. The Time and Date are used not
only to schedule recordings, but also to label recordings that
you make live.Setting the Time and Date correctly is
important, as the Timer recordings depend on an accurate
setting. The Time format used is 24HR .
1
During stop status, press SETUP to access the
SETUP menu. Use RIGHT/LEFT to highlight the
clock icon. Use UP/DOWN to highlight the Date
and Time.
Auto chapter marker
Default source
Default quality
SP
Front CVBS
ON
SYSTEM SETUP


